
App Review & Blended Pic Tutorial: Fused (with an assist from the Silhouette app)
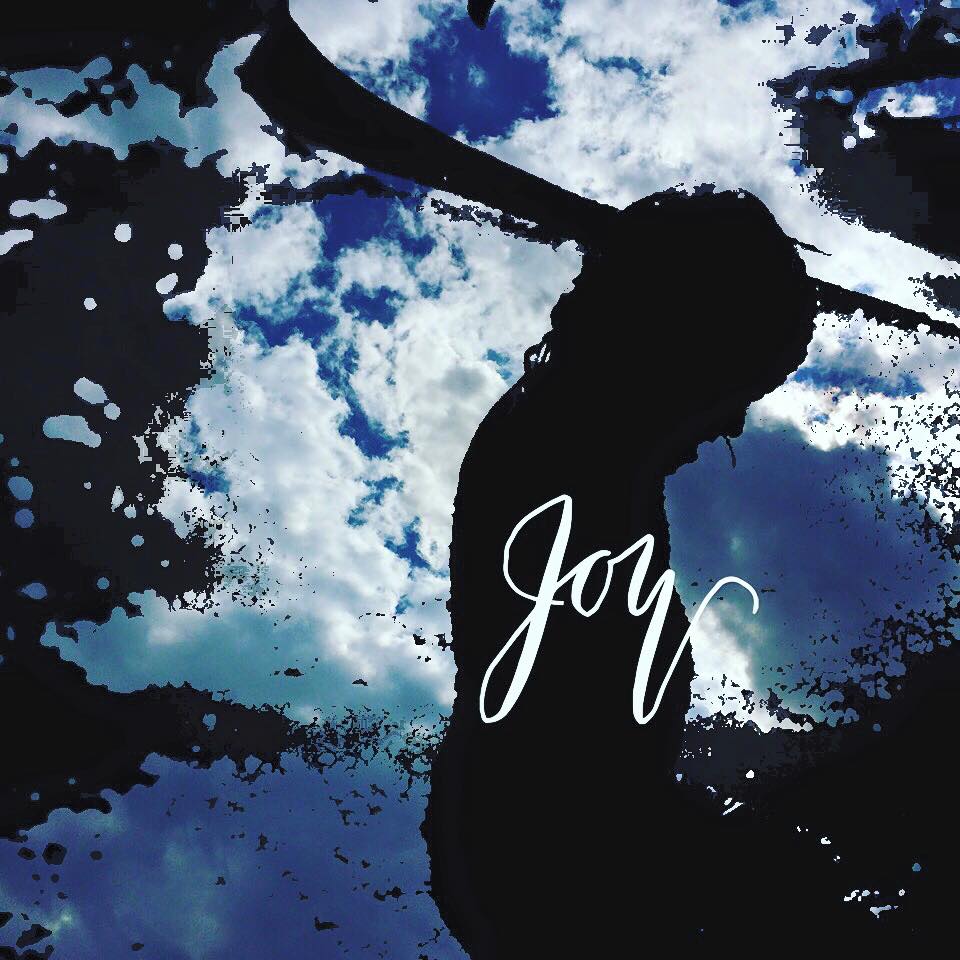
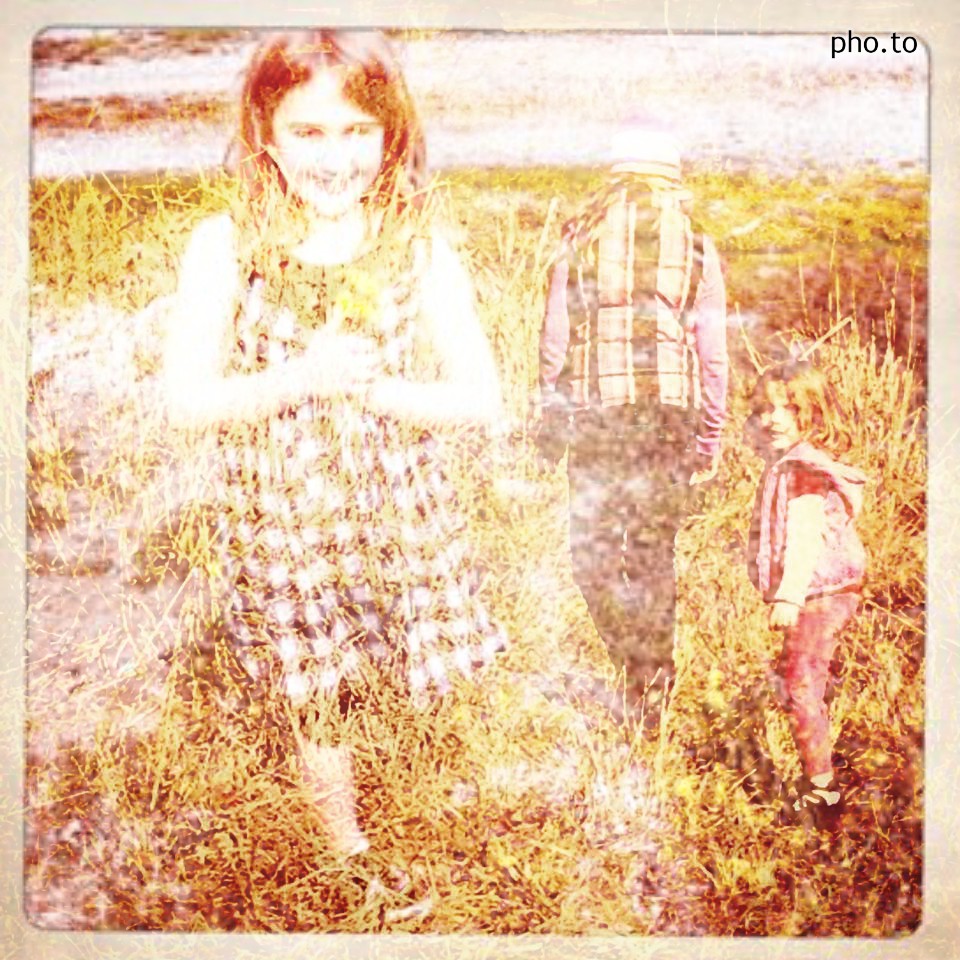
Monday my co-blogger Heather Booth sent me a text that said,” you might really like this app called Fused.” She had no idea what she was starting as I quickly became obsessed, for the MakerSpace and my teens of course! Using the app I was able to create these images:


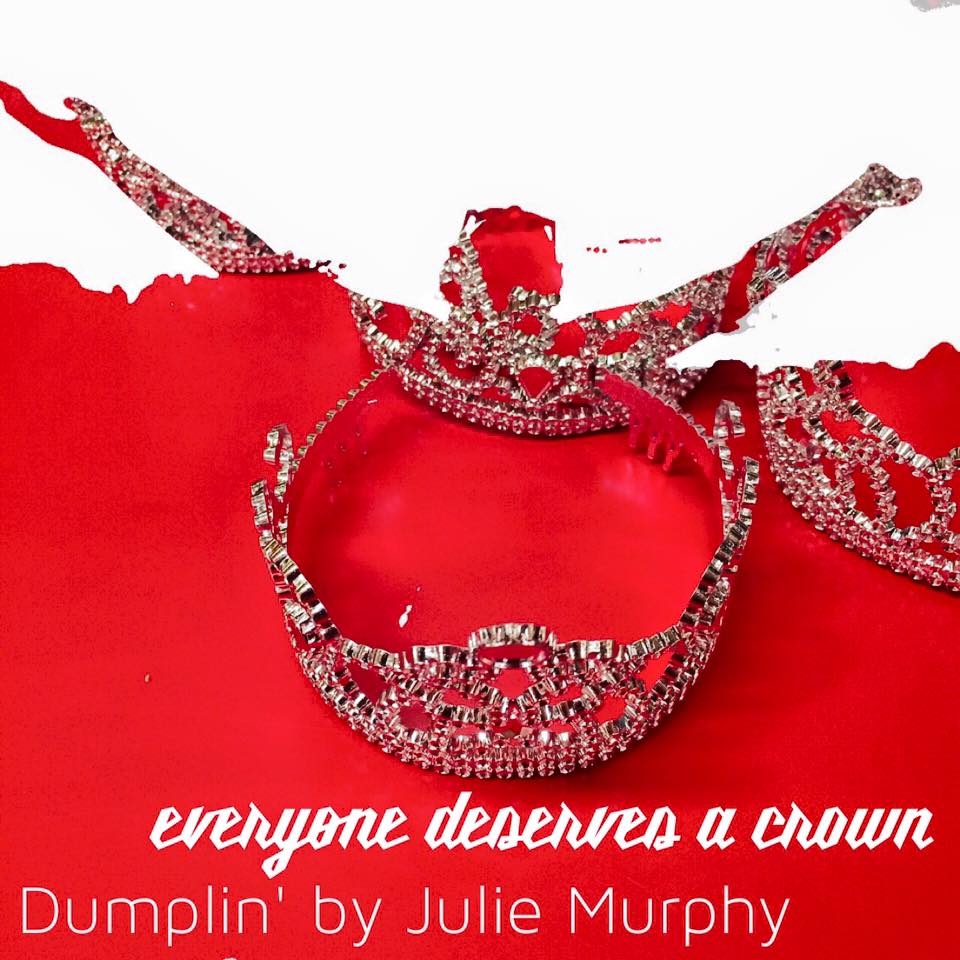
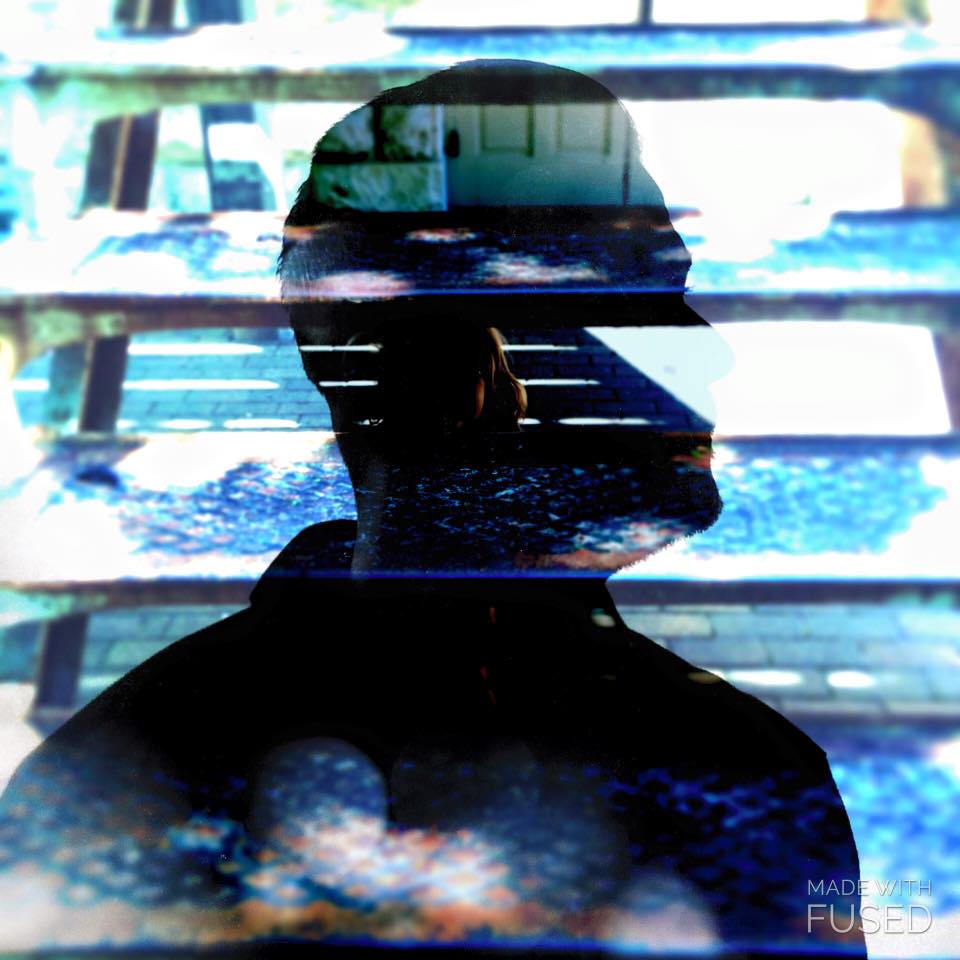
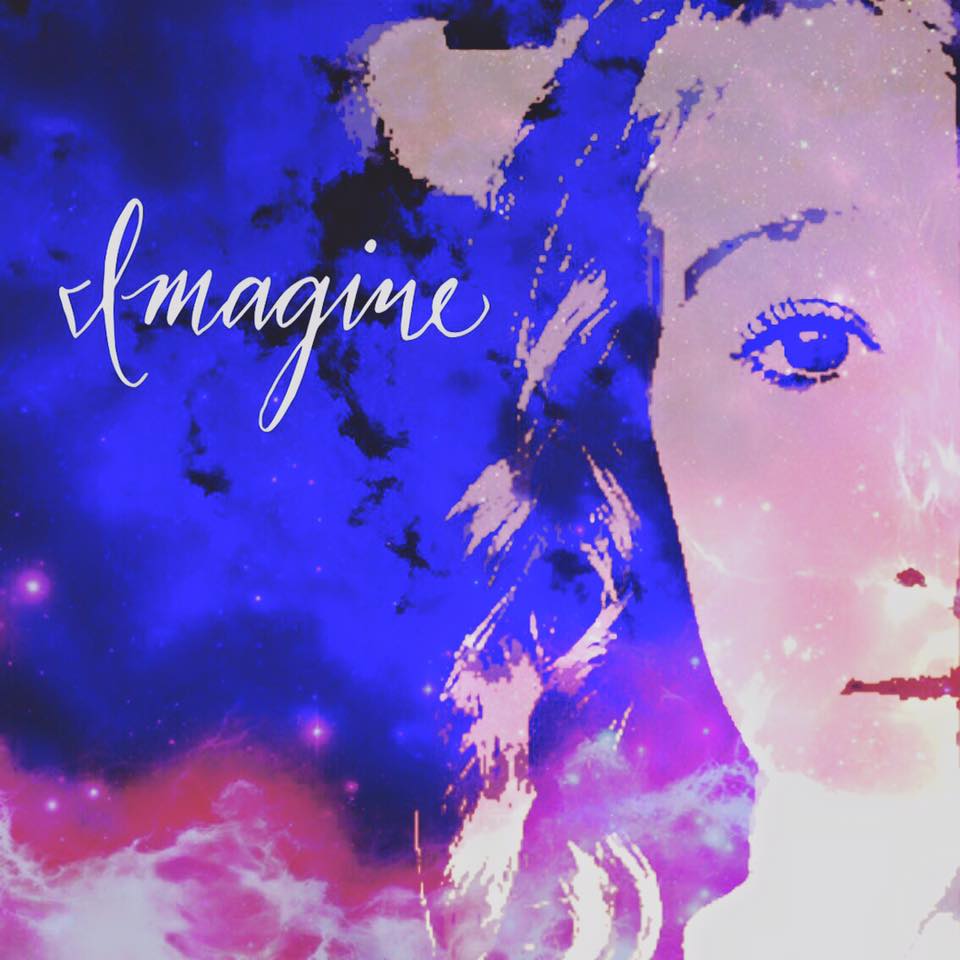
Now I have been seeing images like this online for years and coveted knowing how to make them. And I’m not going to lie, there was a bit of a learning curve. Here’s how it works, you select a background image and a foreground image and the Fused app blends the two images together. It sounds simple, but there are a few key tricks that improve your outcome.
ADVERTISEMENT
ADVERTISEMENT
Tricks and Tips To Keep in Mind
1. It is helpful, though not necessary depending on what you hope to create, if your background image is a black and white silhouette. I found an app called Silhouette to help create this image, more on this in a minute.
2. A big key to your success if having 2 images that are both well taken photographs and that line up well together. For example, I tried to combine a baby silhouette picture of my girls with a current picture of them to show how they have grown and it was hard finding two pictures that lined up well so there faces weren’t being obscured in weird ways. Like, in one attempt you could only see Thing 2’s chin, which didn’t create a very successful end product.
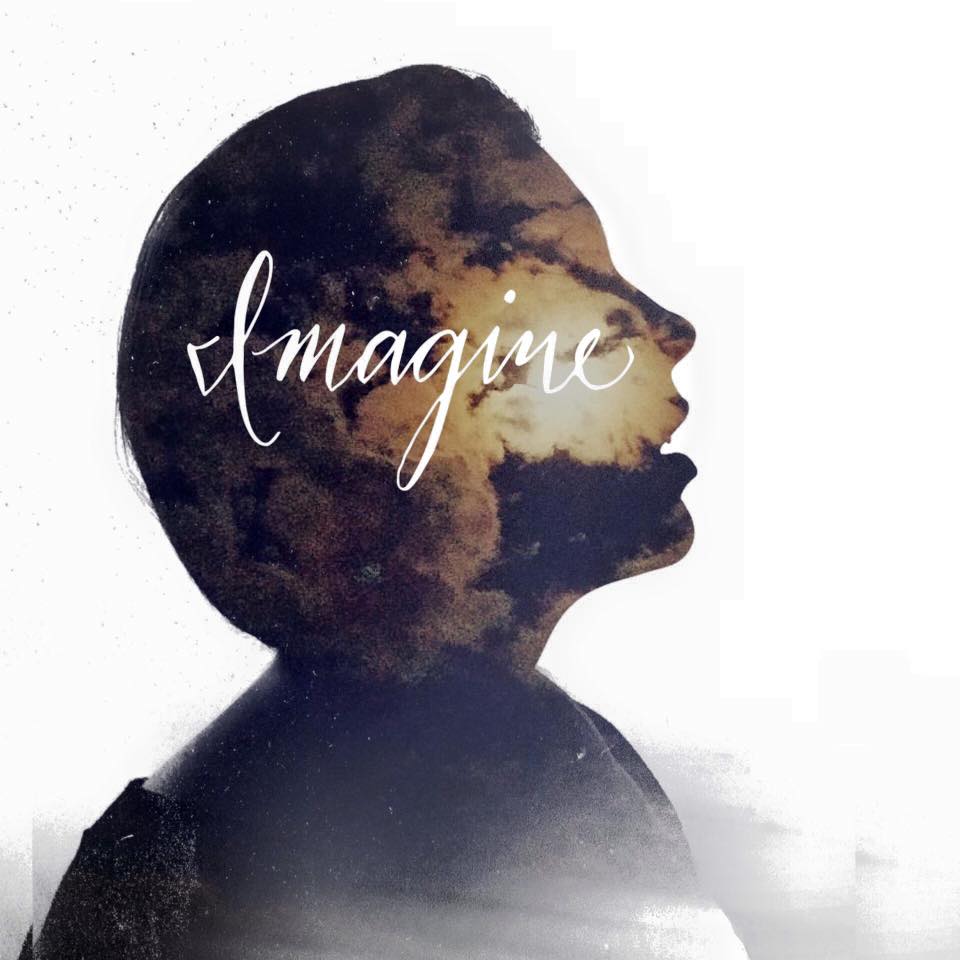
3. Having a nature picture or just a cool colored photo works well, too. Try taking a picture of a neon sign, a sunset, or clouds. These images blend well with others and you don’t have to worry as much about the ways the pictures line up. This image uses a picture of the moon a friend of mine took (used with permission) and a silhouette provided in the Fused app.
First Step: Create Your Background Silhouette Using the Silhouette App
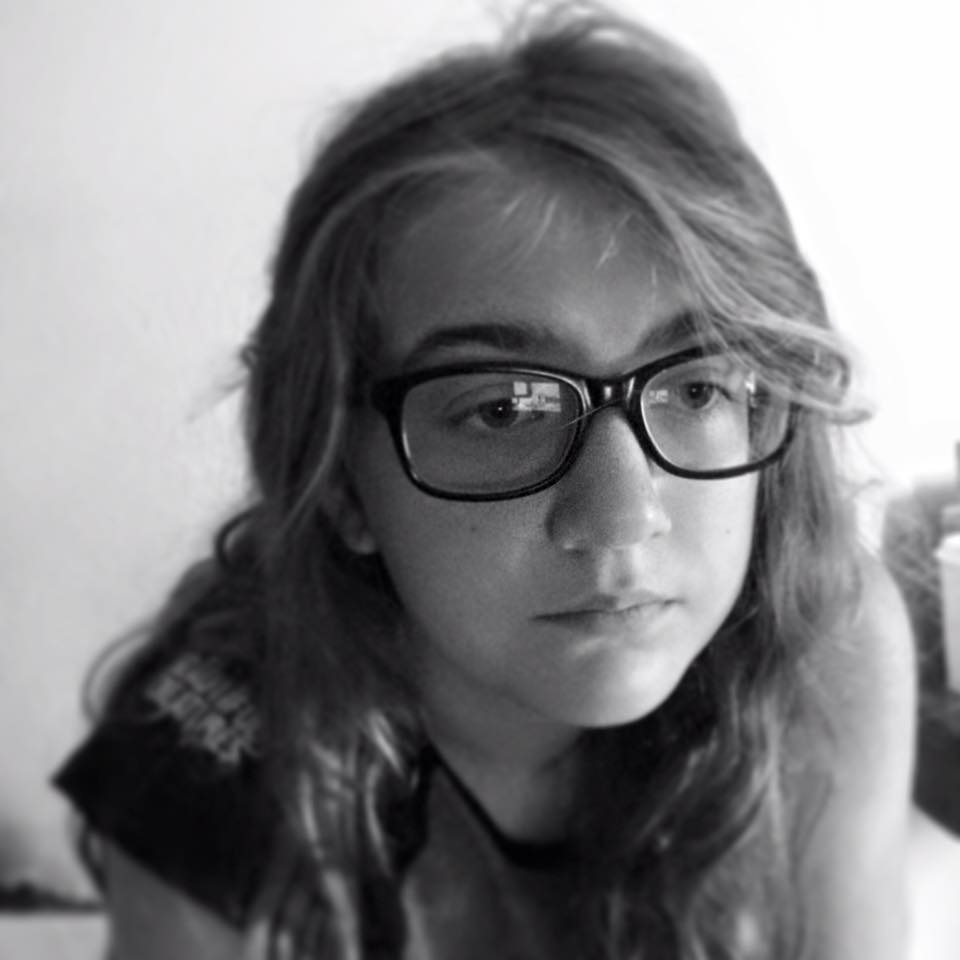
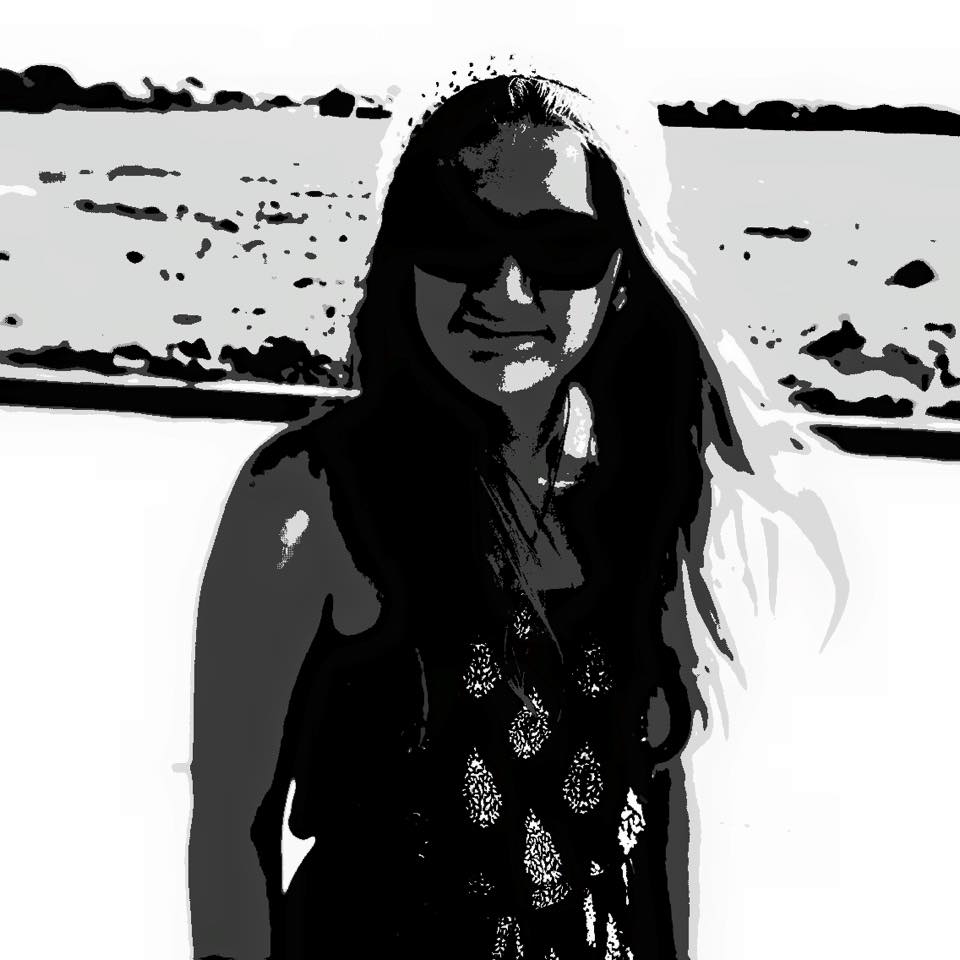
As I mentioned, I used an app called Silhouette to create the background silhouette for blending purposes. Here you need to start with a picture that has a stark contrast to begin with. If you can, pose yourself or your subject in front of a white or a dark wall and take your photo in black and white. Here’s my initial photo that I used:
I then used the Silhouette app to make it into the black and white silhouette I needed for the Fused app:
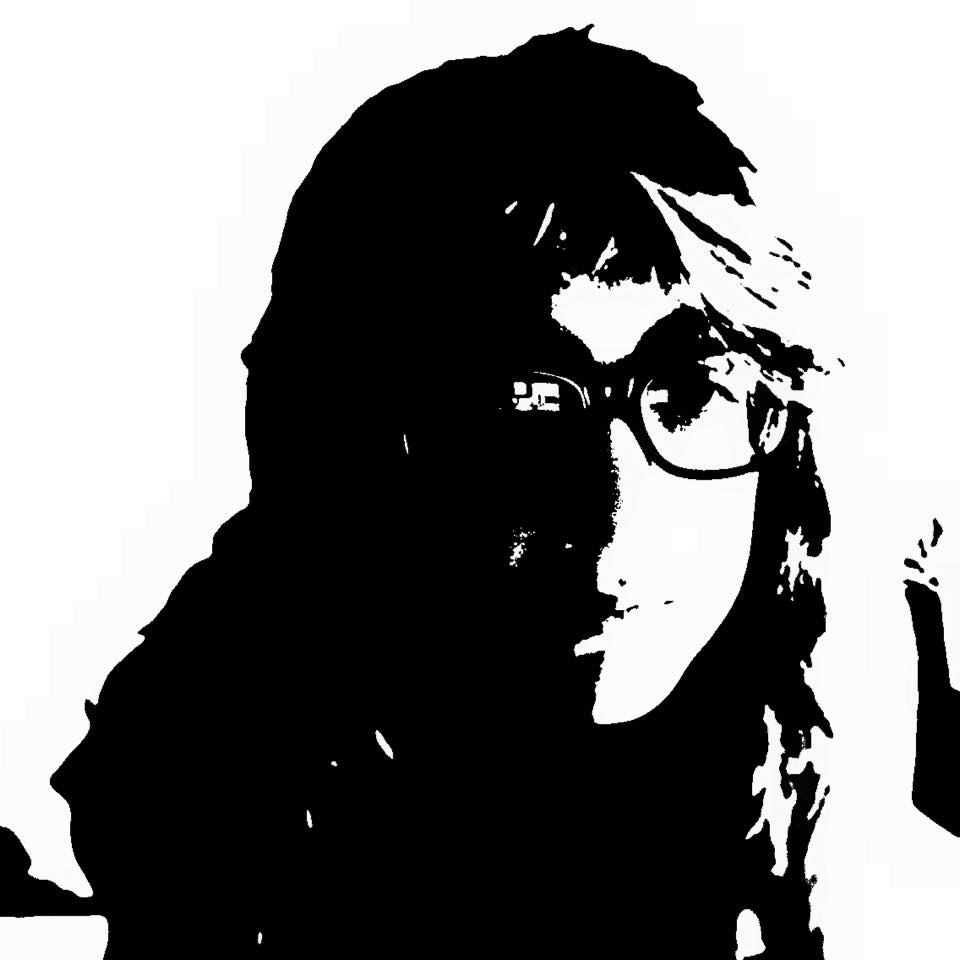
A picture with a darker background and a lighter focal point, say a person, will create a white or negative space silhouette.
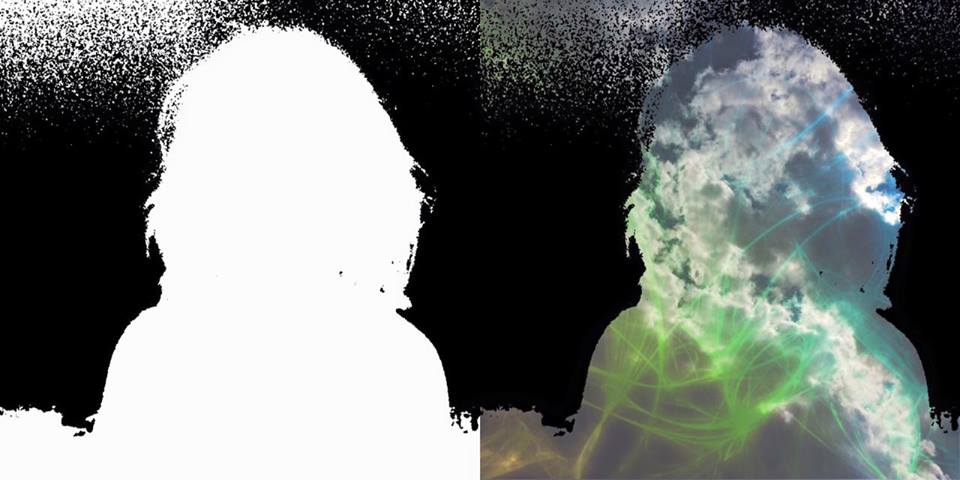
A picture with a lighter background and a darker focal point will create a black silhouette.
Either one works, they just work differently as the Fused app will color in the white space – the negative space – with your other photo. Of course black and white are relative terms, I should probably say negative and positive space The Mr. would say, because you can use an RGB slide bar to colorize your silhouette.
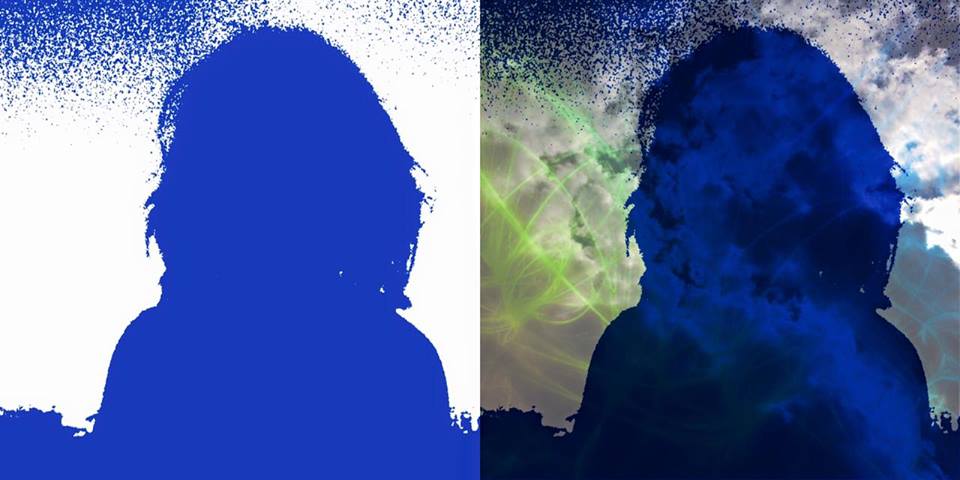
Right: Same silhouette blended with a pic of the sky after being spiffed up with the Space Effects app
There is also an Invert option that can be used to toggle between a colored or a white silhouette:
It is also helpful to have as little in the background as possible to create your silhouette. Ideally, you would pose your subject in front of a blank wall in a contrasting color.

ADVERTISEMENT
ADVERTISEMENT
And as I mentioned, you do not have to use a black and white silhouette, I just found that Fused app worked better if I did. Insructables has some more information on how to create a photo silhouette. Digital photography school also has some information about photographing silhouettes.
Don’t want to use an app? Here’s a tutorial for creating a silhouette using iPiccy.com
Second Step: Using the Fused App
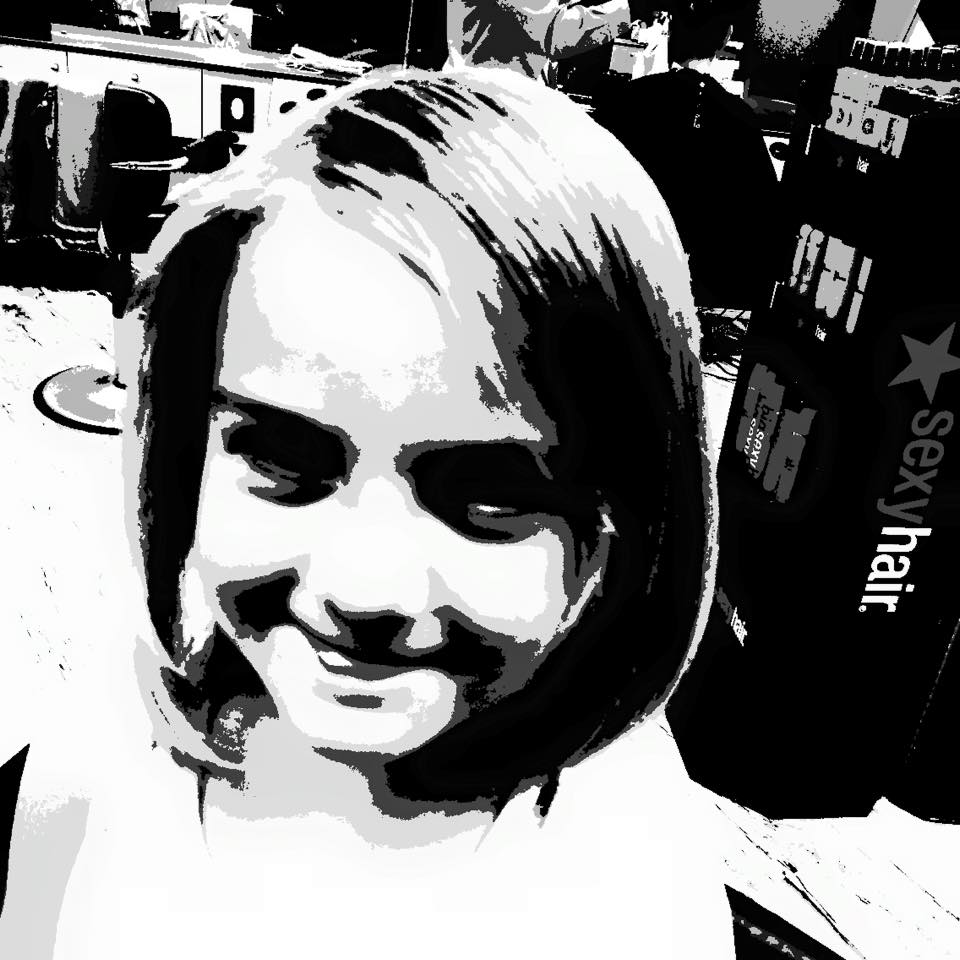
After saving this to my camera roll, I uploaded it as my background picture in Fused. As my foreground I used this picture:
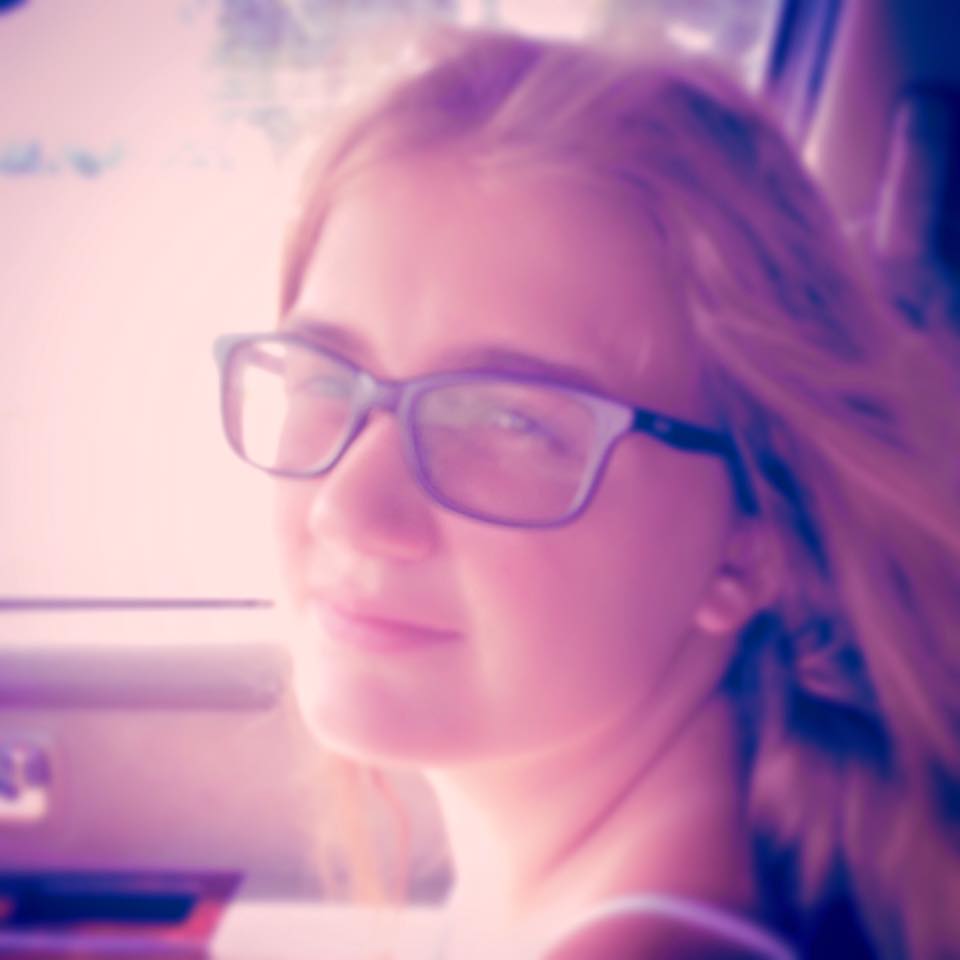
The Fused app gives you several blending options and you just kind of play around with them to find an option that you like best. Within each option it also has a slide bar which allows you to increase the contrast and blend. I used the “screen” option with the two pictures above to create this:

Please note, Fused does not actually have an add text option. I added the text using the Aviary app that I reviewed last week.
I love and highly recommend both of these apps. It takes a little bit of time and trial and error, and some attention to details, to get a good end product; however, as I learned more what worked and what didn’t it became easier to use. The key is having good pictures to start with and it probably won’t surprise you to know that I have tons of those to experiment with.
And here is a free online program you can use to create a double exposure effect.
About Fused
BlendPic and InstantBlend are apps similar to Fused that you can also try. I was not able to use InstandBlend as successfully as I was Fused and I have not tried BlendPic. All of them have additional in app purchases. I paid for the upgrade for the Fused app after deciding I really liked it to remove the watermark from my images. In future upgrades of the app I hope that they consider better undo options.
About Silhouette
It’s free and does cool things so no harm, no foul.
Fused also can be used to make videos, but I have no idea how to do that part yet.

Now I’m sure there will be someone out there who will tell me there is a much easier way to do this. 🙂
Filed under: Tech Talk, Technology
About Karen Jensen, MLS
Karen Jensen has been a Teen Services Librarian for almost 30 years. She created TLT in 2011 and is the co-editor of The Whole Library Handbook: Teen Services with Heather Booth (ALA Editions, 2014).
ADVERTISEMENT
ADVERTISEMENT
SLJ Blog Network
Name That LEGO Book Cover! (#53)
Cover Reveal and Q&A: The One and Only Googoosh with Azadeh Westergaard
K is in Trouble | Review
Fighting Public School Book Bans with the Civil Rights Act
ADVERTISEMENT

I have recently downloaded Fused and loved the effect I have seen in their Inspirations shots. I have found it a bit tricky to get decent effects but your tutorial has helped a lot – thanks 🙂