MakerSpace: Dipping My Toes into Sublimation 101
As I mentioned in a recent post, I recently began learning how to do sublimation printing. My newest obsession came about because I took Thing 2 to a craft fair and she bought a very cute copyright infringement tumbler with a favorite horror character and I thought: I could make those!
Sublimation is the process of transferring a printed design onto a surface using heat. It’s a great way to create unique, personalized items of all kinds. Sublimation starts with a sublimation printer.
ADVERTISEMENT
ADVERTISEMENT
It took me a long time to get started because as I researched, it turns out sublimation printers are super expensive. However, sometime last year I stumbled across a post that said you could use a less expensive Epson Eco Tank printer as long as you NEVER PUT ANYTHING BUT SUBLIMATION INK IN IT. I purchased an Epson EcoTank 4200 on sale for around $179 with my Christmas money and I made sure to never put anything but sublimation ink in it. It has honestly worked great. I have made tons of tumblers, water bottles, pouches, tote bags and t-shirts now.
I used to joke on here that I knew more than 25 ways to make a t-shirt, and now I know 26! And out of all of them that involve some type of transfer – whether it be vinyl transfer or faux screen printing – sublimation printing is my favorite for a couple of reasons. First, it really is the easiest. You can do your design, print it, and press it without having to worry about things like layering. It’s one and done. Also, in my opinion, it feels the best. The transfer is smooth and feels most like a professional, store bought shirt.
Also, I am obsessed with making sublimation water bottles. It’s becoming an issue really.
There is one huge down side, however, and that is there is no white in sublimation printing so printing onto dark fabrics is a no go without some tricks. This stinks when you parent teenagers who only want to wear black t-shirts. You can press a white vinyl onto the shirt and then do a sublimation print, but this undoes all the advantages I just mentioned so I don’t do it. Grey or lighter colored t-shirts are the way to go. We own a lot of grey shirts now.
So let’s talk some Sublimation 101
The sublimation process can be broken up into 3 basic steps:
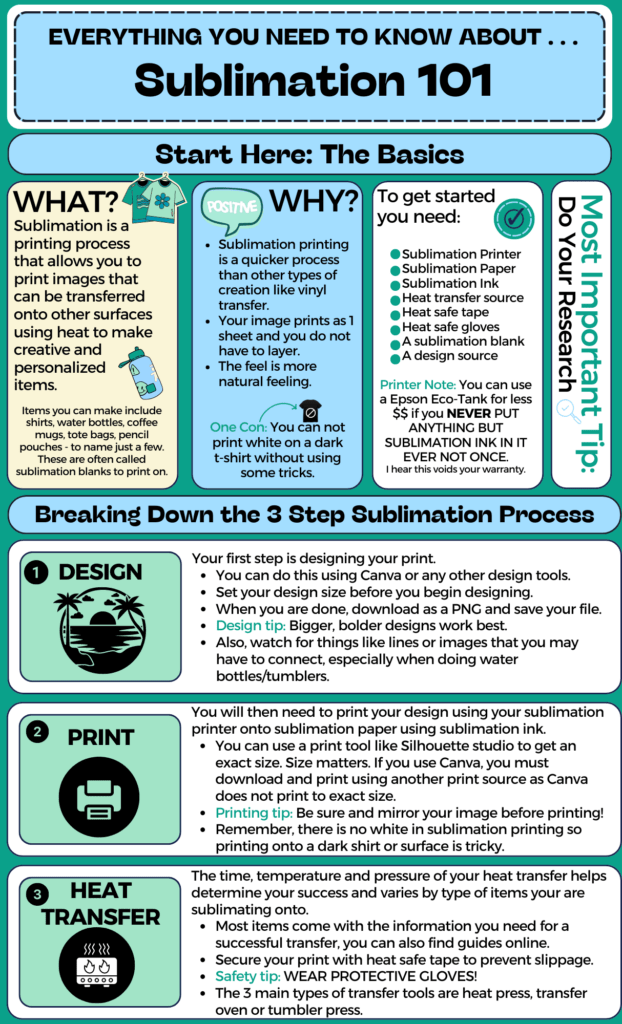
Step 1: Design
I do all of my designing in Canva at this point. I pay for the pro and use it for so many things I am comfortable with it. There are lots of free and small fee design tools out there to use if Canva is not for you. If you poke around you’ll find lots of favorites by other designers. Find the one that works best for you.
The big thing is you have to learn to design in the round, not on a flat page. My first design had lots of cool stuff in the edges. But when you wrap your printed page around the tumbler, you then have to worry about lining it up. Seams are my arch nemesis. So now I am very careful about my designs. You have to look at your flat design page and imagine what it will look like when you bring those two outside edges together.
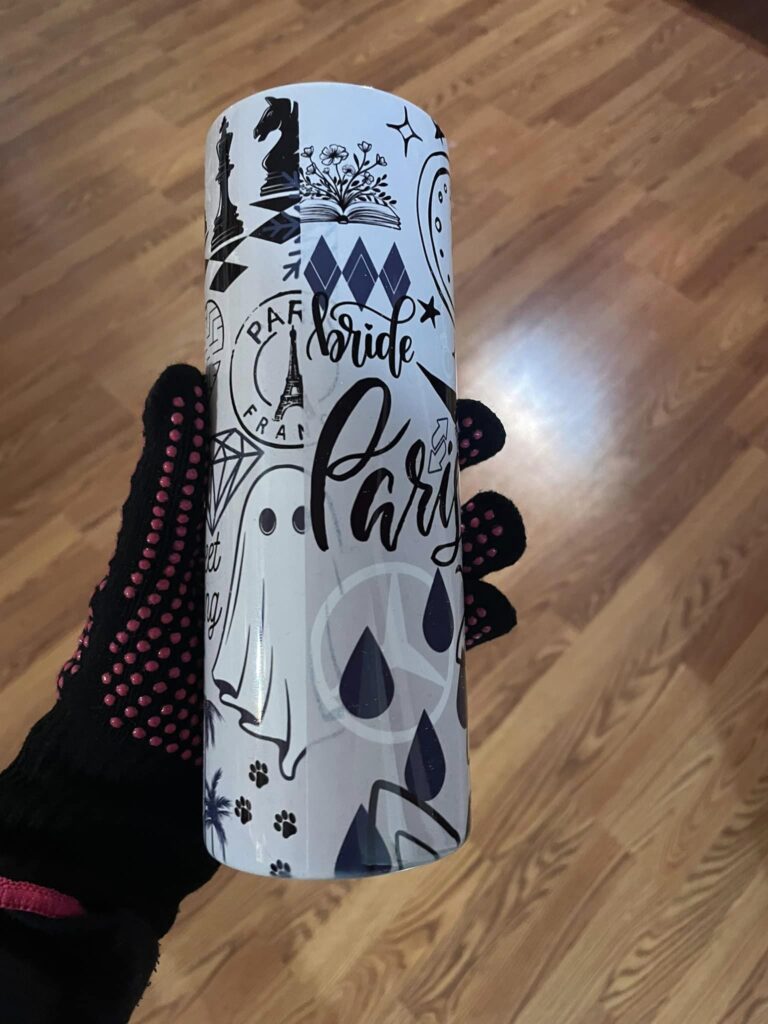
Step 2: Printing
After you make your design, you then have to print it. You must print on a sublimation printer using sublimation ink onto sublimation paper to successfully do a sublimation transfer.
Here’s a downside to using Canva, it doesn’t print true to size. I couldn’t figure out how to get the sizing right so I did what we all do: watched some YouTube tutorials. I know, you thought I was going to say read a book because librarian. But honestly, for quick crafting questions, online guides and tutorials can be your friend.
It turns out, you can print from Silhouette Studio. And you can print true to size, which is very important. There are other print studios that people use and recommend online. Again, poke around a bit and find what works best for you. Having figured out the right tools to print to size and learning how to design better, I’m making better tumblers now.
Like doing a vinyl cutting, you need to mirror your images before sending them to the printer. I have also found that big and bold works better. When images get too small, or fonts too small, or lines too small, they don’t work as well. Bigger really is better.
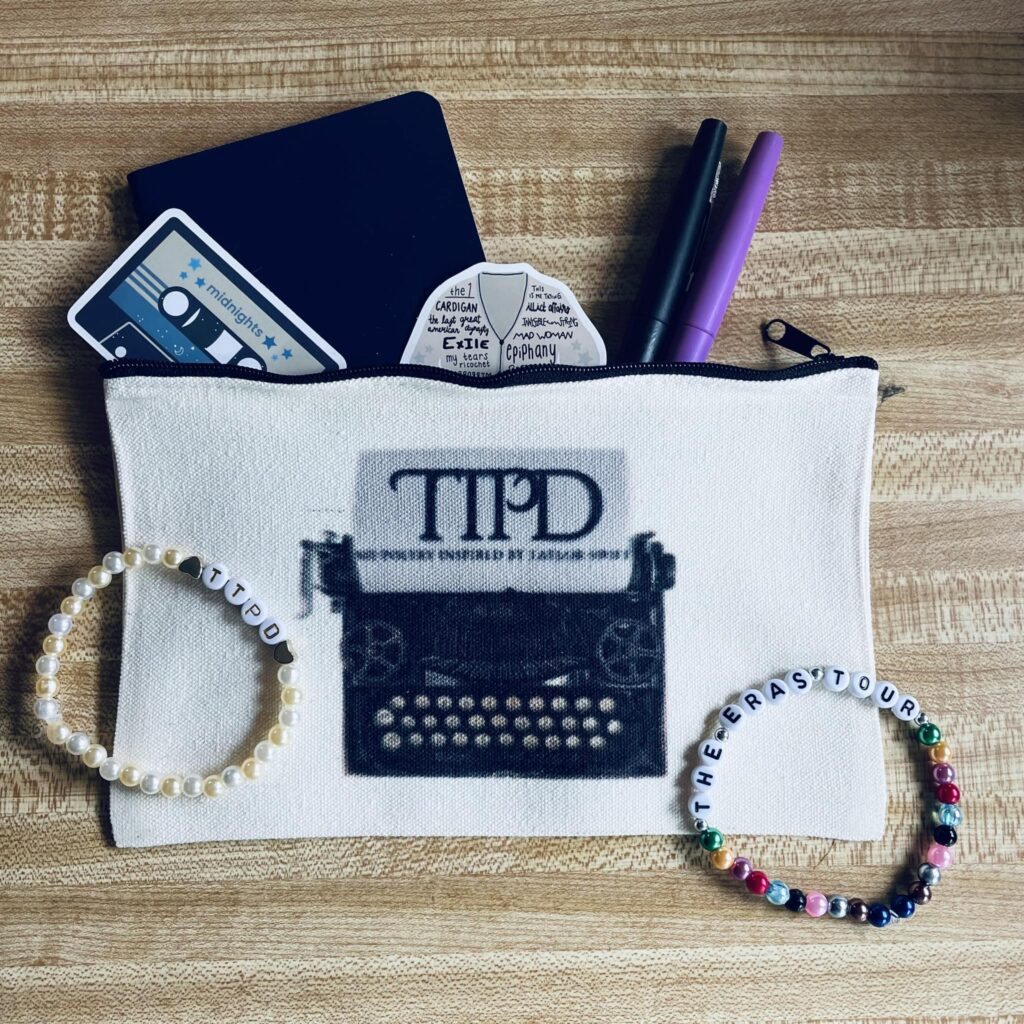
I designed this poetry pack pouch in Canva, printed it using the Silhouette Studio, and then did the heat transfer. Note how you can’t really read the small line which says: My Poetry Inspired by Taylor Swift. That was a bad design moment for me. I learned. The nice thing about learning on pouches compared to tumblers is that they are significantly less in cost. Ruining a $7.00 tumbler hurts far more than ruining a $1 pouch. But the tumblers have some unique challenges and you will ruin a few.
Step 3: Heat Transfer
Once you have an image designed and printed, you then have to use heat to transfer onto your item of choice. When you are searching to buy your items, they are often called sublimation blanks. They can include cups, mugs, water bottles, pouches, totes, towels, t-shirts and so much more. Honestly, there are so many items you can sublimate onto.
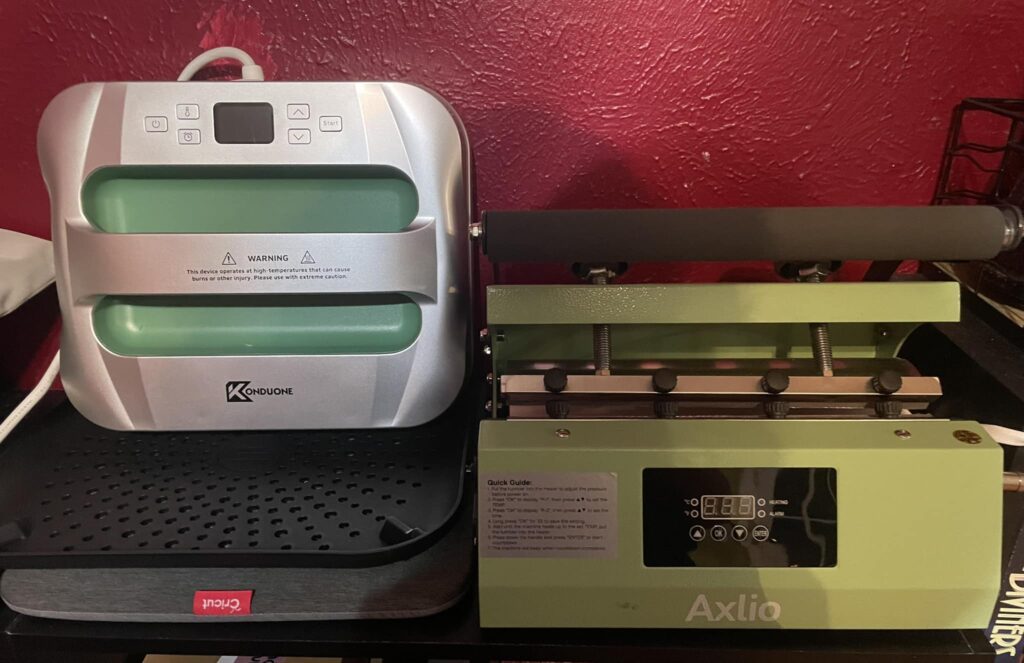
There are 3 main types of heat sources: a tumbler/mug press, a heat press (like a t-shirt press), or a sublimation oven. I have only used a tumbler press and a heat press. I bought the tumbler press first because I wanted to make those, and I like it a lot. It’s easy to use and it gets the pressure just right. I recently learned if you do tumblers in a sublimation oven you have to shrink wrap them to apply pressure for the heat transfer.
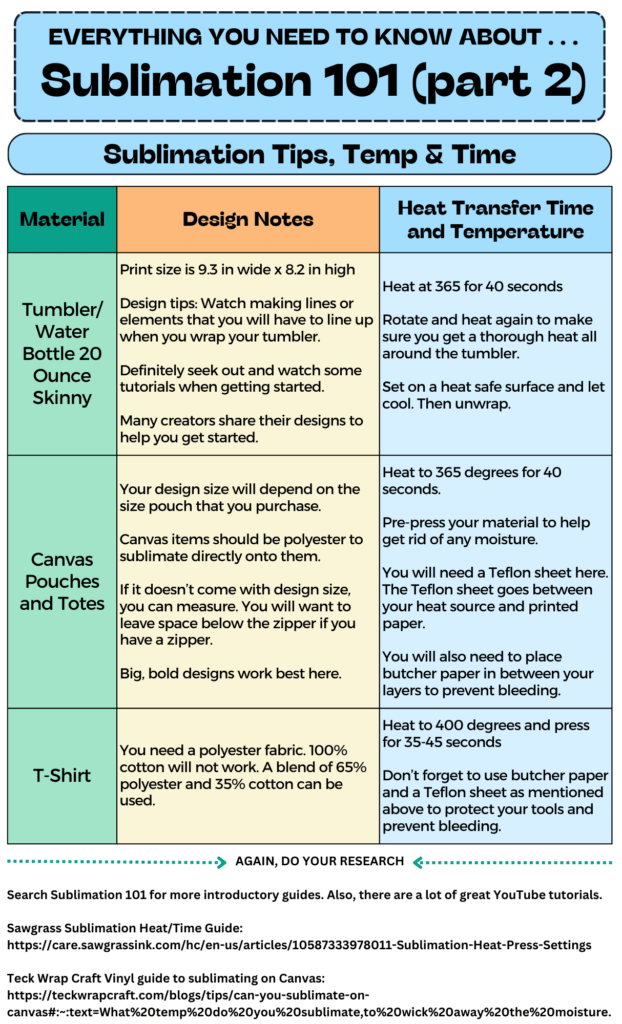
Figuring out the time and temperature for each item type can be tricky. Thankfully, some items come with that information. And lots of people share their tips online. I had to make myself a chart, which I share below. I’m a very visual learner, it helps me.
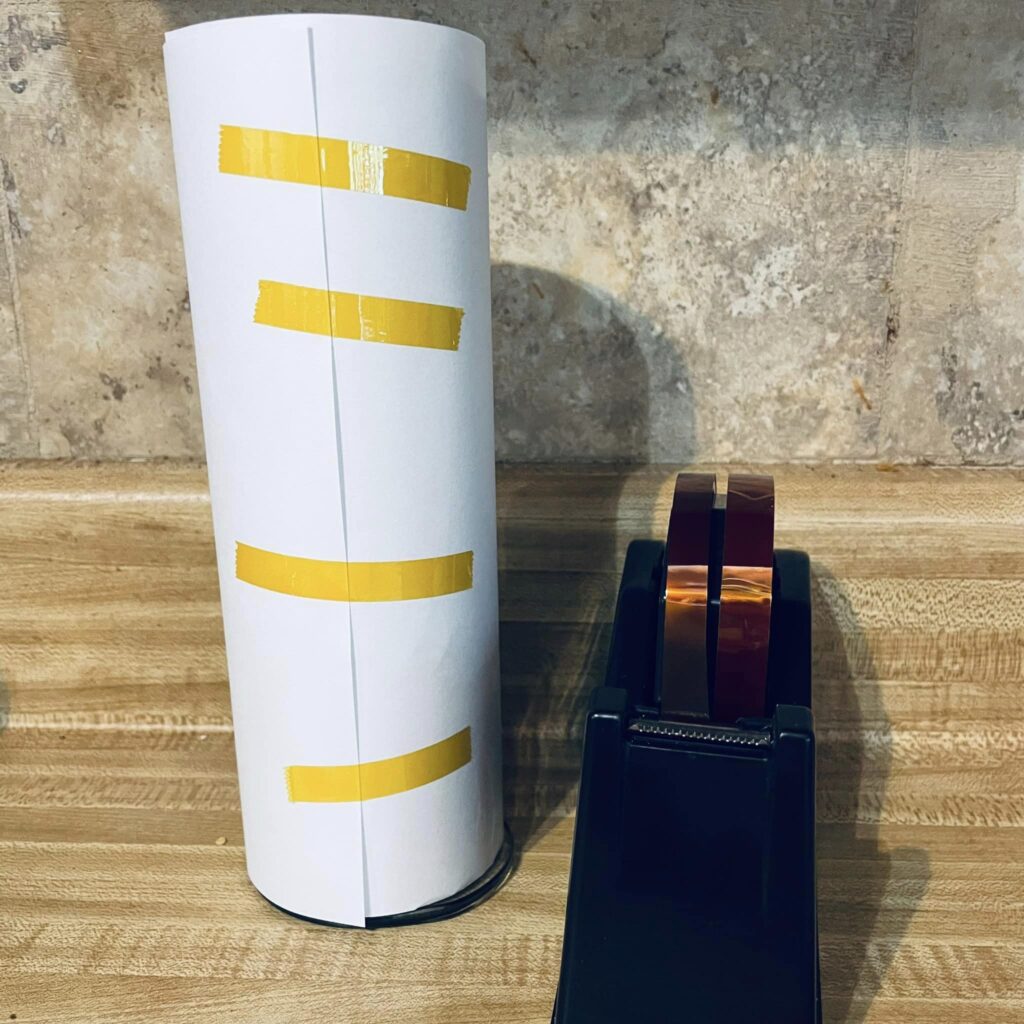
When you do a tumbler, you wrap your design around and keep it secure in place using special heat safe tape. I even use the heat tape when pressing a design onto a t-shirt. I’ve had a few designs slip and I like using it. After you press, set your item aside and let it cool. Double check all directions before pressing and on how to handle your product after pressing, including washing instructions.
A few things I have learned are:
It is very important that if you are doing a sublimation transfer onto a bag or t-shirt, you need to put butcher paper between the layers so it only prints on one side. I use the Teflon sheets, but people online recommend butcher paper. Oops. I have an amazing shirt I made that I won’t wear in public because the back is . . . messy. Also, buy the pressing mat. I’m not gonna lie, I ruined a table because I made a shirt without one.
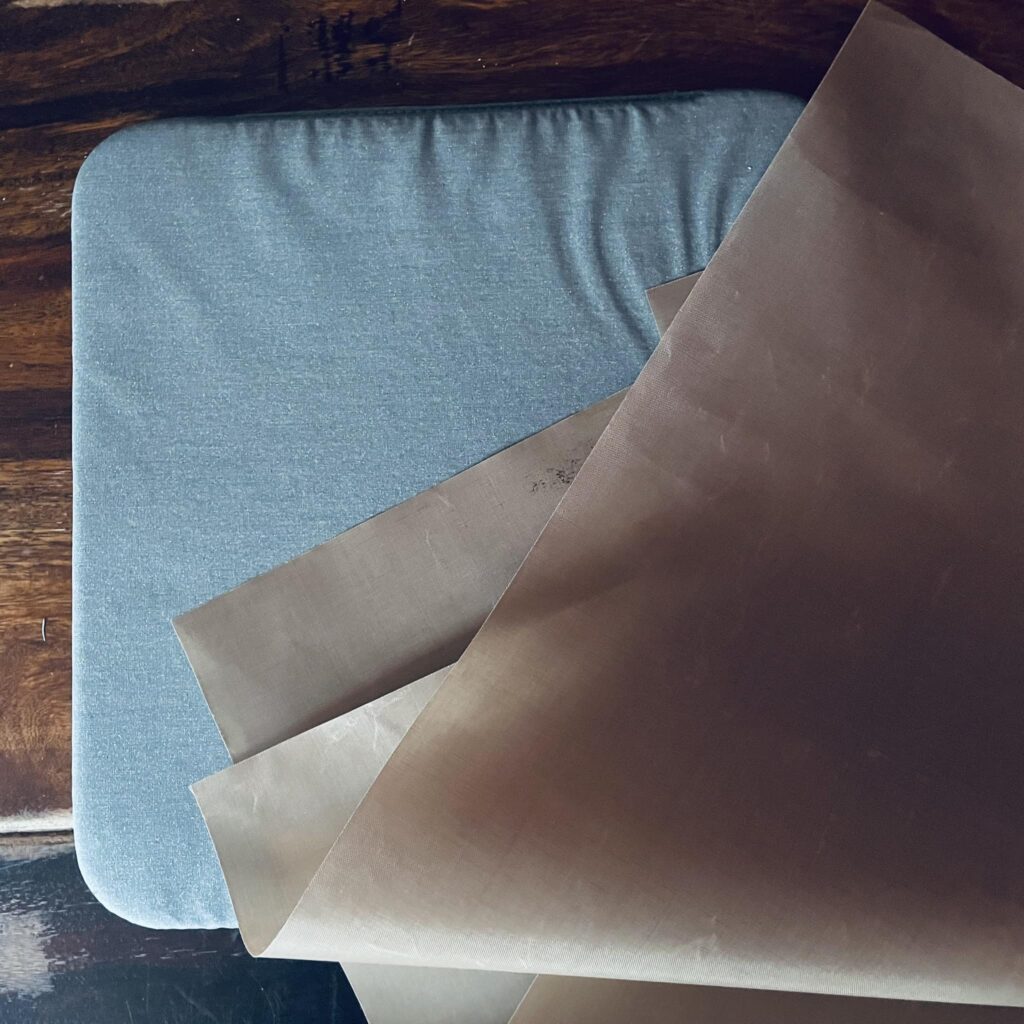
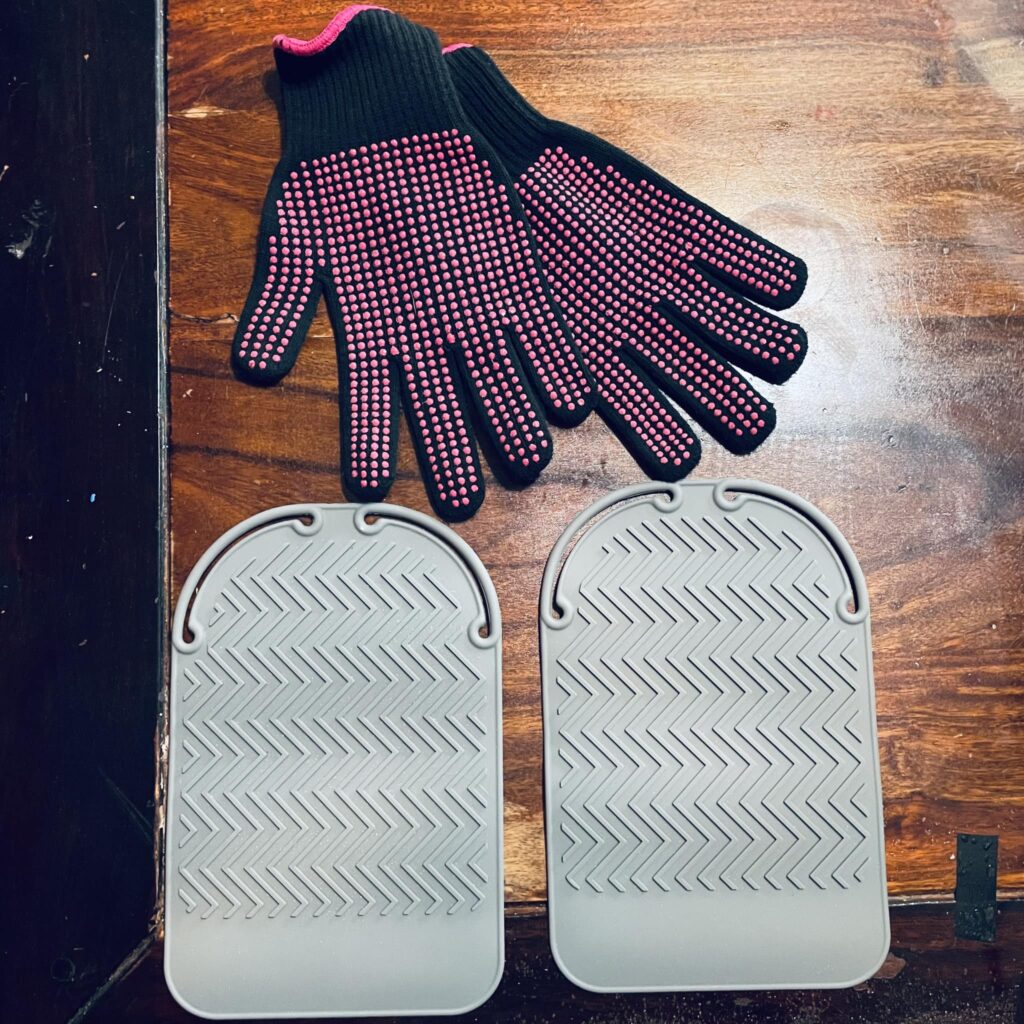
You need all kinds of protective gear: to protect your surfaces from heat, to protect your items from bleeding, and to protect yourself! Buy the weird heat gloves and wear them. For real. Silicone mats are great for putting your hot tumblers on.
Your clothing items must be mostly polyester. 100% cotton does not work. 65% polyester or more is recommended.
You need light surfaces. You can’t print directly onto a black t-shirt as I mentioned.
If you are doing tumblers or water bottles, look for flat surfaces, especially at first. I bought some water bottles with some lips and they were not my friend. I like tall, flat surfaces that I can just wrap my print around, tape, and press.
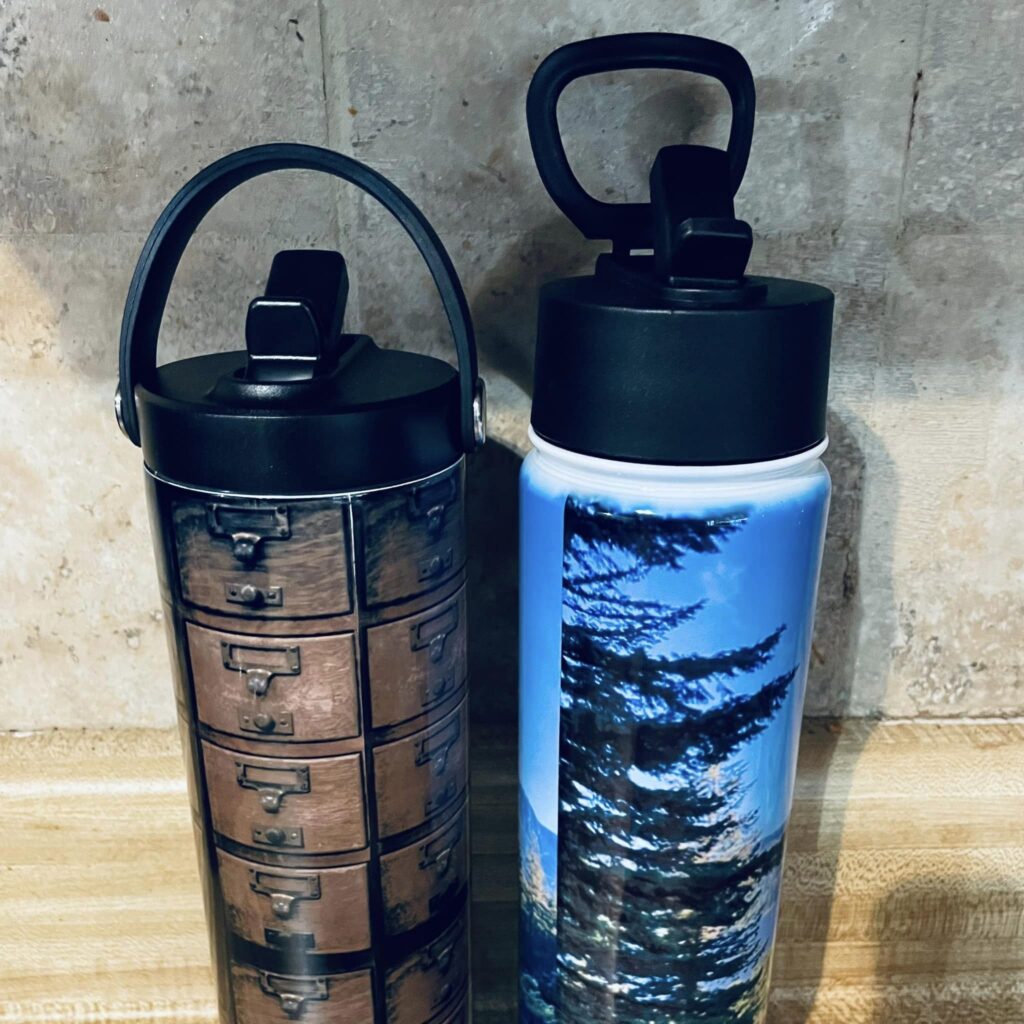
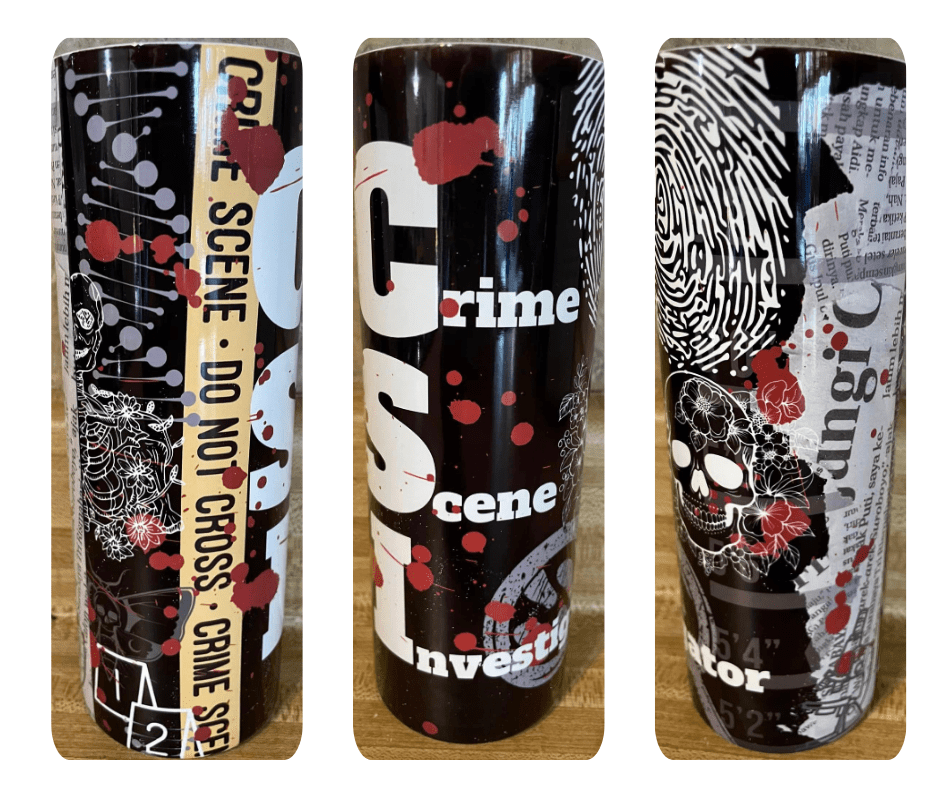
The design process is actually the longest part of the process. The time from print to heat press and done is like 5 minutes.
Does This Work in a Library MakerSpace?
The short answer is: Yes.
The longer answer is: Yes, but . . .
The start up cost is not insignificant, especially when you consider all the protective things you need to buy. By the time I bought the printer, the 2 heat presses, heat protective gloves, paper cutter, a heat press matt, Teflon sheets, and such, I was out around $500.
ADVERTISEMENT
ADVERTISEMENT
Then you have to figure in the costs of the consumables. I buy a set of tumblers that average out to around $7.00 a tumbler. I’ve made a thousand Taylor Swift ones for me and the girls, and some other themed ones for friends. But it’s not the cheapest hobby. I have bought t-shirts for as low as $4 at the mart of the wall, and they worked great. Other consumables include replacing your ink, paper, and heat safe tape.
The design and print stage are not a problem. The heat transfer stage may be more of an issue for some libraries. Tumblers and water bottles especially get really hot. So you’ll want to consider this. I would do this with teens, but I would have a dedicated adult camped out at the heat transfer station and they would be the only ones allowed to do that process. There are some legitimate safety issues in the heat transfer process to consider.
I love sublimation printing and I am never going back. I love making my own stuff, the creativity of it and then the pride in my accomplishments. I love giving personalized gifts. There are lots of benefits, you learn a lot of things, from design basics to problem solving. So while I would recommend it for library makerspaces, I do so with the acknowledgement that it is not the lowest of costs and there are some safety things to consider.
My big caveat here is I have just been learning to do this. I highly recommend you do some additional research on how to be successful at sublimation. I wanted to talk about it from a library prospective.
Filed under: Crafts, DIY, Makerspace
About Karen Jensen, MLS
Karen Jensen has been a Teen Services Librarian for almost 30 years. She created TLT in 2011 and is the co-editor of The Whole Library Handbook: Teen Services with Heather Booth (ALA Editions, 2014).
ADVERTISEMENT
ADVERTISEMENT
SLJ Blog Network
Books on Film: NBC News Goes Down the Rabbit hOle
This Interview is a Little Bit Super: A Gary Schmidt/Leah Henderson Q&A
Children of the Phoenix: The Tomb Planet | News
ADVERTISEMENT

