Cindy Crushes Programming: Paper Marbling Craft

Today we have Samantha Burkiewicz of the White Oak Library District Lockport Branch to talk about her most recent craft which our patrons loved.
Paper Marbling Craft:
How did I pick it?:
I came across a similar program while looking through old program guides that a former coworker had collected from various libraries in the area. There are many different ways to marble paper and I found the shaving cream method to be the easiest. I was able to look up some different YouTube videos and even found this article as well: https://artfulparent.com/how-to-marble-paper/
Supplies (for 30 people):
- Foamy Shaving Cream (I used 11 oz. cans of Gillete. I ordered 12 cans)
- Food Coloring (can be any type)
- Card Stock (I cut up card stock into fourths and had enough for each person to make at least 3 marble papers)
- Styrofoam plates
- Something to spread out the shaving cream ( I used painting spatula but you can use plastic knives or forks)
Cost:
Total cost for me was $48.38 or $1.62 per person (I bought for 30 people)
Instructions for librarians:
I set up tables and sat 4 people at each table and had each table share a can of shaving cream. I had some backups as well in case any tables ran out. I tested the craft beforehand and knew that an 11 oz. can of shaving cream could make about 10-12 pieces of marbled paper, so each person was able to make three of them.
ADVERTISEMENT
ADVERTISEMENT
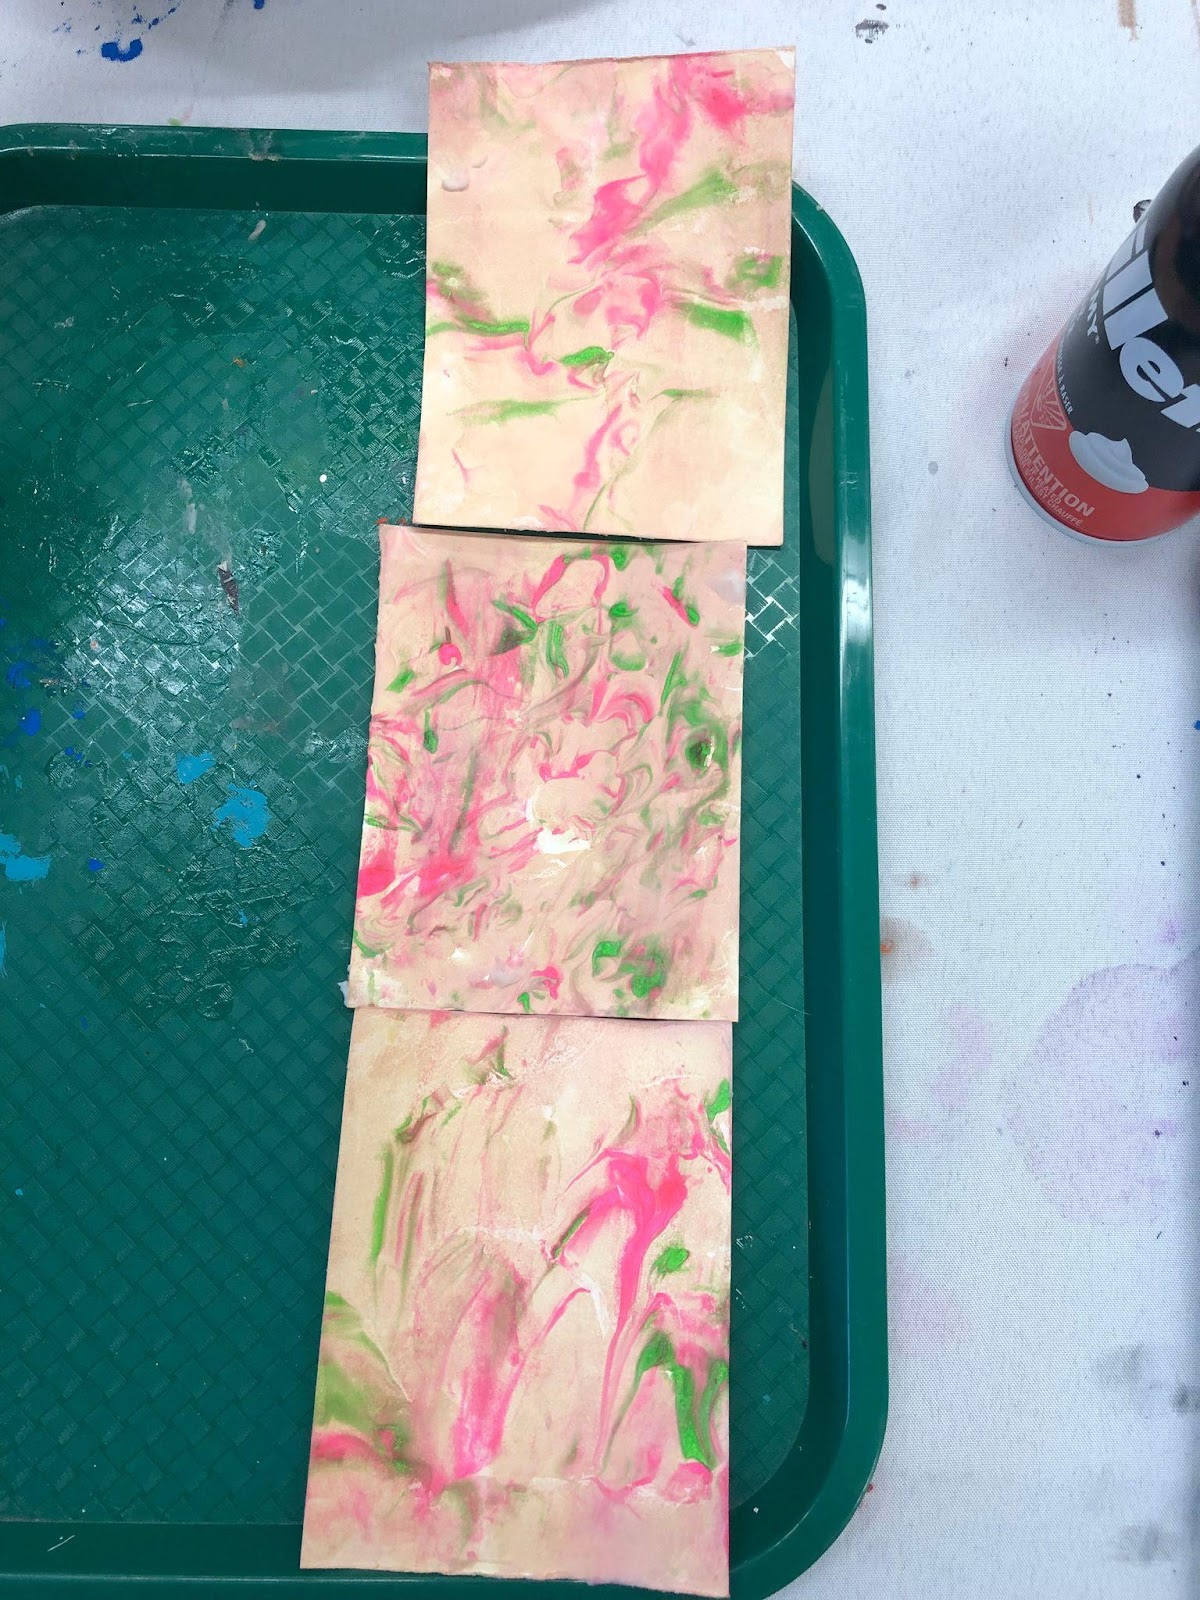
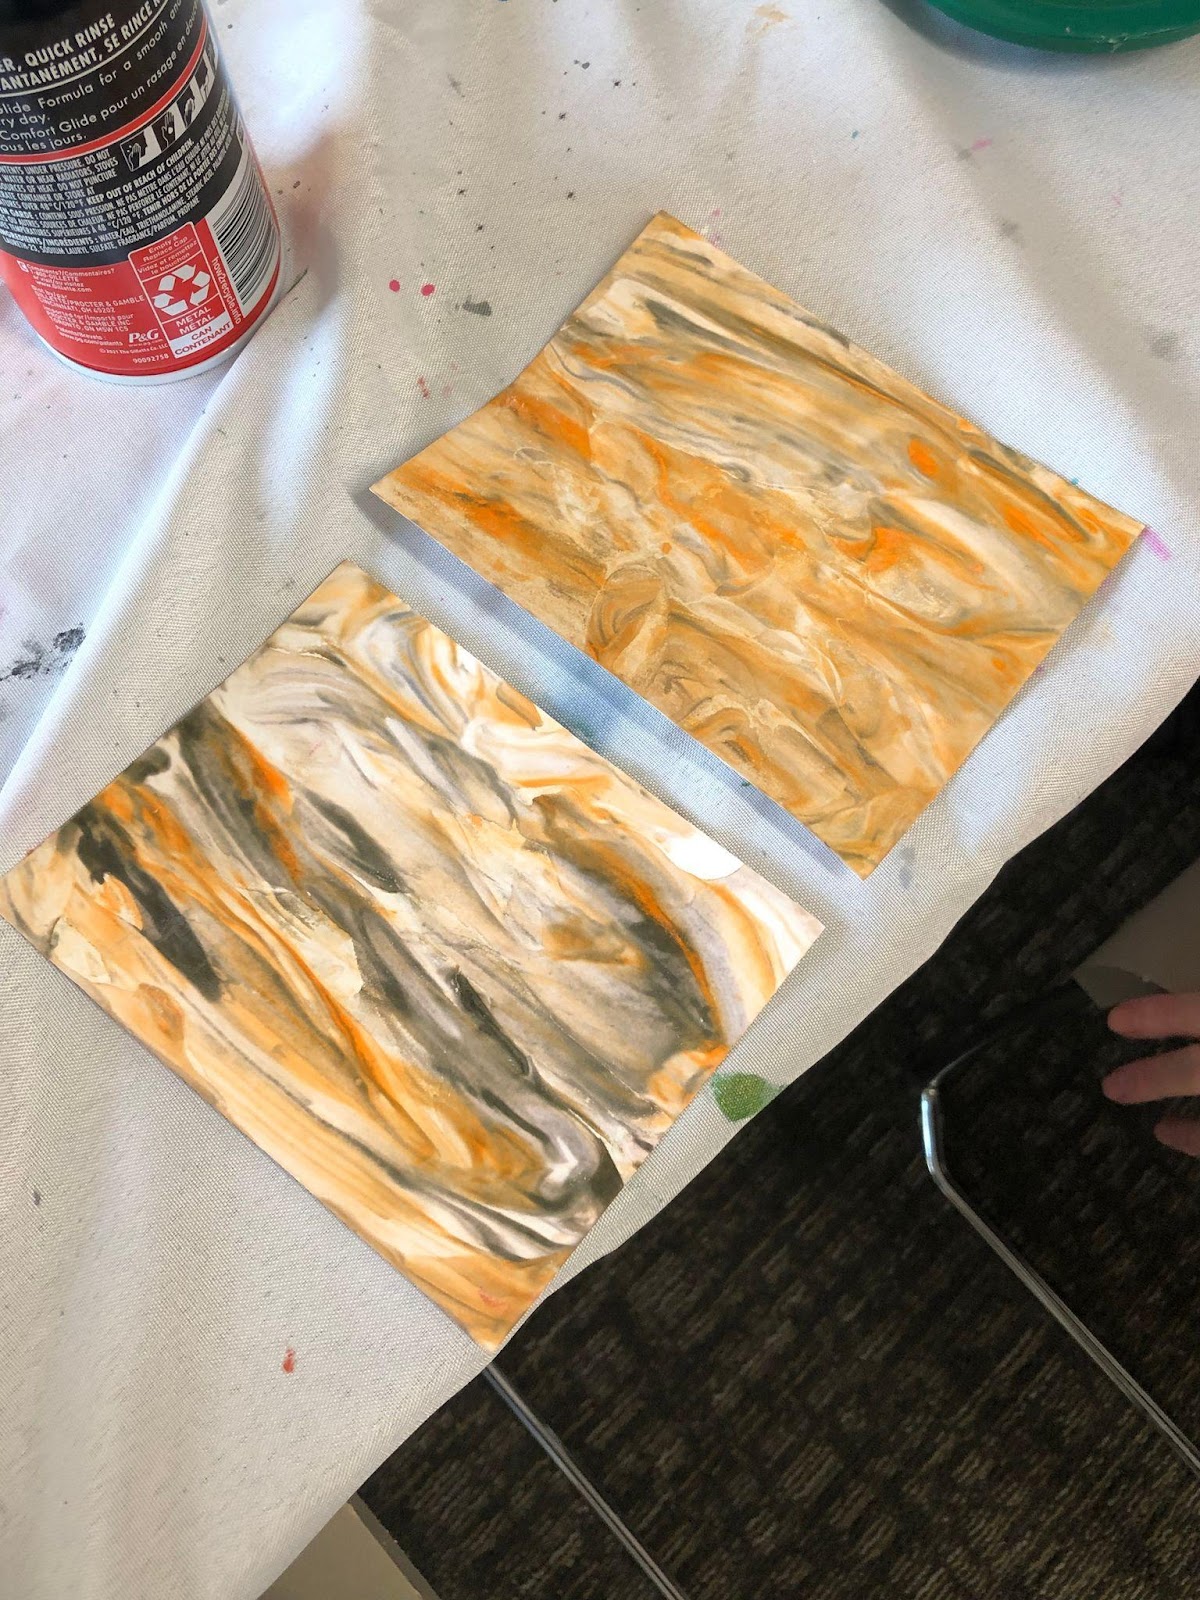
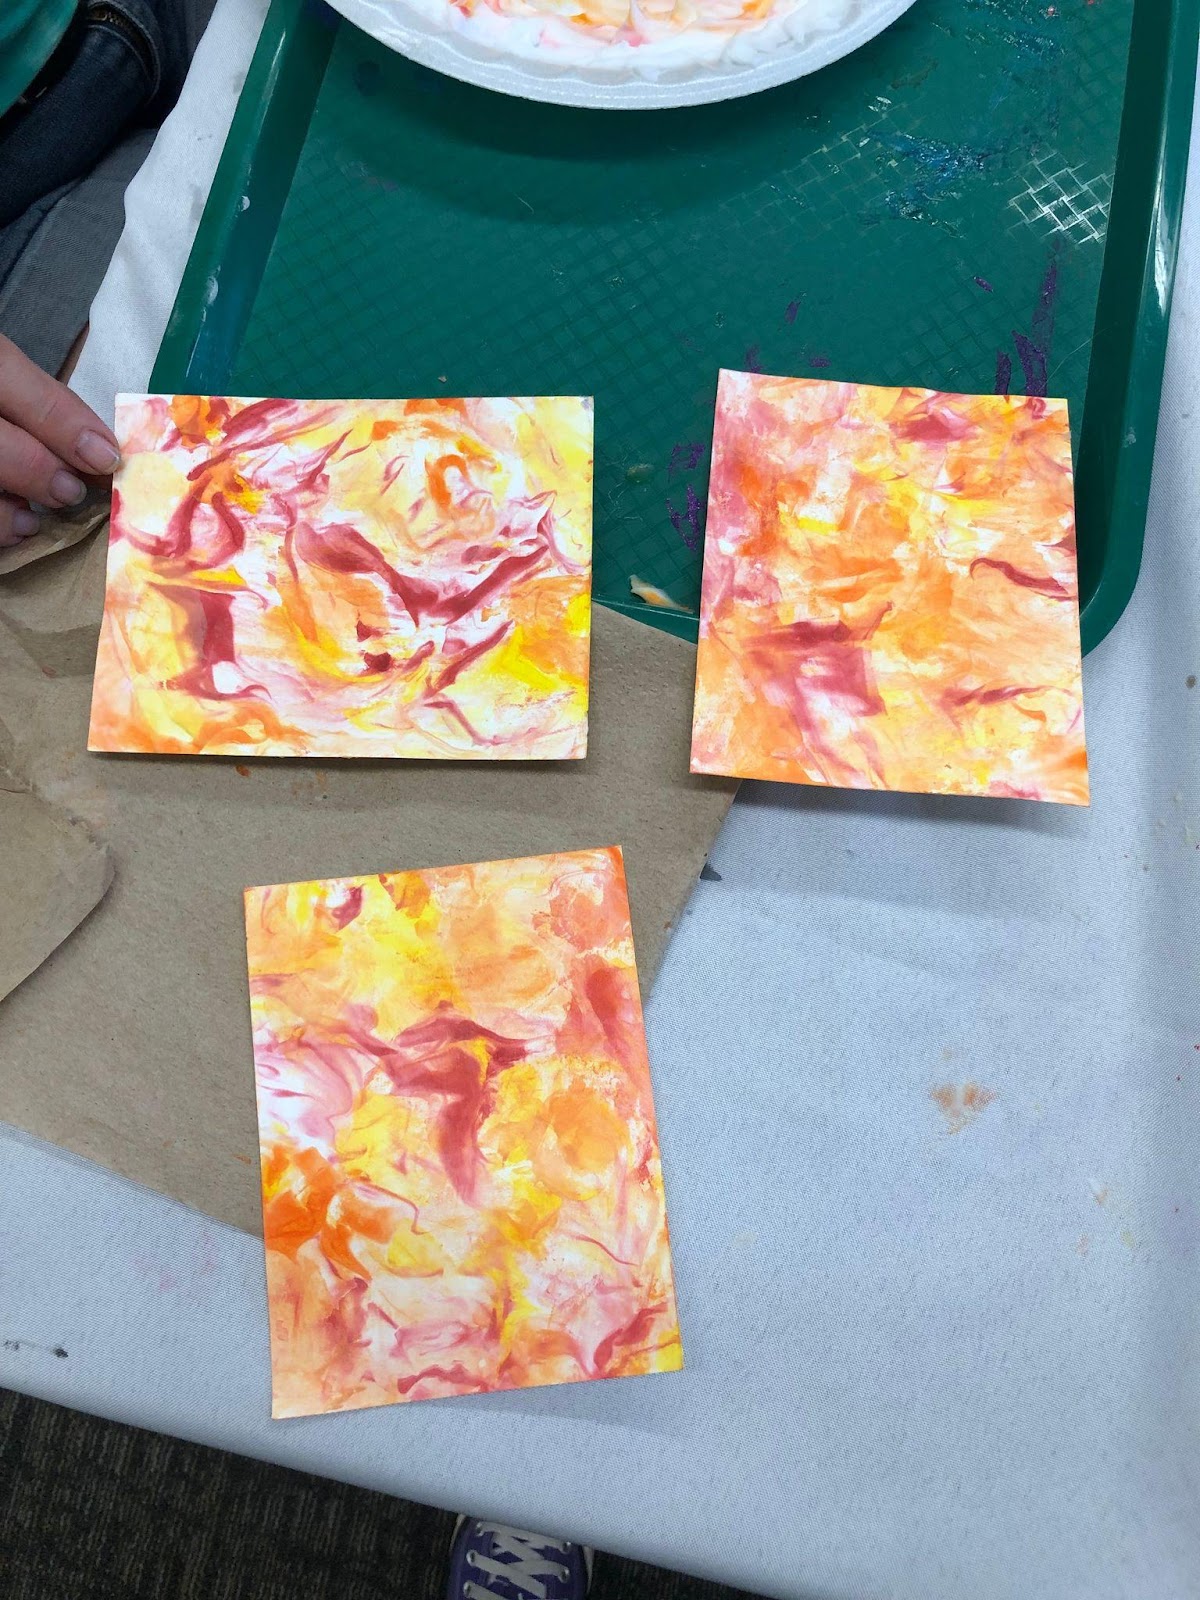
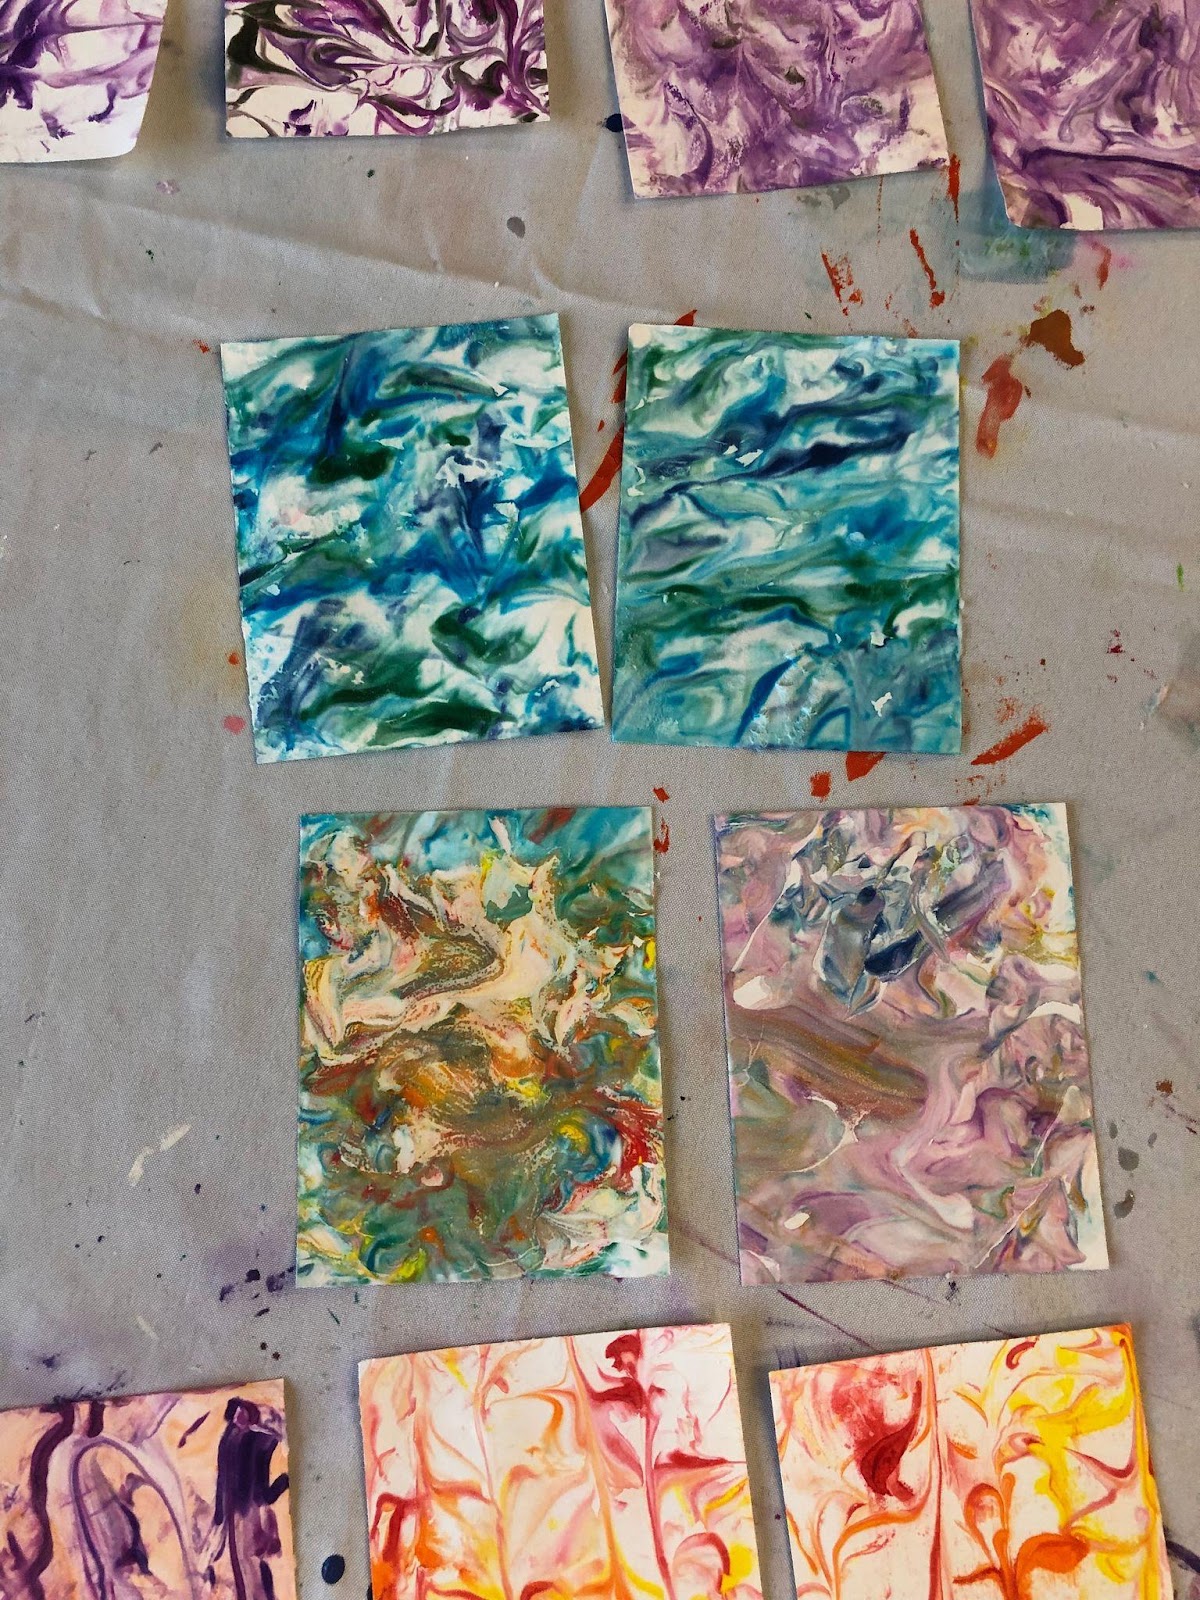
I also made sure to be the one to drop the food coloring onto their plates as well. Patrons would come up and pick two to three colors. Some patrons came up a few times, wanting different colors each time and others chose to use the same colors for all three pieces of card stock that they received.
Each patron received a plate for themselves and I also put two extra plates at each table for patrons to scrape their shaving cream off on to.
I had the meeting room for an hour and a half, but everyone was done within an hour.
I made sure to demonstrate the craft first. Then I allowed patrons to come up for their food coloring.
Instructions for patrons:
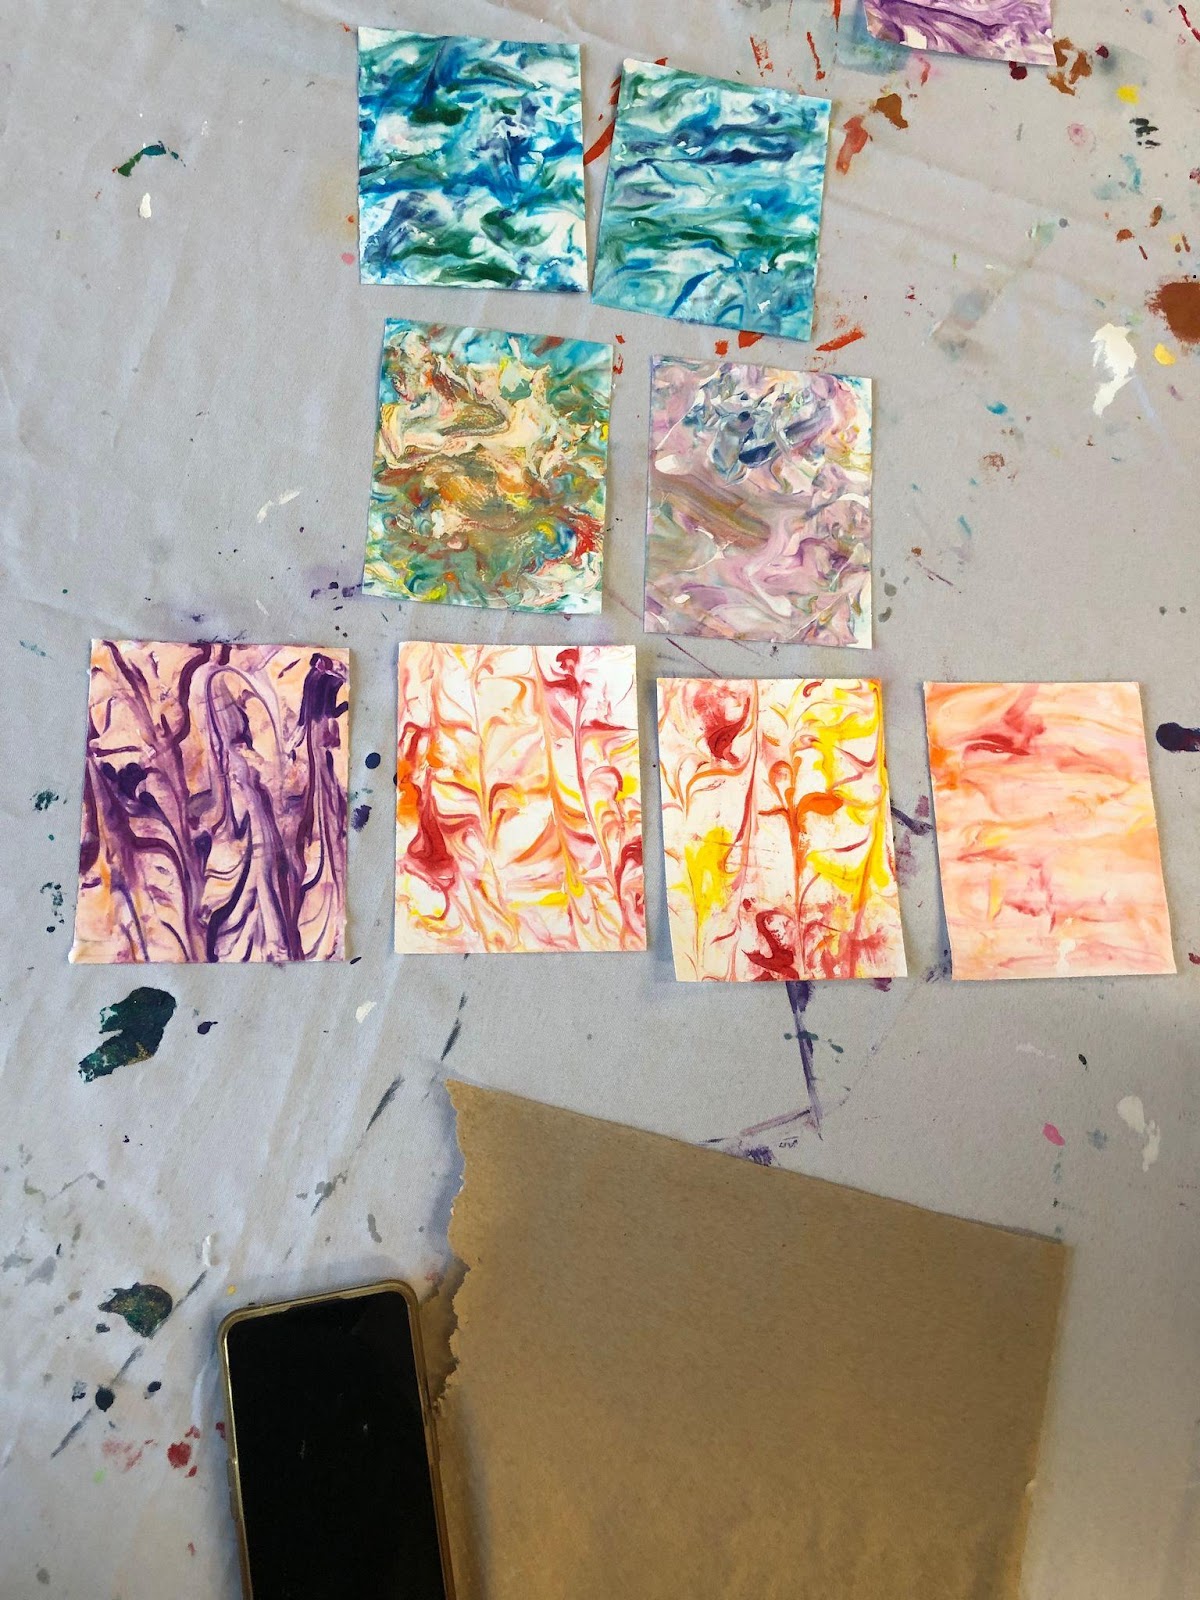
- Spray a light layer of shaving cream on your plate and use your knife/spatula to spread it evenly to cover the plate.
- Once your shaving cream is even, you are going to add your food coloring. I had patrons pick between 2-3 colors.
- Once you have your colors you are going to add 2-3 drops of each color randomly onto the shaving cream.
- Then use your knife/spatula to mix the colors together.
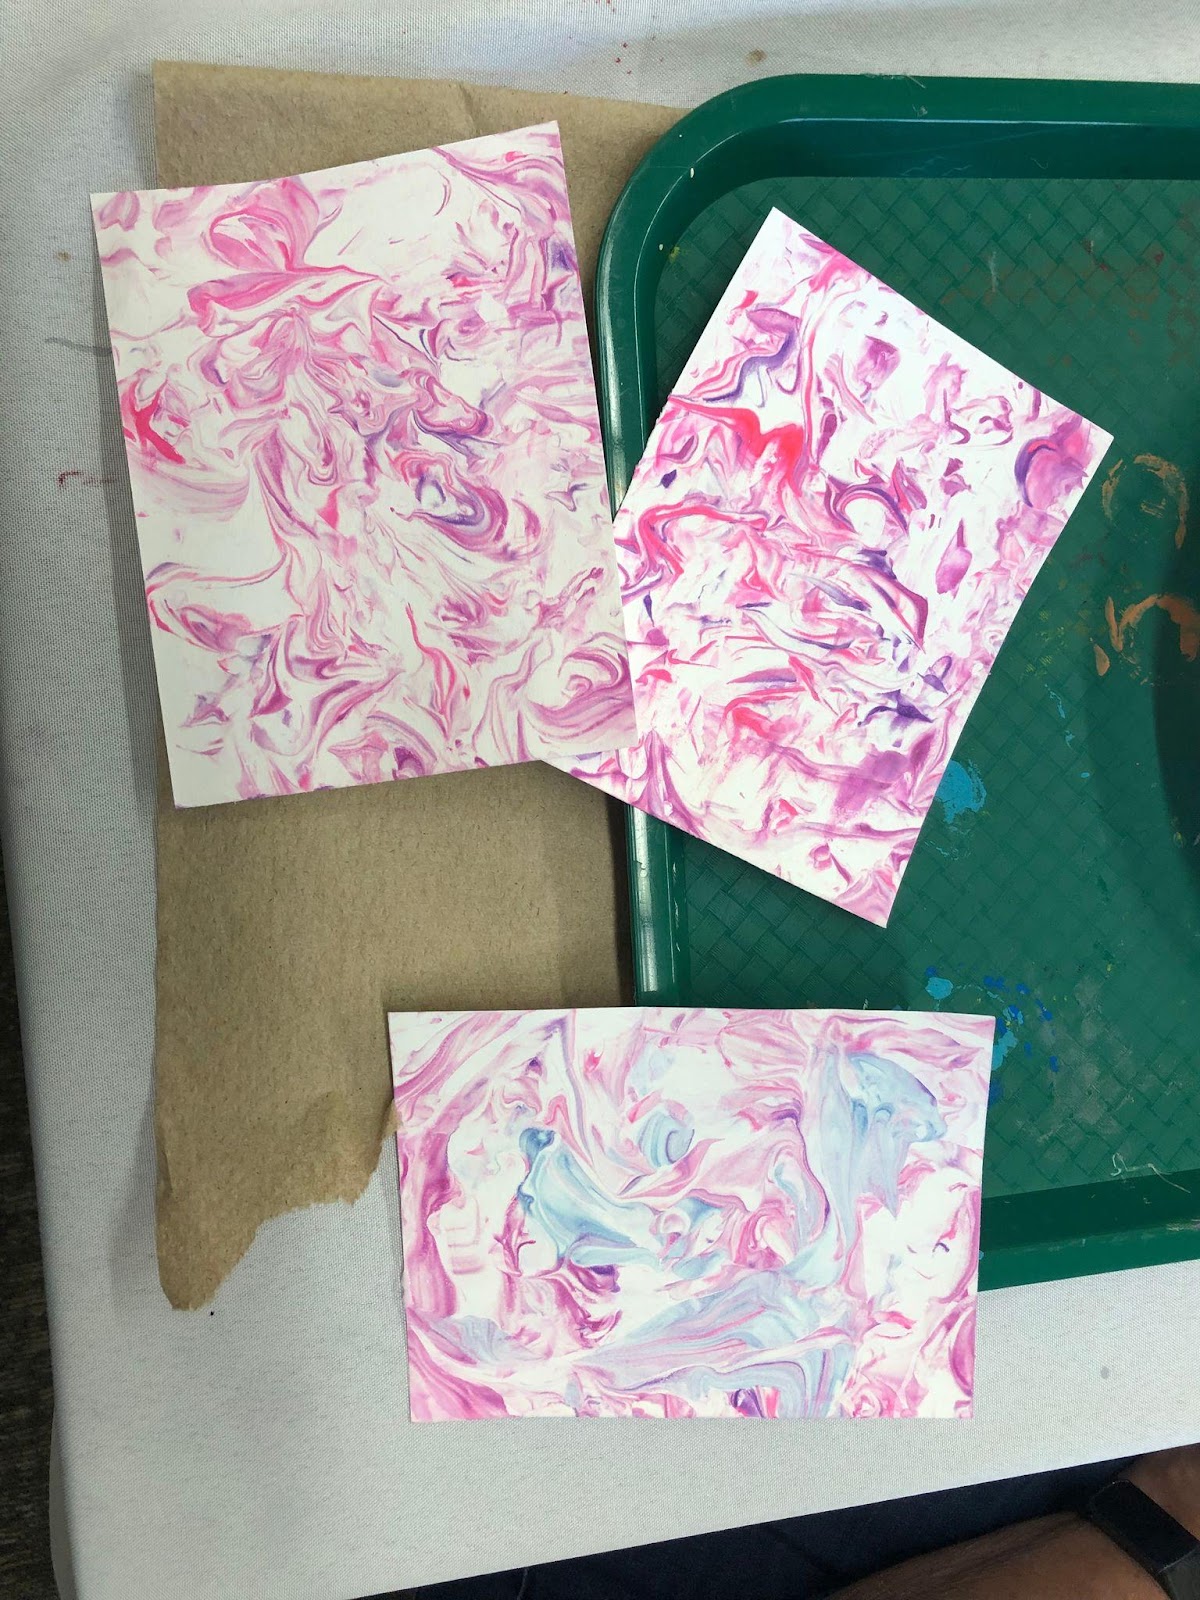
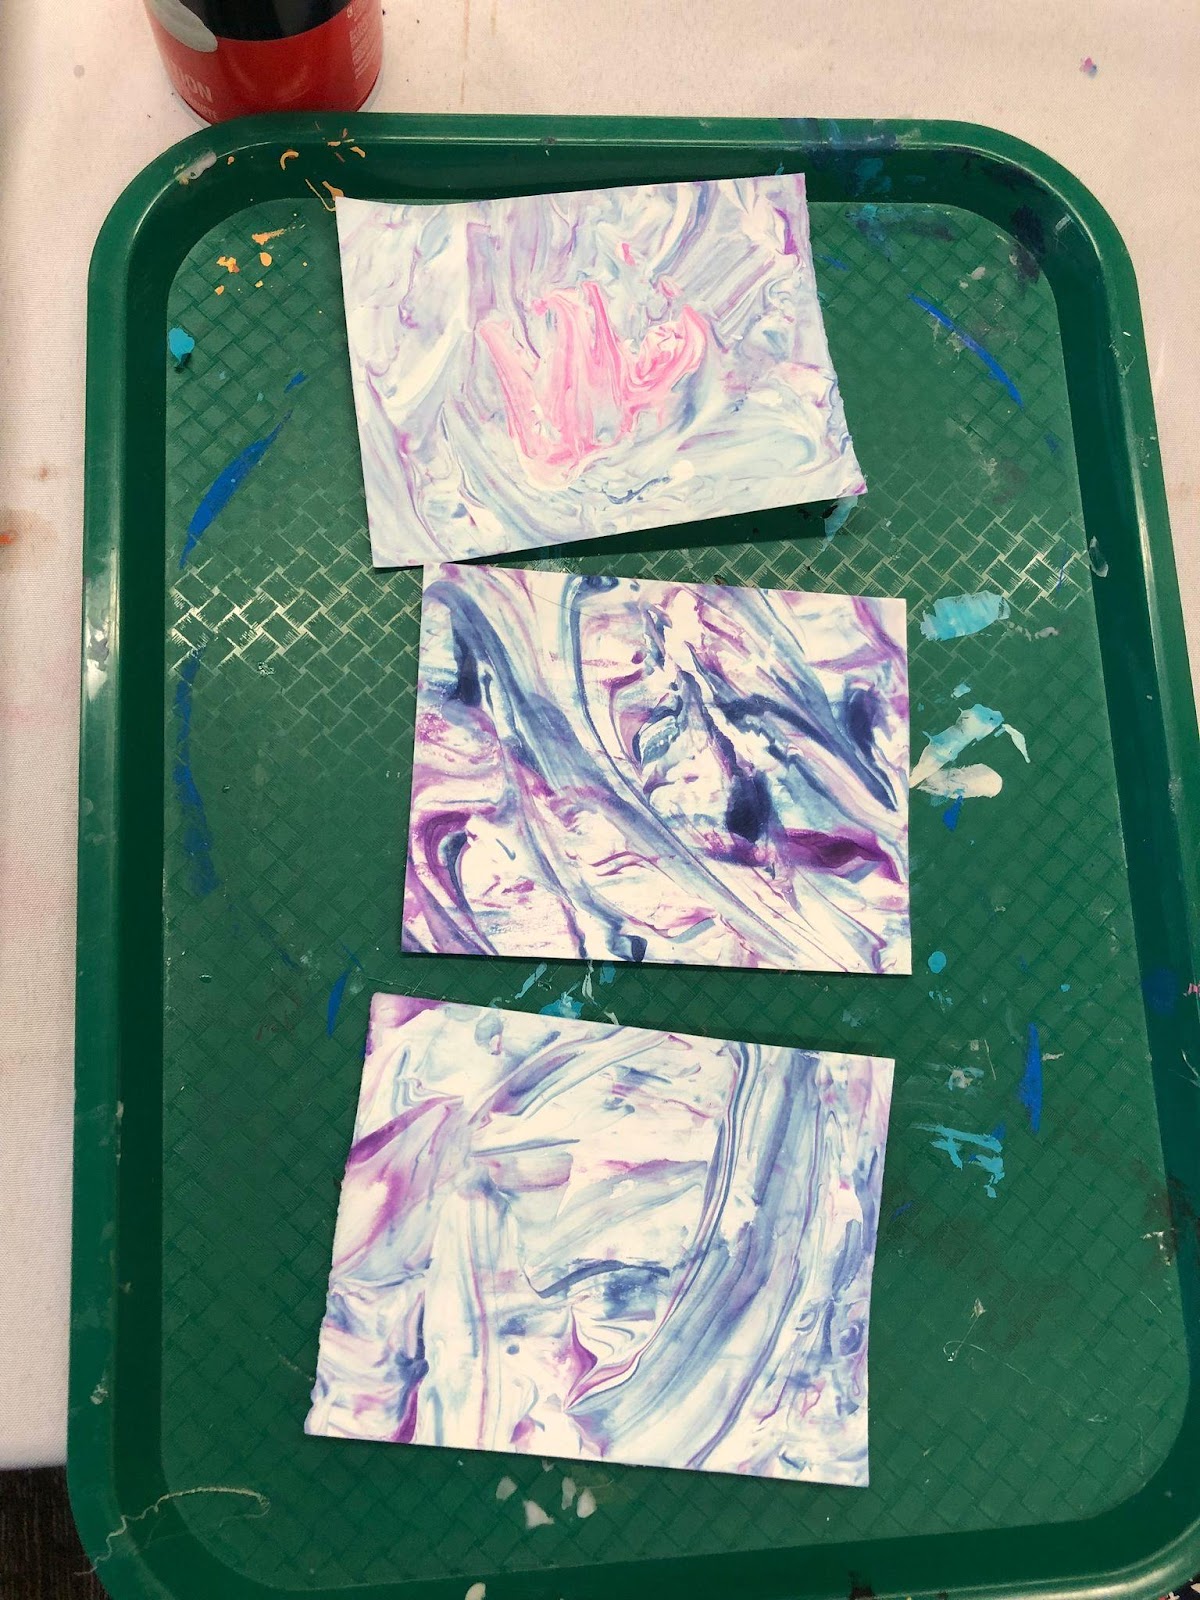
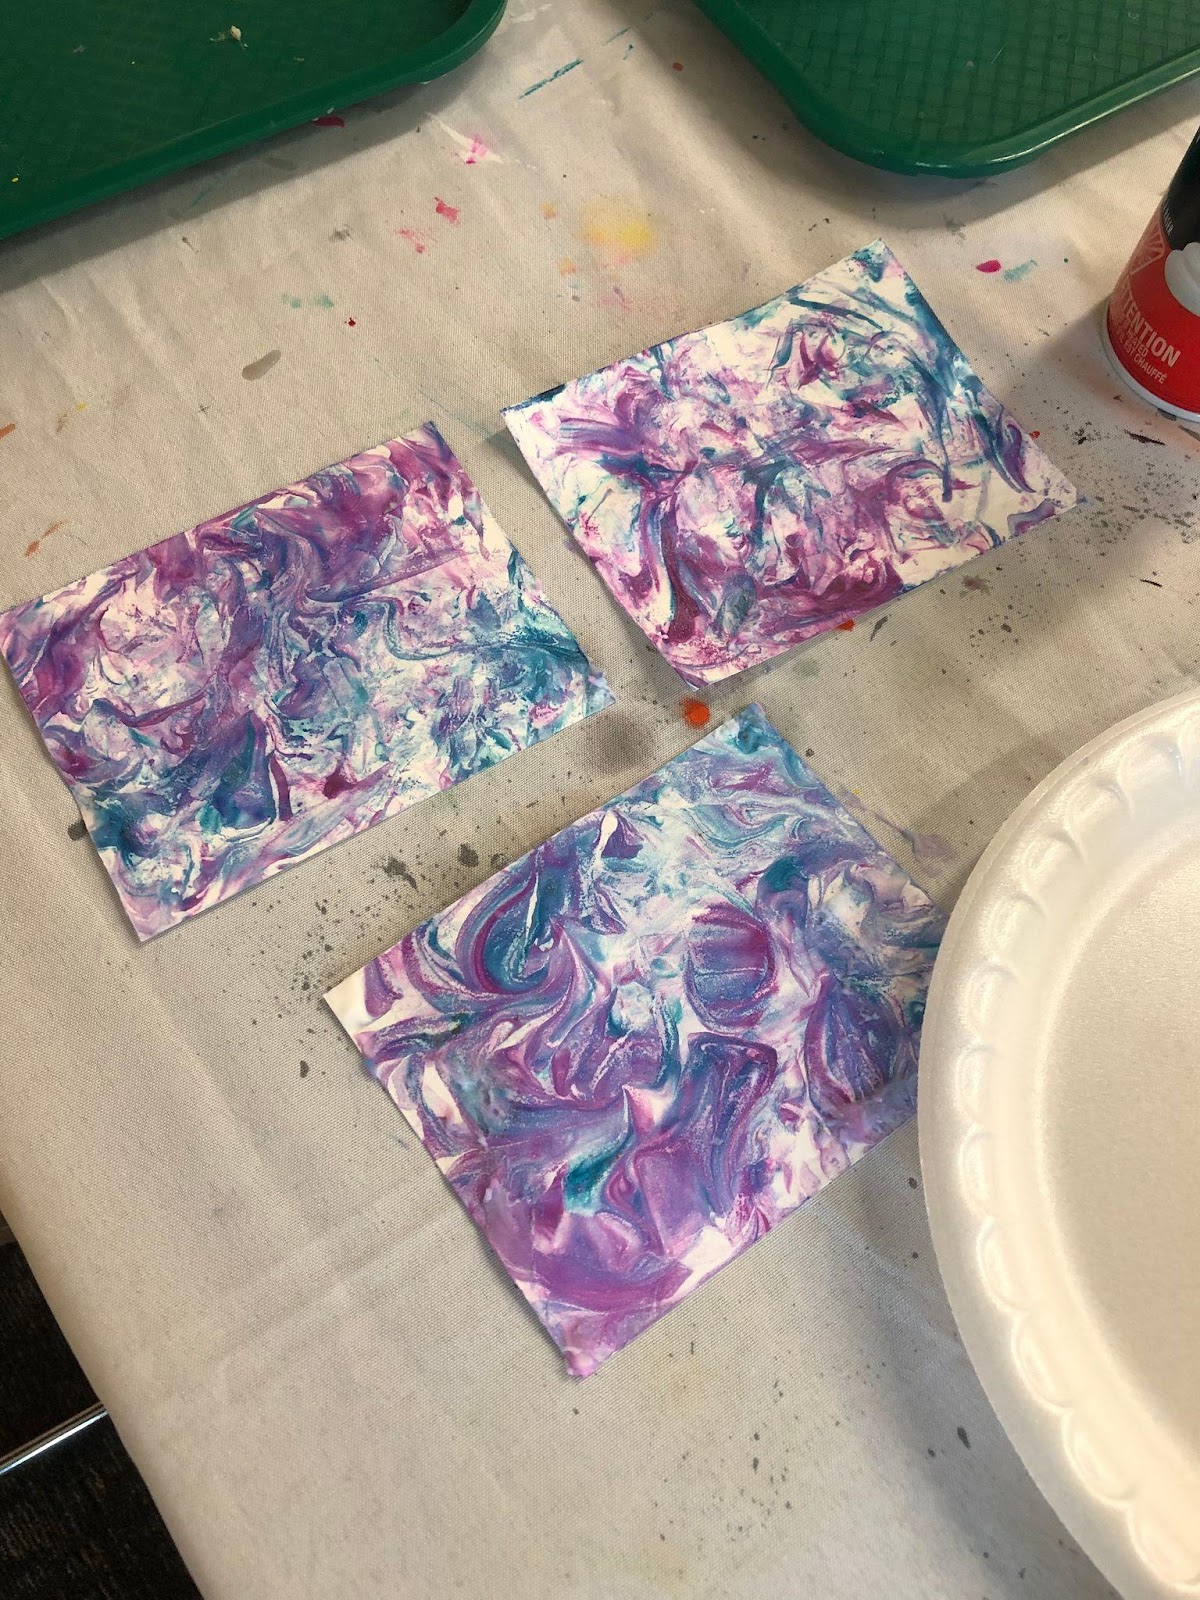
- Once the colors are mixed to your preference you are going to take your piece of card stock and lay it in the shaving cream. Do not press it all the way down, but make sure the bottom part is covered.
- Once the card stock is covered, remove it from the shaving cream.
- Then scrape off the excess shaving cream and set it aside to dry.
*If you would like to try new colors, you can spray a new layer of shaving cream on top of the original spray. Just be careful when mixing the colors, so it does not mix with your original colors.
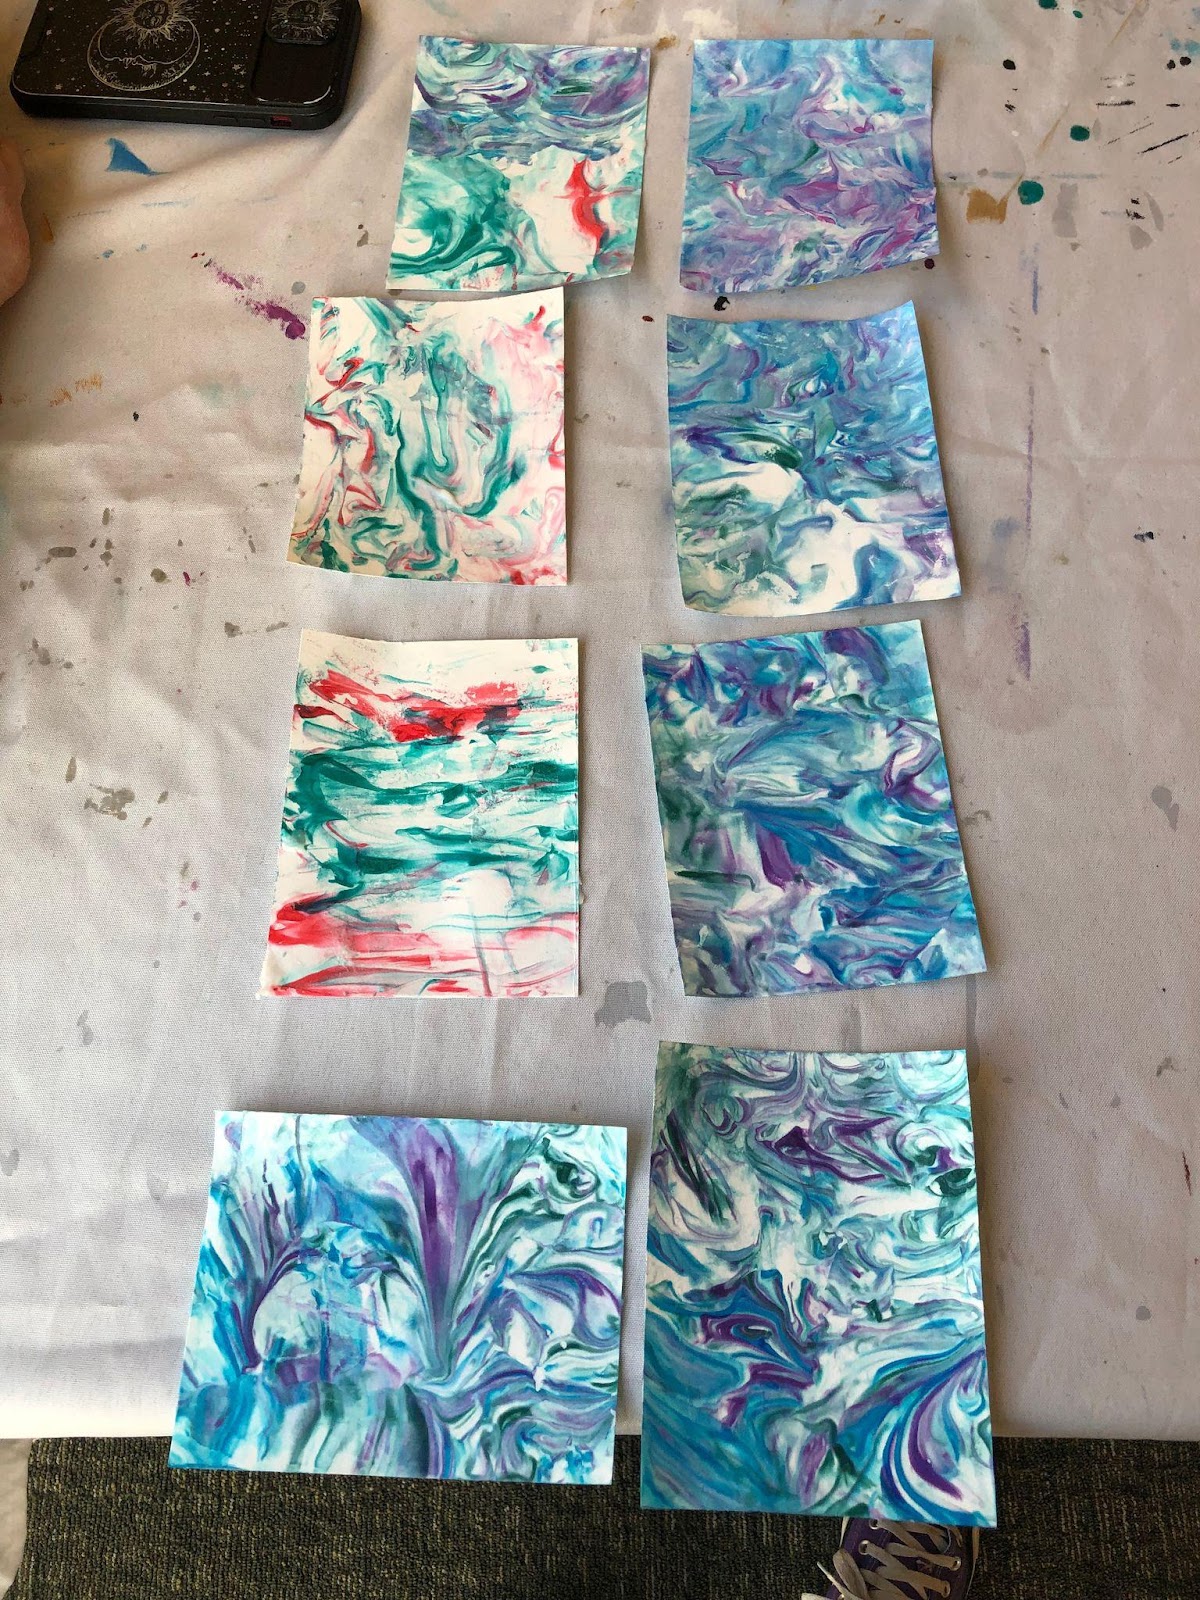

Final thoughts: This program was so fun to do and also very easy to implement. It could get a little messy, but was also very easy to clean up! I would do this program again in a heartbeat. My program was for Adults and Teens, but it could easily be made for a younger crowd!
Filed under: Cindy Crushes Programming, Crafts
About Karen Jensen, MLS
Karen Jensen has been a Teen Services Librarian for almost 30 years. She created TLT in 2011 and is the co-editor of The Whole Library Handbook: Teen Services with Heather Booth (ALA Editions, 2014).
ADVERTISEMENT
ADVERTISEMENT
SLJ Blog Network
The 2024 Ninja Report: Bleak
A Sequel Coming This Summer That You Won’t Want to Miss: Bob Shea Discusses His Latest
Review| Agents of S.U.I.T. 2
ADVERTISEMENT