DIY Perler Bead Earrings
When it comes to programming one great thing about working with teens is that you’re always getting new ones, so you can repeat programs. I recently noticed that the middle school kids around me were talking a lot about getting their second ear piercings and were really into jewelry, but specifically earrings. So I thought: surely we can do something with this. And it turns out one of the easiest and cheapest ways to DIY your own earrings is to use Perler (sometimes called melty beads) beads. And the teens loved it!
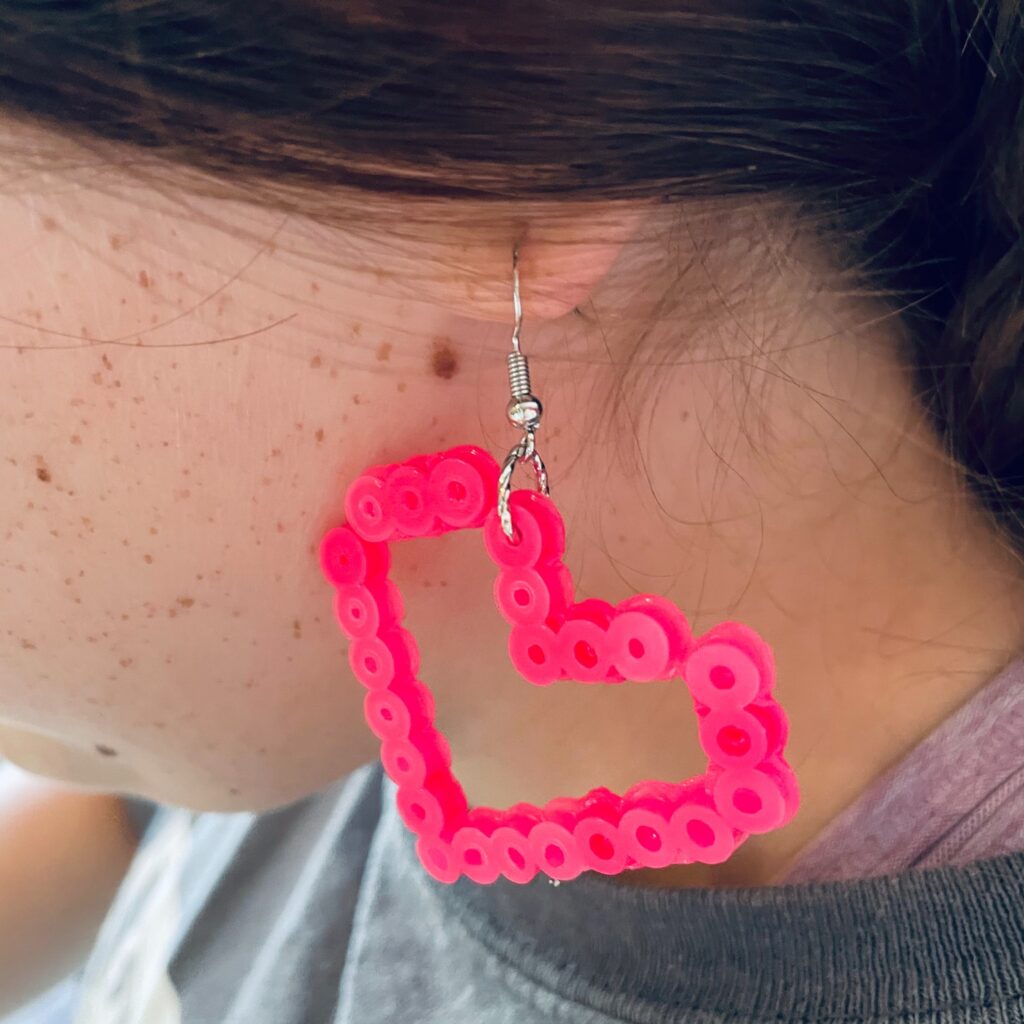
I’ve worked with Perler beads before in the Teen MakerSpace, but making earrings with them never occurred to me. But part of successful programming is being observant about what’s happening with the teens coming into your space and finding ways to meet their current interests, even if it means using old ways to do so. Sometimes, everything old is new again.
ADVERTISEMENT
ADVERTISEMENT
Supplies
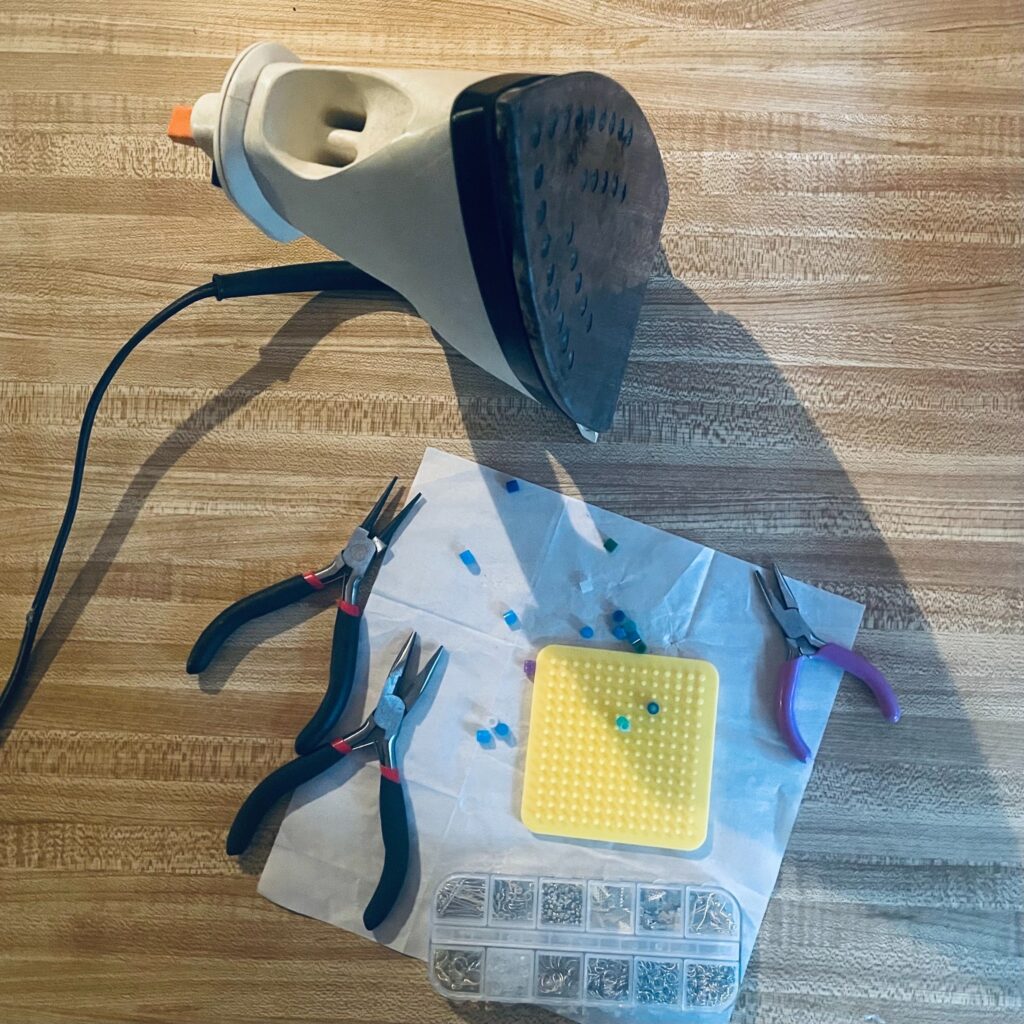
- A variety of Perler beads
- The Perler bead melty paper thingy (the technical term)
- A perler board
- Jewelry findings
- An iron
- 2 pairs of needle nose pliers
Jewelry Findings for Dangling Earrings
- Split o rings – jewelry findings that can be opened and connect 2 pieces together
- An earring hook
Jewelry Findings for Post Earrings
- Earring posts
- Earring backs
- Strong adhesive glue (E600 recommended
Making Your Earrings
Step 1: Creating Your Design
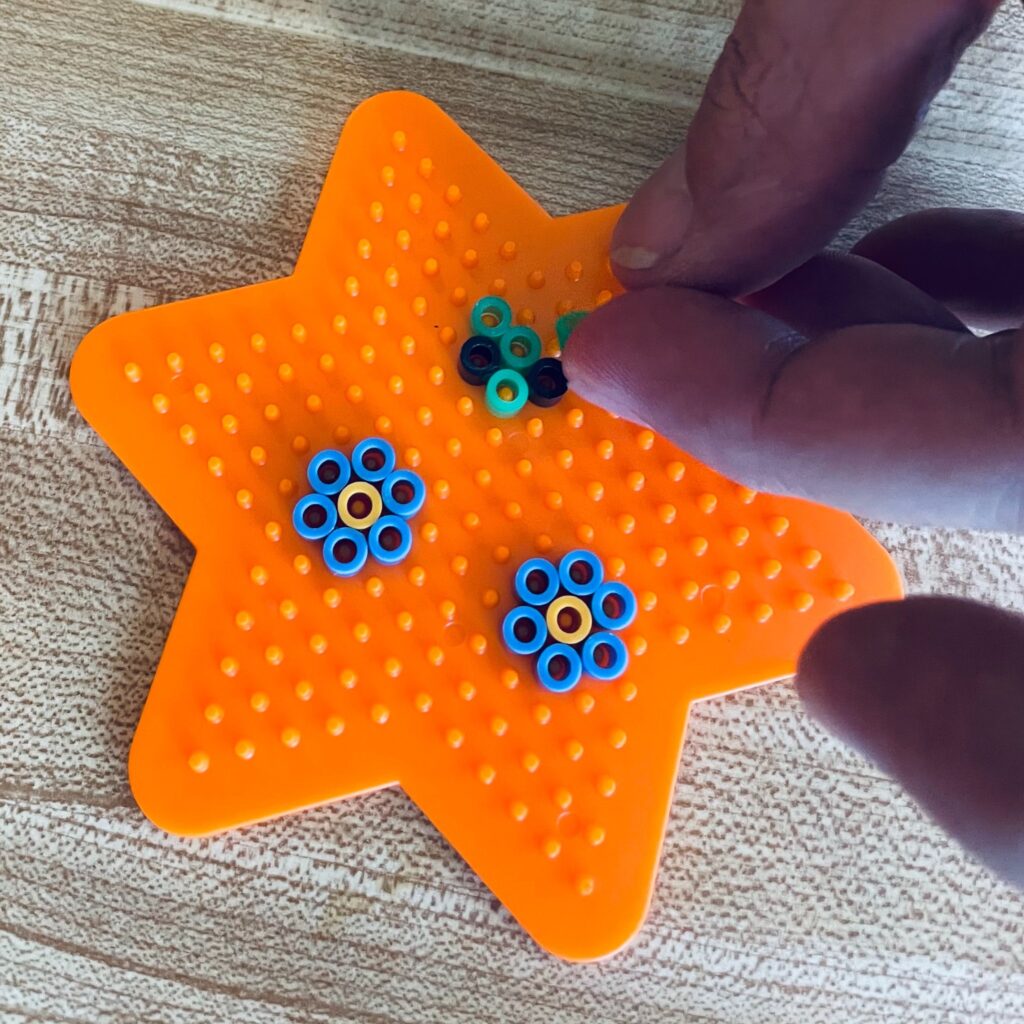
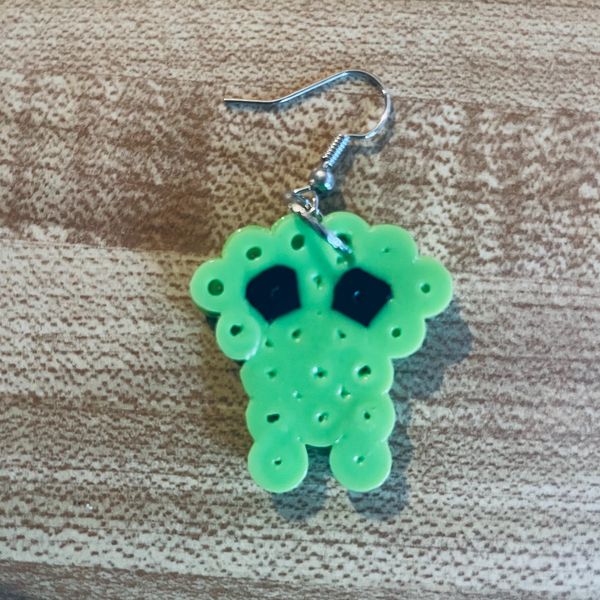
Layout your design of beads on the Perler board. Make sure all beads are touching at a minimum of one point. Having all the beads touching is the most important part. Any design will work as long as the beads all touch another bead at some point. In my research I have seen things like ghosts, mushrooms, alien faces and more. Flowers are an easy place to start.
Step 2: Fusing/Melting the Beads Together
After your have the design you want – and remember to make 2 of each design! – you need to melt the beads together, to fuse them. You will do this by covering the beads with the paper thingy provided and rubbing an iron along the back side of the beads.
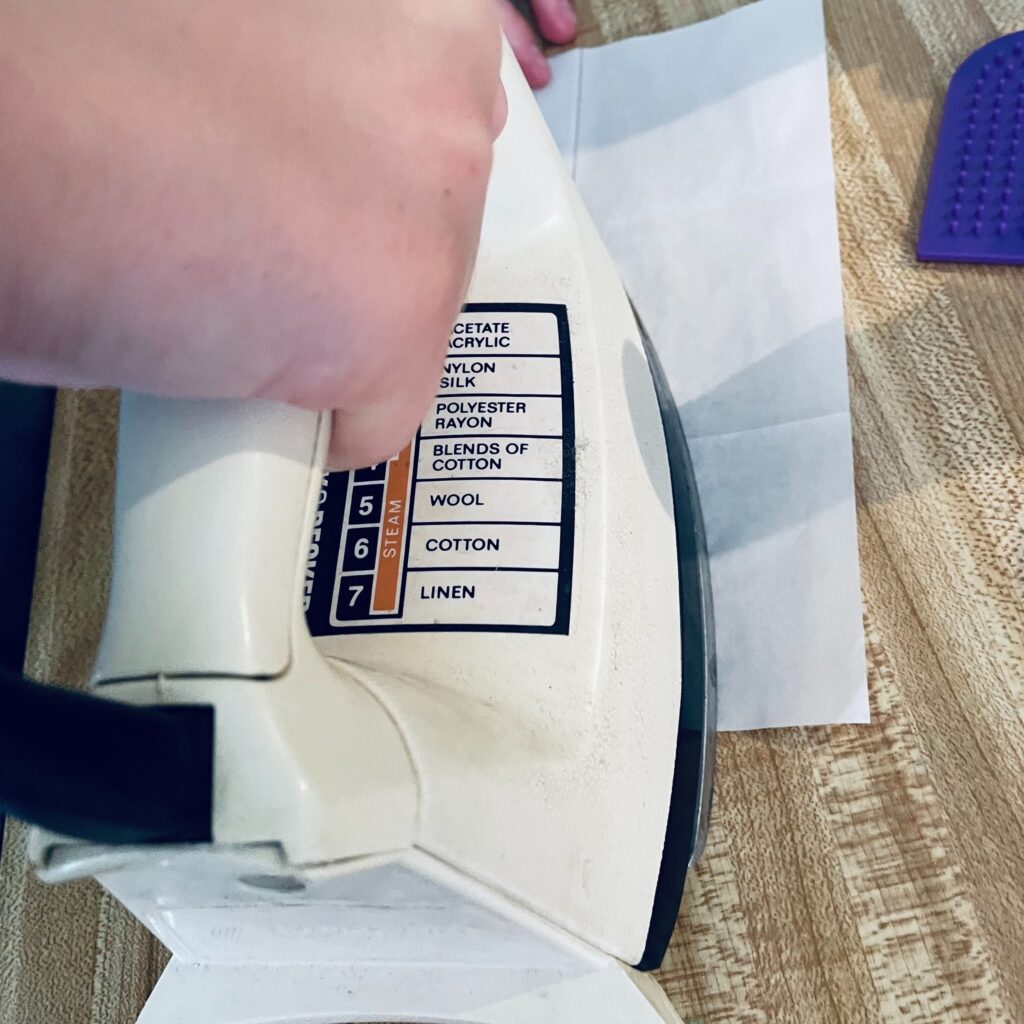
A word of caution: BE SURE NOT TO MELT THE BEADS TOO MUCH! If you do, it doesn’t look as nice but you’ve now also closed the holes you will need to turn your creation into an earring.
Step 3: Adding the Jewelry Findings
With your earring beads now fused, you can turn them into earrings. If you want to make post earrings, you simply use your glue and adhere it to the post. If you want to make dangling earrings, you will use your pliers to open the o ring and feed it through one of the bead holes. You will also add your earring hook at this time. Then use your pliers to close the o ring securely.
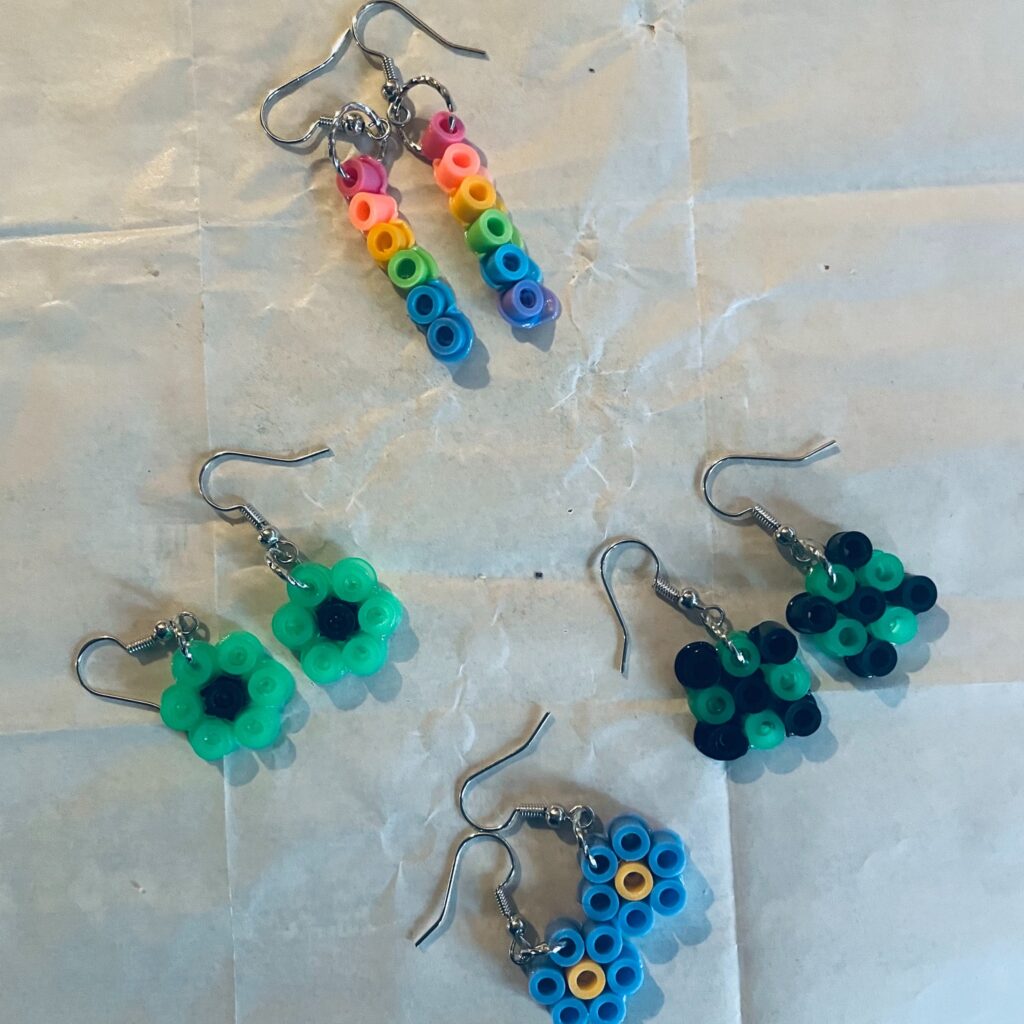
If you already own an iron, and you can buy small craft irons made expressly for projects like this, then costs are relatively low for this program. A big tub of beads costs around $10 to $15 and it almost always comes with the paper and a few pegboards. The jewelry tools can be bought for as little as $10, and even less if your maintenance staff has some pliers on hand. And a small thing of jewelry findings for earring making can be bought for as little as $10 in some cases. So you are looking at $35 for a program in which tweens and teens can make multiple pairs of earrings. I do recommend having multiple irons and tools on hand so people aren’t waiting so long for their turn with a tool.
All in all, this was quick, easy, fun and fulfilling. And seeing the teens wearing their creations the next time you see them just makes my heart warm. Highly recommend.
Filed under: Library Programming, Programming, Teen Programming, Teen Programming in a Box
About Karen Jensen, MLS
Karen Jensen has been a Teen Services Librarian for almost 30 years. She created TLT in 2011 and is the co-editor of The Whole Library Handbook: Teen Services with Heather Booth (ALA Editions, 2014).
ADVERTISEMENT
ADVERTISEMENT
SLJ Blog Network
Top 10 Posts of 2024: #8
31 Days, 31 Lists: 2024 Science and Nature Books for Kids
The Sweetness Between Us | Review
The Seven Bills That Will Safeguard the Future of School Librarianship
ADVERTISEMENT








Be sure to use PARCHMENT paper, not WAX paper between the iron and the beads