MakerSpace: Screenprinting Program Recap
Regular readers know that I have been on a roller coaster journey trying to learn how to do screen printing in order to host a program at the Teen MakerSpace at my library, The Public Library of Mount Vernon and Knox County (OH). There were tragic fails, epic highs, emotional angsty, and some down right sweating as the program came closer and I still wasn’t sure how to set up the first portion of the program (more on that in a minute).
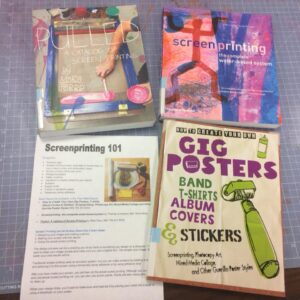
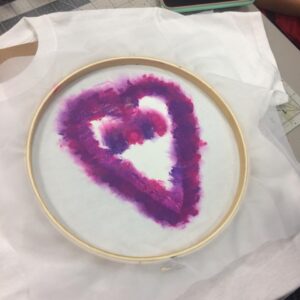
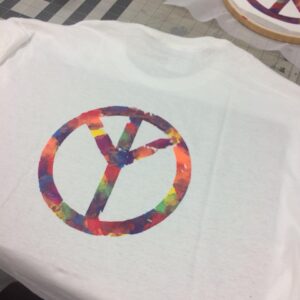
I am happy to report that we hosted our program on Monday night and it was a success! 99% of the teens walked out with a successfully screen printed t-shirt. As always, I had printed out instructions that the teens could take home and a sample of books that they could check out from the library to help them further explore screen printing. We did screen printing on paper and t-shirts. There was one shirt, our first, that we had to try and fill in some, but otherwise it went really, really well.
ADVERTISEMENT
ADVERTISEMENT
So here’ what I did.
First, I set up the room into three main stations:
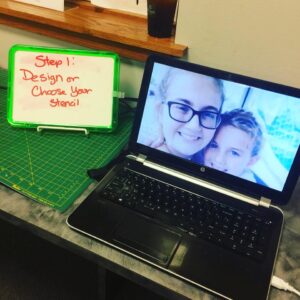
1) Designing your stencil
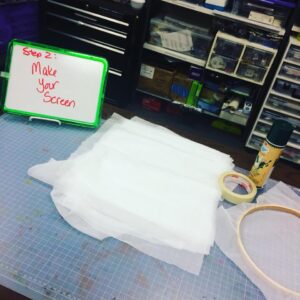
2) Making your screen
3) Doing the actual screen printing
DESIGNING YOUR STENCIL
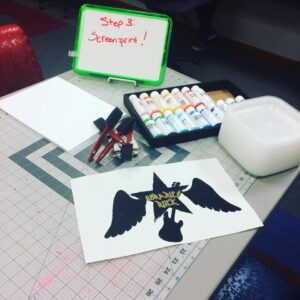
To design our stencils, I brought out a couple of laptops and our Silhouette Cameo cutting machine. We used cardstock as our medium to cut into stencils and this worked really well. With a little bit of instructions, our teens were able to sit down and make their designs. I was worried about how the teens would do with the design process because the Silhouette has its own design software, but it’s not too different in the details from things like Microsoft Powerpoint, which most of our teens have used some in school. Some teens needed a little more one on one than others, but everyone did walk away from this station with a design of their own making and choosing cut into a stencil.
“Details Make Fails”
At one point, I was explaining how simpler designers were better and a teen came up with the phrasing “Details Make Fails”. This became kind of our motto in the design phase. The more details you try to add, the more likely you are to have a failed project, especially as a newbie.
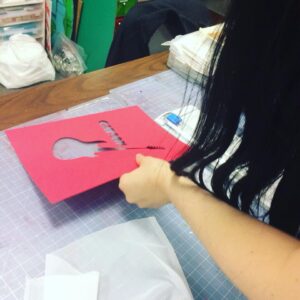
Using multiple laptops to one Silhouette Cameo cutter meant we could have more than one teen designing at once and we could just move the USB from latptop to laptop to do the actual cutting. I believe you can have 1 Silhouette set up on up to 5 devices.
MAKING YOUR SCREEN
To make our screens, we used a temporary spray adhesive purchased in the sewing section of a craft store to adhere the design to a piece of pre-cut mesh curtain. We pre-cut all of our materials to size and were able to get 25 pieces of screen from one $5.00 mesh curtain purchased at the local Wal-Mart. We had 8×8 embroidery hoops so we cut our screens to a 10×10 size. Each embroidery hoop cost $1.50 and the screens average out to $0.20 s0 each screen is roughly $1.70 (I’m going to round up to $2.00 because I like to make my math simpler).
We have 3 Teen MakerSpace staff so each staff member helped at a station.
DOING THE ACTUAL SCREEN PRINTING
ADVERTISEMENT
ADVERTISEMENT
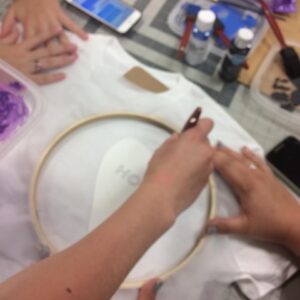
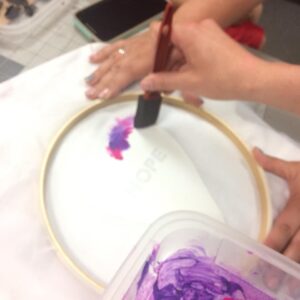
Before working on a shirt, we had each teen practice on a piece of card stock paper. If they were satisfied with the result, they would then screen print their shirts. Although we had squeegees available, which is the traditional way you screen print, most of the teens preferred to use a foam paint brush to help prevent bleeding under the stencil.
RUNNING THE PROGRAM
Because I knew that we would have to allow teens time to design their stencils, I ran the program for a full 5 hours. As each teen came in, I gave them a brief run down of how traditional screen printing worked and how we were modifying that process so that they could do it at home if they wanted to. I then introduced them to the Silhouette Cameo cutter, explaining that if they didn’t have access to that type of technology at home they could still make their own stencils. That was our goal: to teach teens how they could take a Teen MakerSpace project and do the entire process at home without a lot of fancy tools and not a lot of money.
All in all, it took each teen about 20 minutes to make a t-shirt. We bought t-shirts on sale at a local craft store for $2.50 each. Each screen cost us about $2.00. And a single color of paint and a foam brush costs about $2.00. So each t-shirt cost us about $6.50.
HERE’S ONE T-SHIRT FROM START TO FINISH
AND HERE’S A GALLERY OF SOME OF OUR SCREEN PRINTING JOURNEY
Not only did my teens learn how to screen print, but I did as well! This was a fun, successful, and relatively inexpensive program. It had a steep learning curve for me personally, but watching those teens successfully create their own shirts and seeing that joy and pride was 100% worth it.
Filed under: Makerspace
About Karen Jensen, MLS
Karen Jensen has been a Teen Services Librarian for almost 30 years. She created TLT in 2011 and is the co-editor of The Whole Library Handbook: Teen Services with Heather Booth (ALA Editions, 2014).
ADVERTISEMENT
ADVERTISEMENT
SLJ Blog Network
Name That LEGO Book Cover! (#53)
Cover Reveal and Q&A: The One and Only Googoosh with Azadeh Westergaard
K is in Trouble | Review
Fighting Public School Book Bans with the Civil Rights Act
ADVERTISEMENT


