MakerSpace: Guitar Pick Jewelry
Because this year’s summer reading theme, Libraries Rock!, is music based, we have been trying to find ways to make our various MakerSpace activities music oriented. Luckily for us, we have a guitar pick punch that hasn’t been used very much in our space. Outside of the obvious – you can use it to make actual guitar picks – you can also use it to make guitar pick jewelry!
You can do a variety of things with a guitar pick: decoupage it, glam it up with glitter and rhinestones, or you can engrave them. Since we also have a Silhouette Cameo, we will definitely be adding engraving guitar picks and turning them into jewelry for one of our MakerSpace activity stations. Your mileage may vary, because you don’t have to do very much to make cool guitar pick jewelry.
ADVERTISEMENT
ADVERTISEMENT
Supplies:
- Guitar pick punch (available for purchase at Amazon)
- Plastic (can be purchased or you can use things like invalid credit cards and foot take out containers)
- Small hole punch (1/16 for smaller holes)
- Various jewelry making supplies and findings like o rings, cord, and pliers
- A laptop and Silhouette Cameo for engraving (see section on engraving for less expensive methods)
If you want to engrave your guitar pick, you can use hand held engraving tools or a Silhouette Cameo with an etching tool.
Making Your Guitar Pick
Making your guitar pick is simple and quick. You can buy a variety of colorful plastic strips online or you can use plastic found around the house. I’ve even used old bank and credit cards, making sure not to include any of my name or number in a way that can be seen. If you’re going to do something like decoupage your pick, you can even use plastic from take out food containers.
After you punch out your guitar pick, you’ll want to use the small hole punch at one end of the guitar pick to make a hole so you can attach it to your jewelry with an o ring.
Engraving Your Guitar Pick
You can buy an etching tool for the Silhouette Cameo which you can use to engrave your guitar pick. You’ll want to follow these instructions, with a slight modification. I suggest choosing the highest level of settings, including making 10 passes. We tried a variety of settings but found that making 10 passes really helped to make sure that you could see the engraving.
You can also do DIY engraving using a hand tool, which is less expensive. They have instructions at Instructables for this. There are also suggested ways of engraving at WikiHow.
Making Your Jewelry
With your guitar pick now ready to go, you can make whatever kind of jewelry you want to make following basic jewelry making principles. Necklaces and ear rings work best because of the size of the guitar pick. And of course, they make cool key rings.
The cost, time and skill for this project depends on how elaborate you make your jewelry, which makes it very customizable.
Filed under: Makerspace
About Karen Jensen, MLS
Karen Jensen has been a Teen Services Librarian for almost 30 years. She created TLT in 2011 and is the co-editor of The Whole Library Handbook: Teen Services with Heather Booth (ALA Editions, 2014).
ADVERTISEMENT
ADVERTISEMENT
SLJ Blog Network
2024 Books from Pura Belpré Winners
Passover Postings! Chris Baron, Joshua S. Levy, and Naomi Milliner Discuss On All Other Nights
Winnie-The-Pooh | Review
Parsing Religion in Public Schools
ADVERTISEMENT



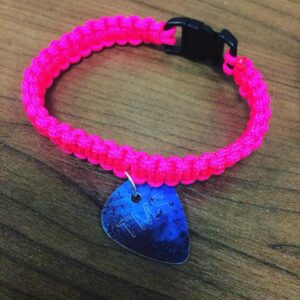
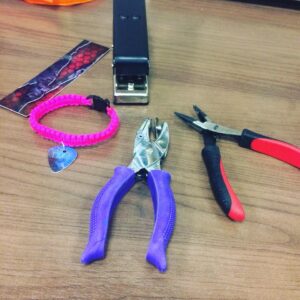
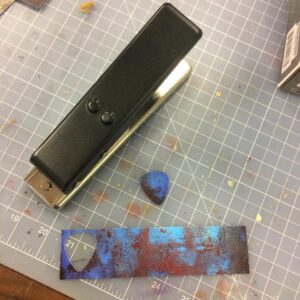
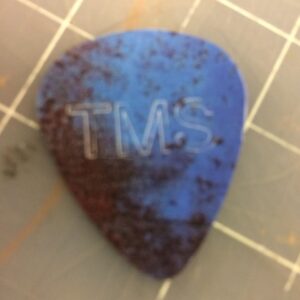


We used old library cards with our guitar pick punch which was a great way to recycle. Thank you!
Thank you for this tip, what a great idea!!!