MakerSpace: DIY Faux Enamel Pins
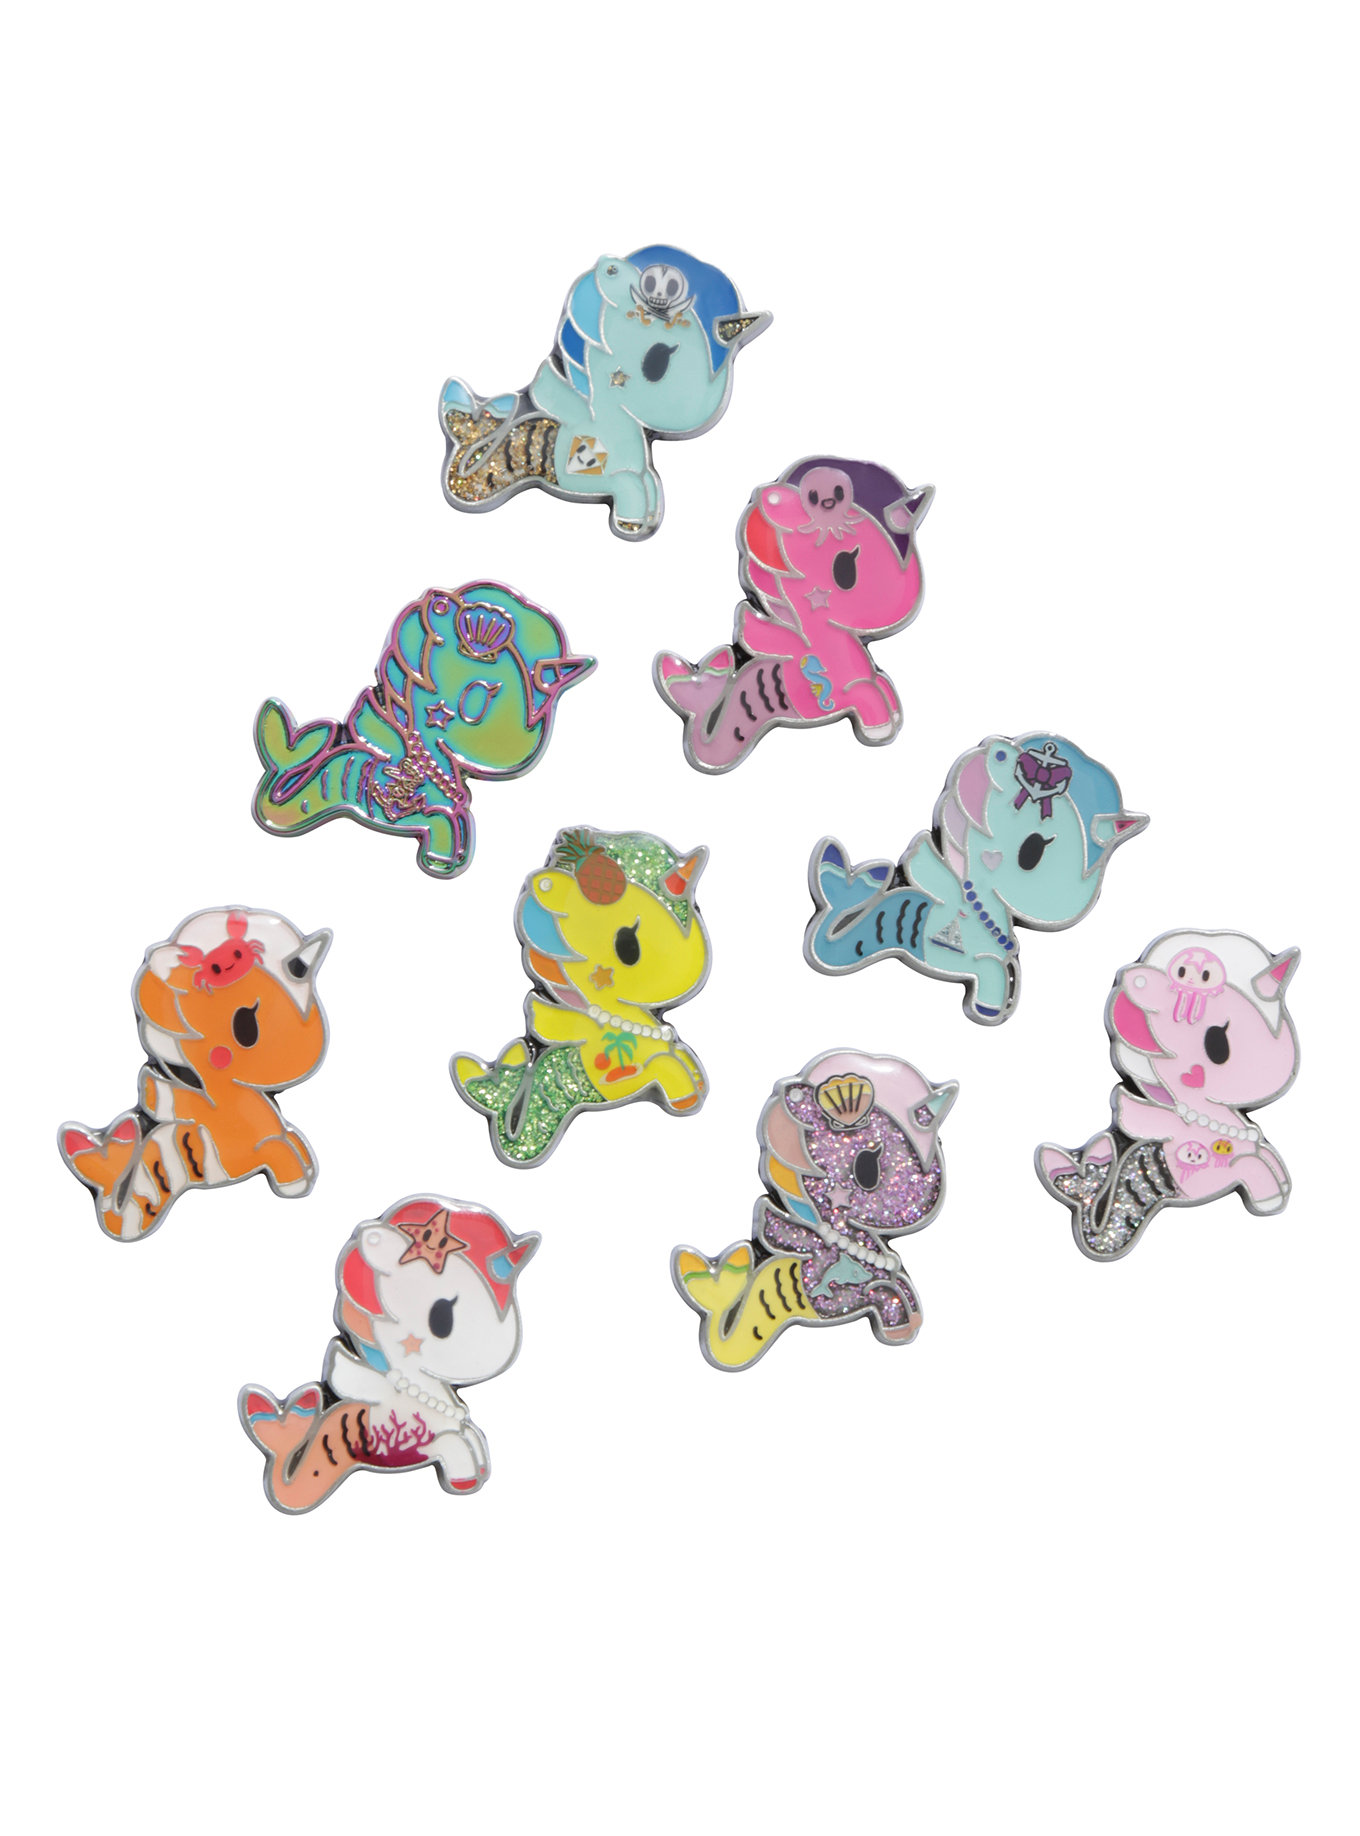
All things old are new again, and enamel pins are all the rage. In fact, I picked up some super cool Dumplin ones from Julie Murphy at TLA. And you can buy them at a lot of craft and hot trendy stores. Hot Topic, for example, sells a wide variety of enamel pins.
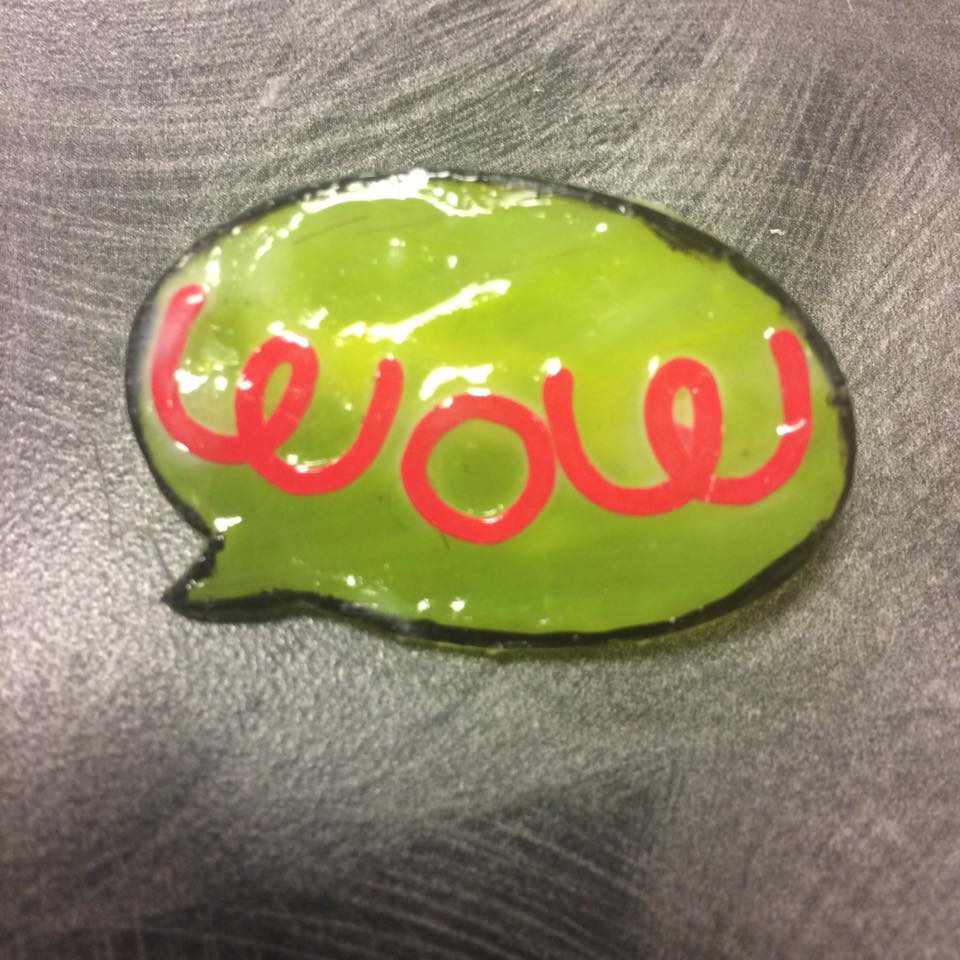
But you can also make your own, or a variation of them at least. In April we are doing a variety of Mod Podge crafts, including DIY Faux Enamel Pins, and this is one of the examples I made to help me outline the instructions.
ADVERTISEMENT
ADVERTISEMENT
Supplies Needed:
- Shrinky dink plastic
- Acrylic or enamel paint
- Paint brushes, with fine brush tips
- A laptop/PC with a printer OR tracing paper and pens
- A vinyl cutting machine OR a pair of small but good scissors
- A toaster oven
- E6000 glue
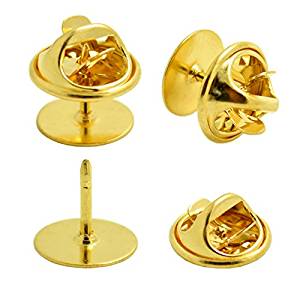
- A pin back
- Mod Podge
- A brush or paint sponge to apply the Mod Podge
- Black Sharpie, fine tip
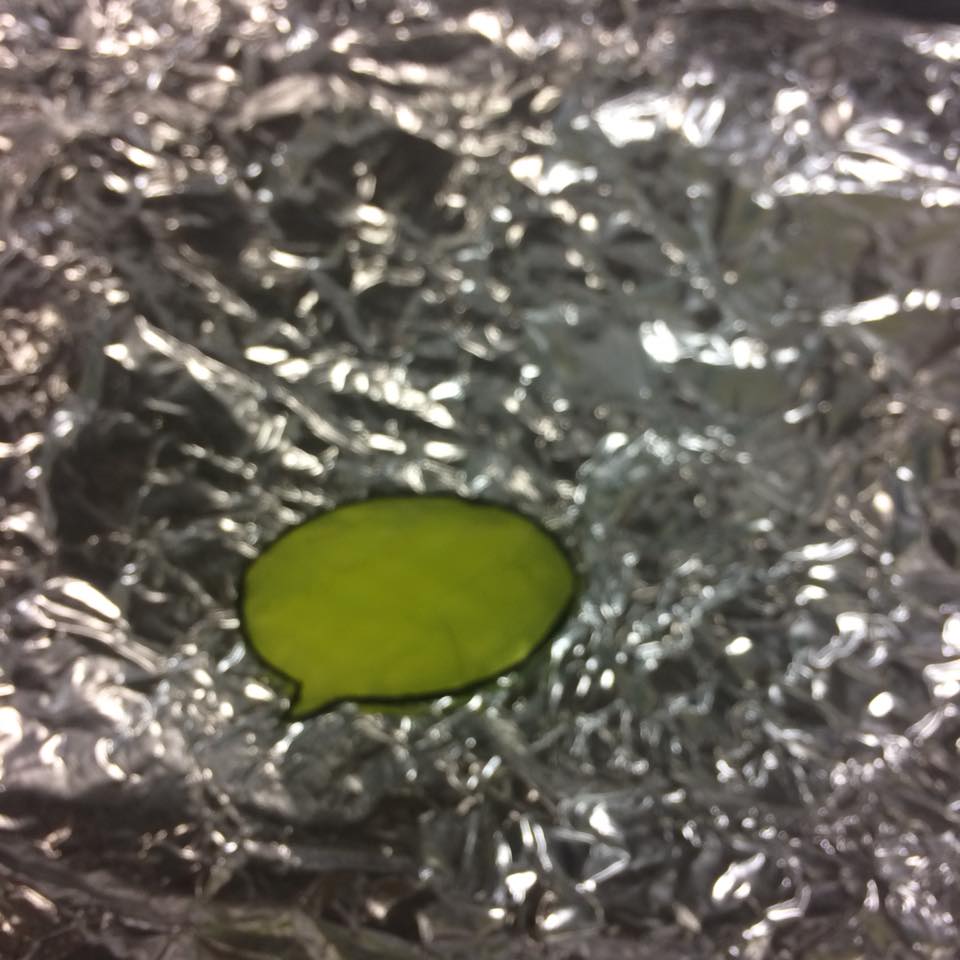
Step 1: Making Your Pin Shape
We’re going to be working with Shrinky Dink plastic, which has a 3 to 1 ratio. So whatever design you make needs to be 3 times bigger than the size you want your project to end up as. So if you want a 1 inch pin, you need to start with a 3 inch design.
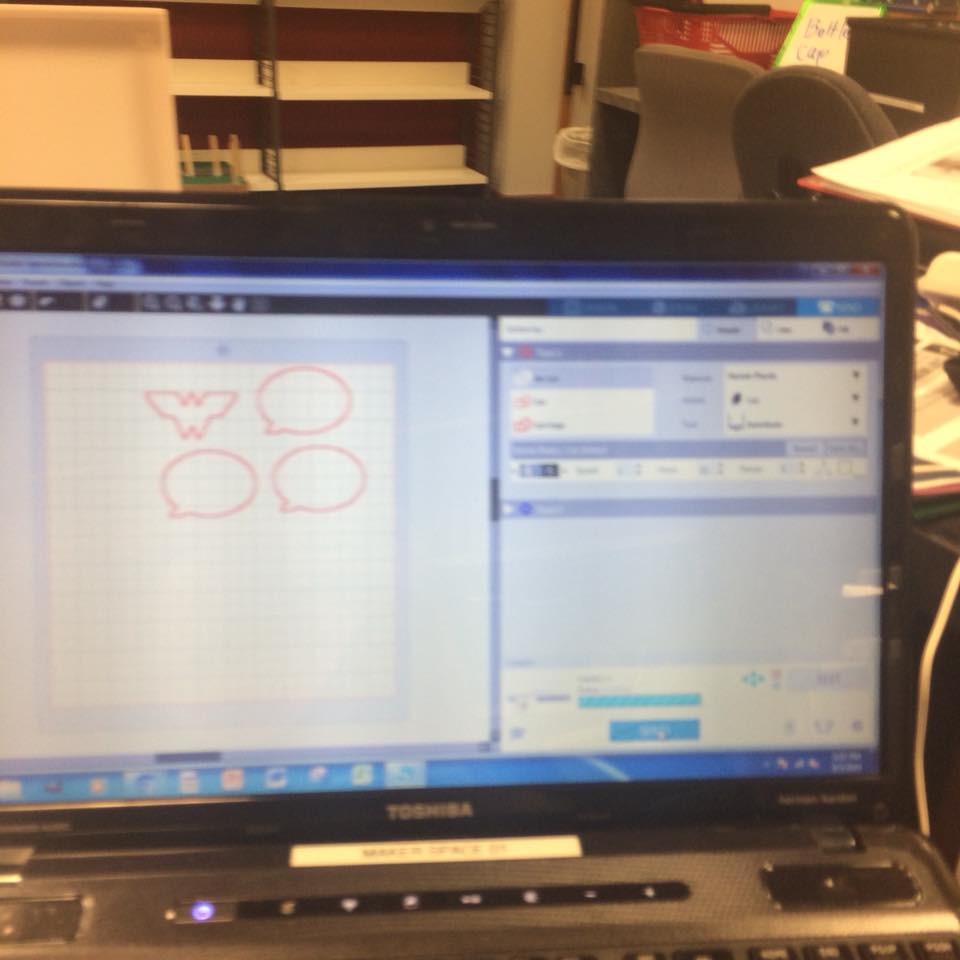
We used a laptop to create our designs in the Silhouette Cameo design studio. This made it easy to get intricate and precise cuts as the Silhouette machine did all the cutting for us. We had to make several attempts before we found the right cut setting and found it helps if you tell the machine to make multiple passes. This Silhouette School tutorial has some recommended cut settings: Best Shrinky Dink Silhouette CAMEO Cut Settings – Silhouette School. Though I realize not all libraries have a Silhouette Cameo cutting machine, I highly recommend purchasing one because of the wide variety of projects and types of projects you can do with one. It certainly increased the quality of our project here because we could make more designs.
If you don’t have a Silhouette Cameo machine, you can simply trace an image onto your Srinky Dink plastic and cut it out by hand. If you want more details in your design and you are cutting out by hand, be sure to use smaller, sharp scissors to give you more control. Persia Lou has a tutorial on doing DIY Enamel Pins and provides templates that you can use to trace and have a successful first attempt.
Please note, you can also print directly onto Shrink plastic if you make sure and purchase the right kind. You could either print an outline and then paint it or print a full color image and skip the painting step.
Use a black Sharpie to make bold, black outlines on your pin shape, especially if you have various areas within your design.
Step 2: Painting Your Pin Shape
You’re going to want to paint your pin shape BEFORE shrinking it. The color will darken a bit as it shrinks, so try not to start out with too dark of a color.Use a small tipped brush to paint your design. You can even use a toothpick to paint in small areas.
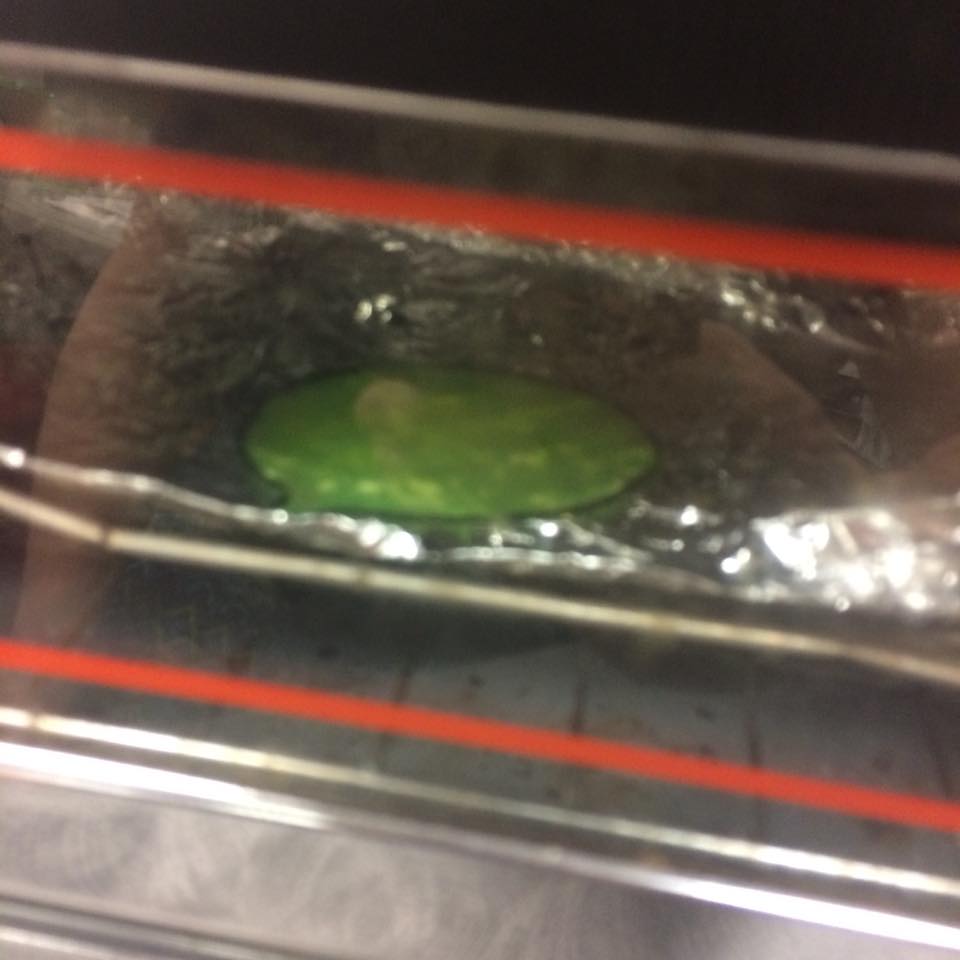
Step 3: Shrinking Your Pin Shape
ADVERTISEMENT
ADVERTISEMENT
It is recommended that you use a dedicated toaster oven for any and all crafts. We have a specific toaster oven for our Teen MakerSpace which we use for Shrinky Dinks and Sculpey clay projects. Follow the directions on your packaging for times and temperature. Basically, your pin shape will start to curl up as is shrinks and then will suddenly go flat. Wait a second or two after it goes flat, and then take it out of the oven to cool.

Step 4: Seal the Deal
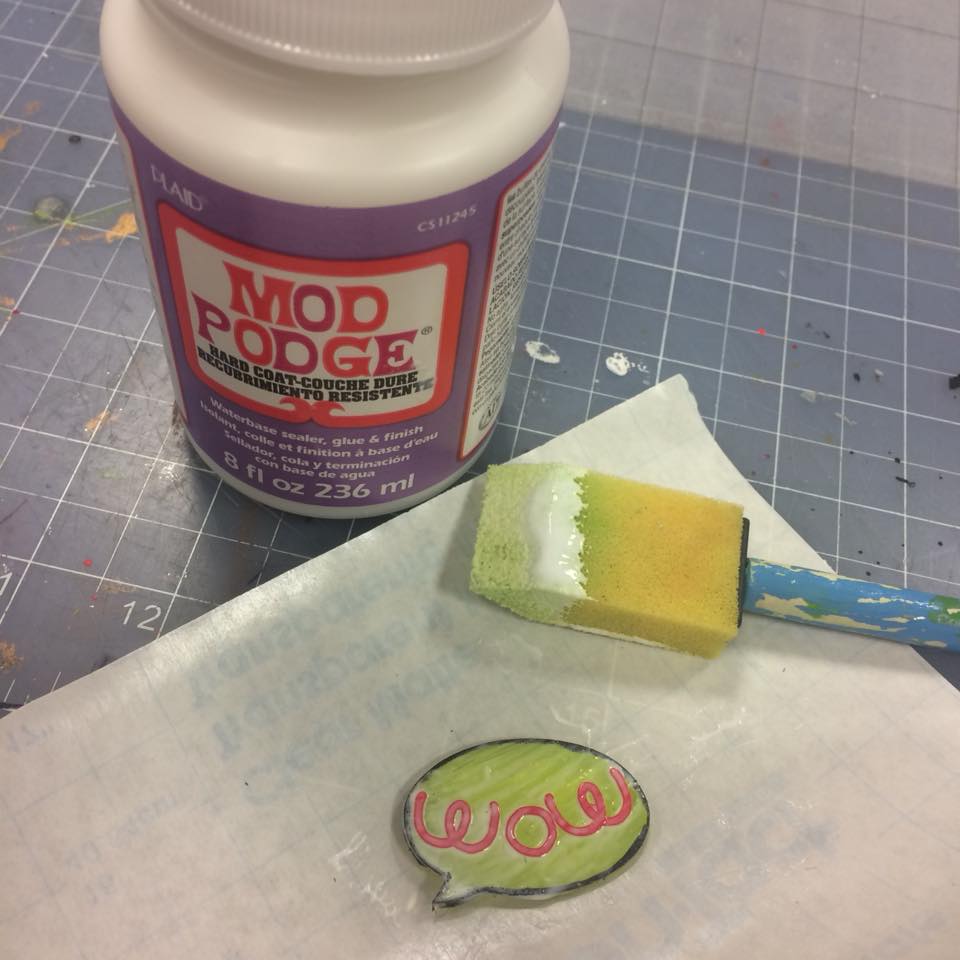
You’ll want to give your finished pin a coat of glossy Mod Podge to seal the paint and give it that glossy enamel pin finish. Wait for the Mod Podge to dry completely before doing any final steps.
Step 5: Apply Your Pin Back
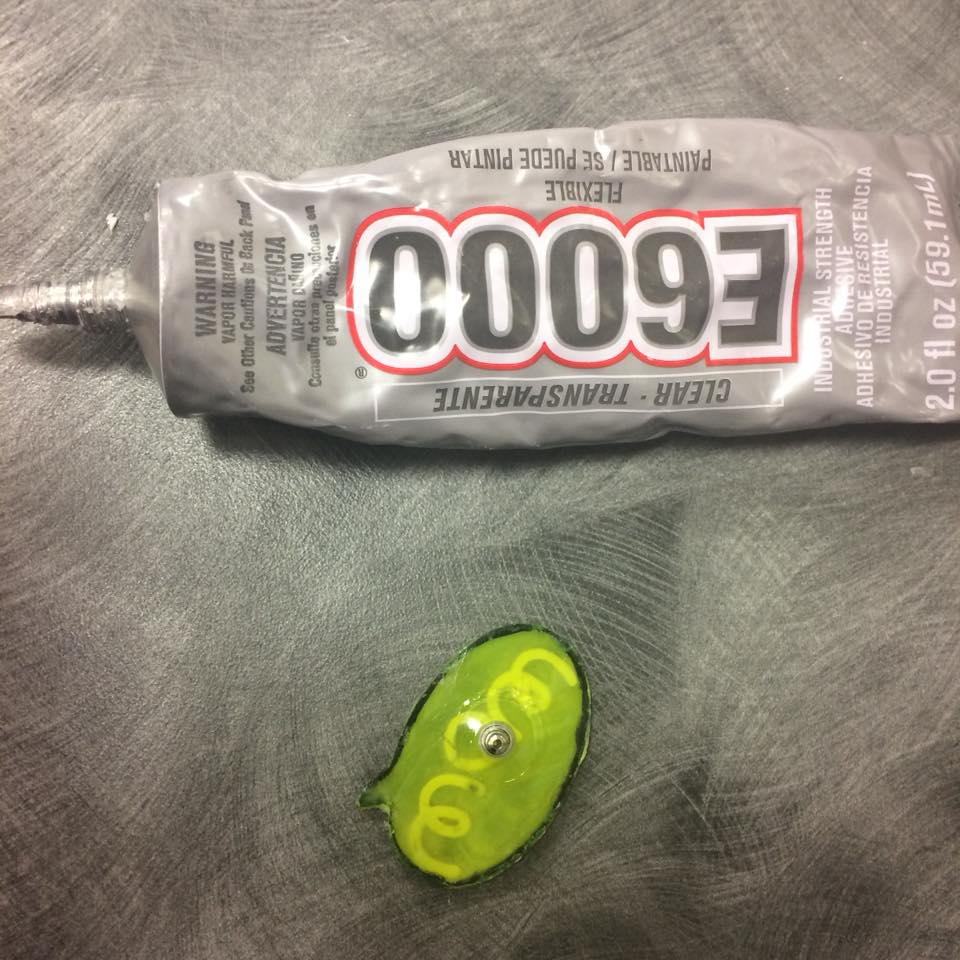
After your pin has fully dried, you can then use the E6000 glue to apply the pin back to the back of the pin. Well, that’s a weird sounding sentence. You can use any type of pin back, but the traditional enamel pin has a tie pin closure on the back. You can buy these at most craft stores in the jewelry findings section.

I had fun making these pins and am looking forward to making some more. It took me several attempts to work out all of the details, but once I did this was a fun, easy and semi-quick craft.
Filed under: Makerspace
About Karen Jensen, MLS
Karen Jensen has been a Teen Services Librarian for almost 30 years. She created TLT in 2011 and is the co-editor of The Whole Library Handbook: Teen Services with Heather Booth (ALA Editions, 2014).
ADVERTISEMENT
ADVERTISEMENT
SLJ Blog Network
The Moral Dilemma of THE MONSTER AT THE END OF THIS BOOK
Cover Reveal and Q&A: The One and Only Googoosh with Azadeh Westergaard
K is in Trouble | Review
Parsing Religion in Public Schools
ADVERTISEMENT