
MakerSpace: Using a Silhouette Cameo to Do Screenprinting
This summer as part of our Summer of Shirts, we did a very low-tech version of screen printing, which turned out to be incredibly popular. So I was excited to learn that the Silhouette Cameo can be used to do a more traditional type of screenprinting. It works really well and I HIGHLY recommend it. After being pretty decent with my Silhouette Cameo, it only took me about an hour to make my stencil and screenprint my t-shirt. And since many of the supplies can be re-used for multiple projects, the cost per project is basically under $20.00, though your initial investment will be slightly higher (assuming that you already have the Silhouette Cameo of course).
Supplies:
- Silhouette Cameo and PC/Laptop
- Weeding tool
- Piece of 651 Permanent Vinyl
- Scissors
- Clear contact paper (to be used as transfer tape)
- A wedge to be used with the transfer tape
- A 14 inch embroidery hoop
- Painters tape
- A sheer fabric curtain (I purchased a white one for less than $5.00 at a local store)
- Speedball screenprinting ink
- A foam brush or squeegee (or credit card)
- Gloves
- Something to protect your work surface
- A piece of cardboard to insert between the two layers of your shirt
Step 1: Making Your Design and Turning it Into a Stencil
Tools used in this step: Laptop, Silhouette Cameo, Vinyl 651 (permanent), weeding tool
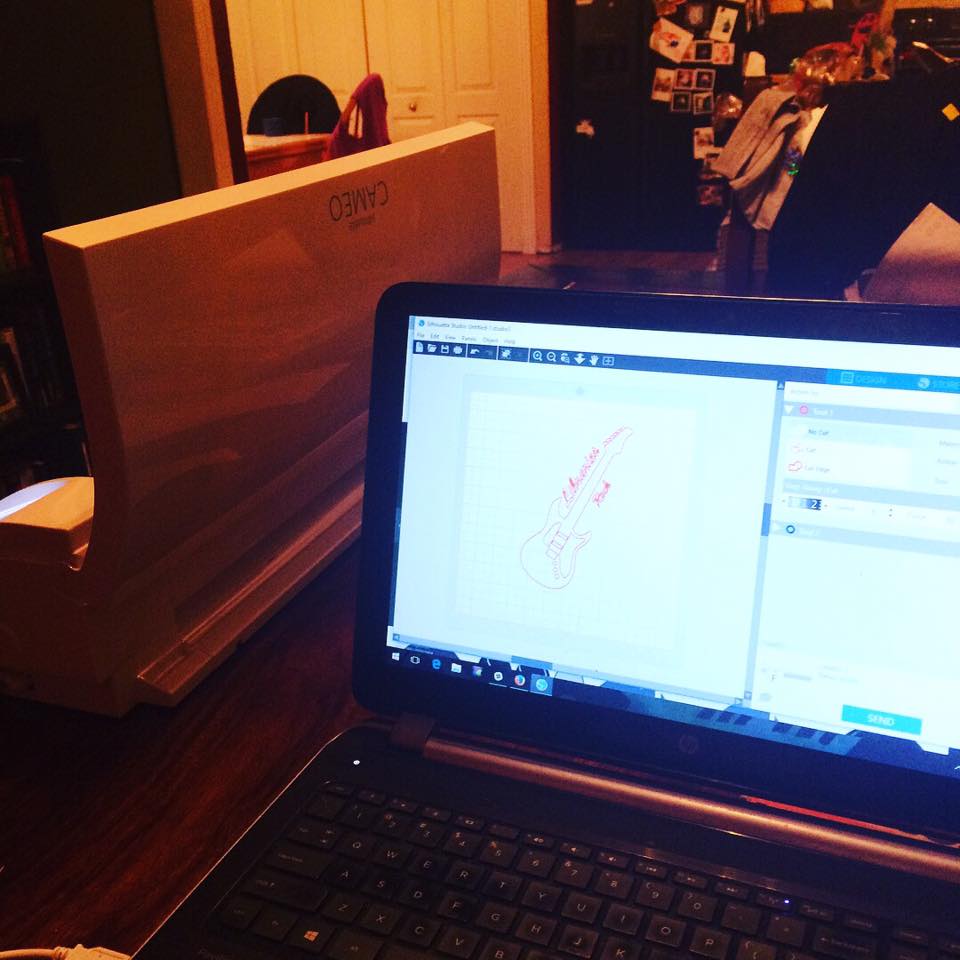
You begin by making your design in the Silhouette design studio. You’ll want to think about simple designs to begin with. You then send your design to the cutter unmirrored with your vinyl 651. You want to design and cut your vinyl as you would a normal vinyl project. HOWEVER, when you weed your project you want to remove the design part while keeping the edges in place to create your stencil. For example, I removed all of the guitar pieces and letters and kept the part I would normally remove attached to my vinyl backing. You final screen will look like this.
ADVERTISEMENT
ADVERTISEMENT
Step 2: Turning Your Vinyl into a Printing Screen
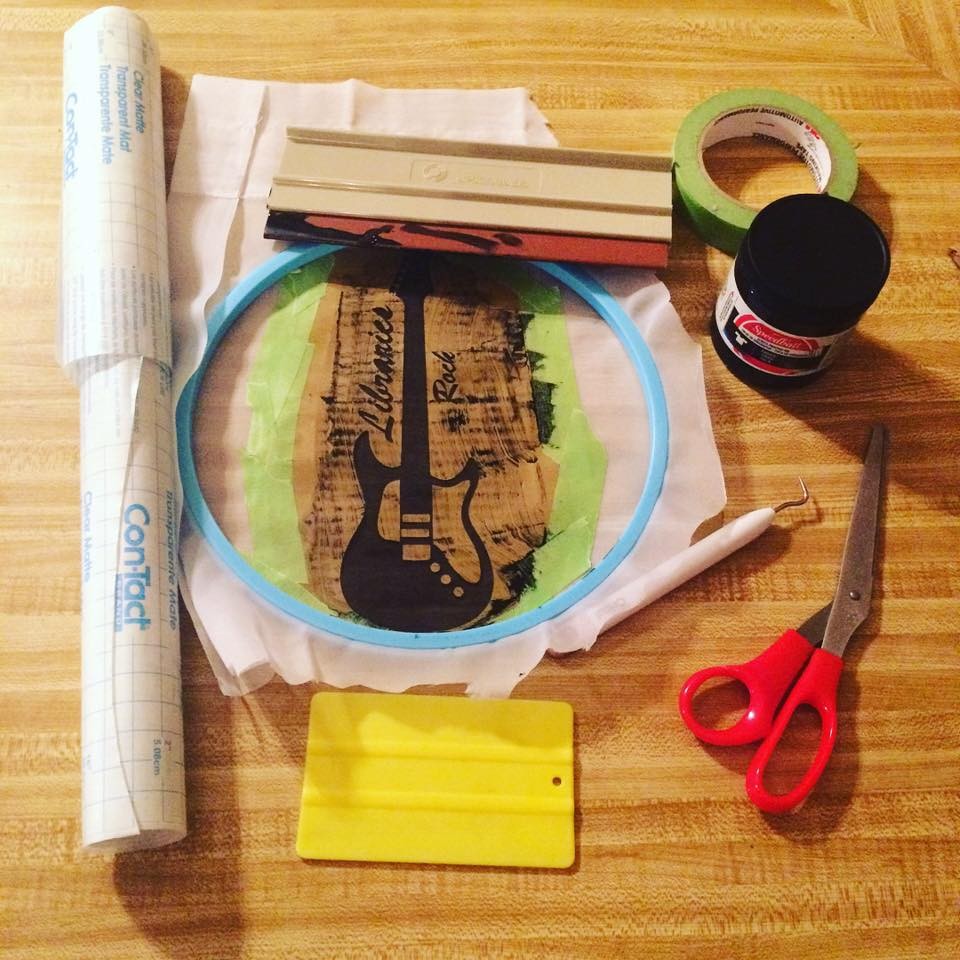
Tools used in this step: Vinyl stencil (created in step 1), transfer tape (contact paper), wedge (used for transfer tape), painters tape, embroidery hoop, a piece of sheer curtain slightly larger than your embroidery hoop
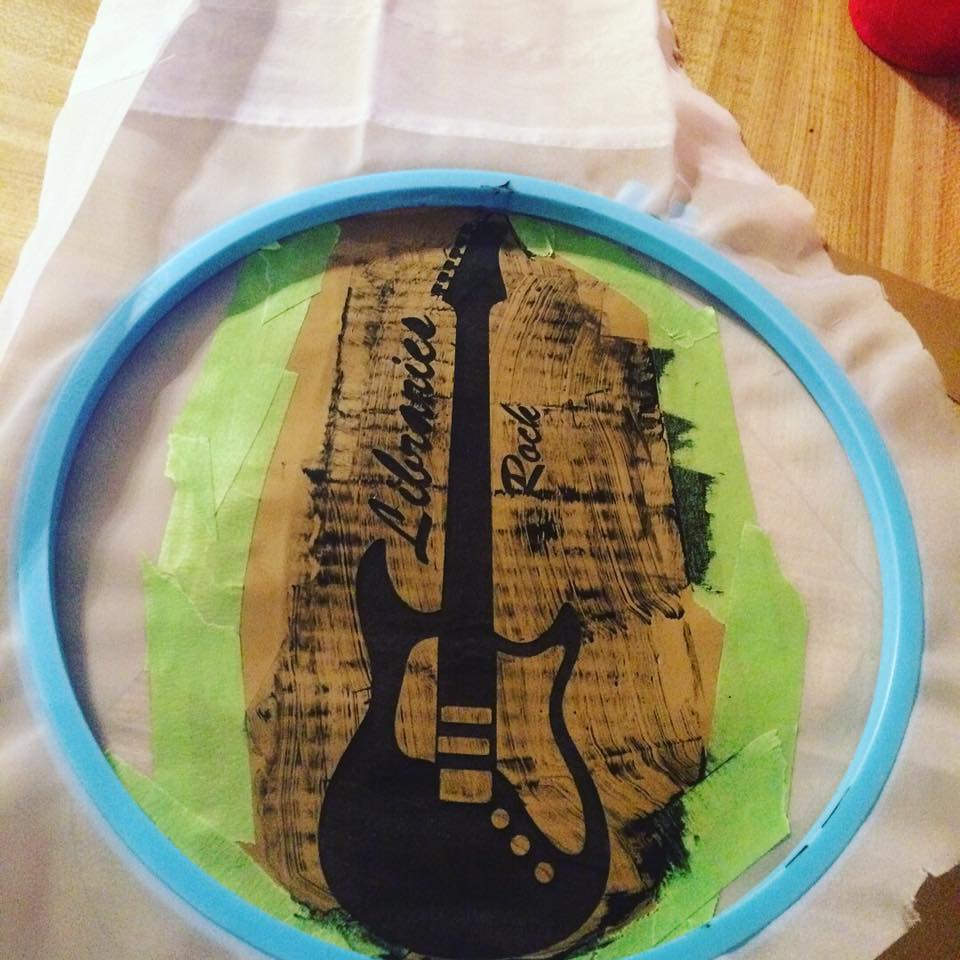
You now have a negative image piece of vinyl that has been weeded, so you’re going to use your transfer tape (contact paper) to lift your stencil off of the vinyl backing and attach it to the screen (which is a piece of sheer fabric curtain). If you don’t know how to use transfer tape, there are instructions here: How to Use Transfer Tape for Cricut and Silhouette Projects.
After you place your vinyl stencil onto the screen and remove the transfer tape, you can cut your stencil/screen to the size of your embroidery hoop. The hoop is used to hold your stencil/screen tight for the application phase. You want to leave about 2 inches around the outside of the hoop so that you can keep it pulled tight. Use painter’s tape around the edges to help make sure you don’t go over the edge of your vinyl stencil.
The hoop plus your sheer curtain with the vinyl stencil attached is now your screen for the purposes of discussion.
Step 3: Doing the Screen Printing
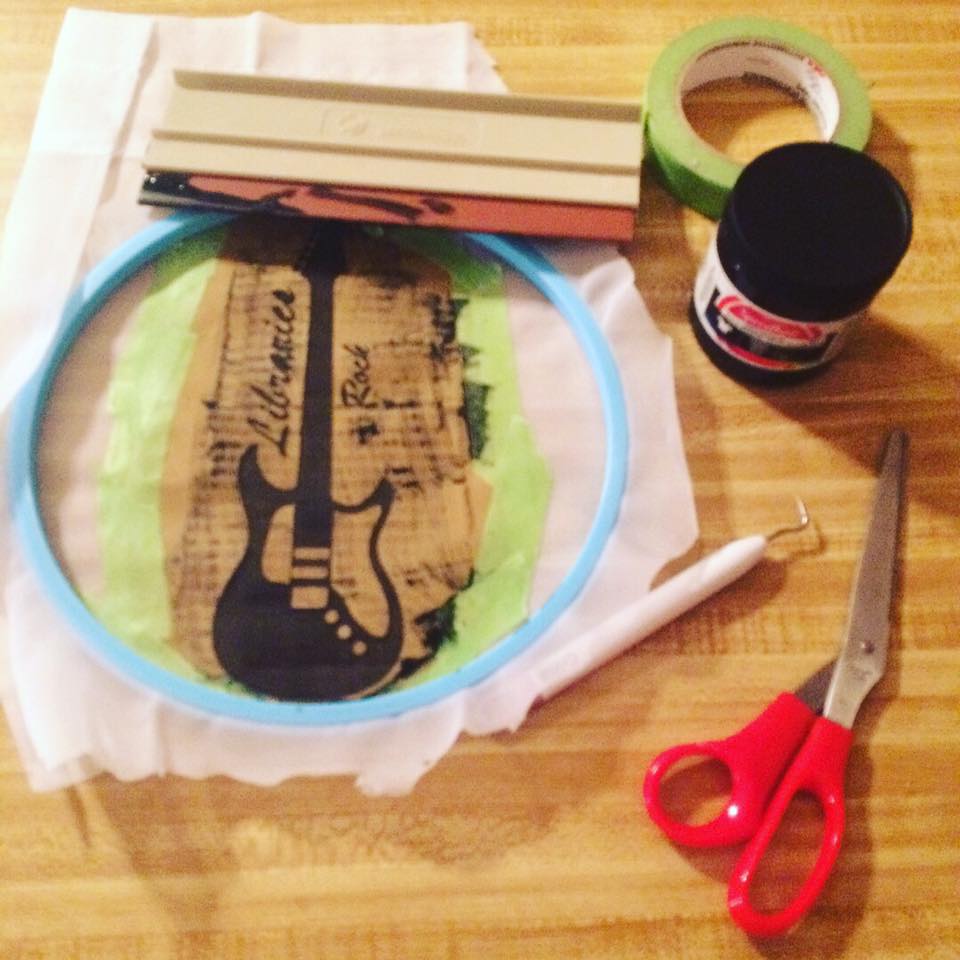
Tools used in this step: Your screen (which is the embroidery hoop with the sheer curtain piece and your vinyl stencil attached to it), Speedball ink, squeegee, gloves (if you want to keep your hands clean), surface protection, cardboard for in between layers of your t-shirt
Insert a piece of cardboard between the layers of your t-shirt to prevent bleeding through. Place the screen onto your shirt where you want it to appear. You will then put a little bit of Speedball ink onto your stencil and spread it evenly over the stencil using your squeegee. Fill in all the parts and then scrape it clean so that you have a thin layer of ink over the areas where it is supposed to print. Let it dry for a few minutes and then remove your screen.
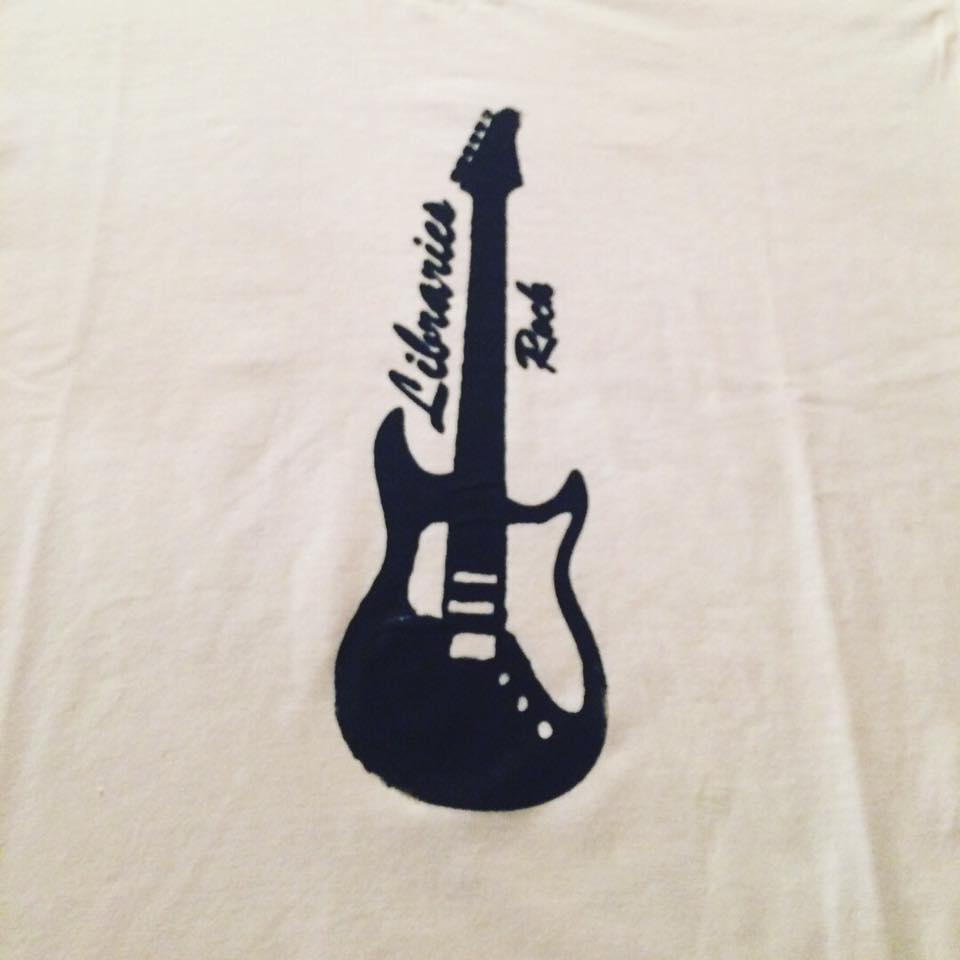
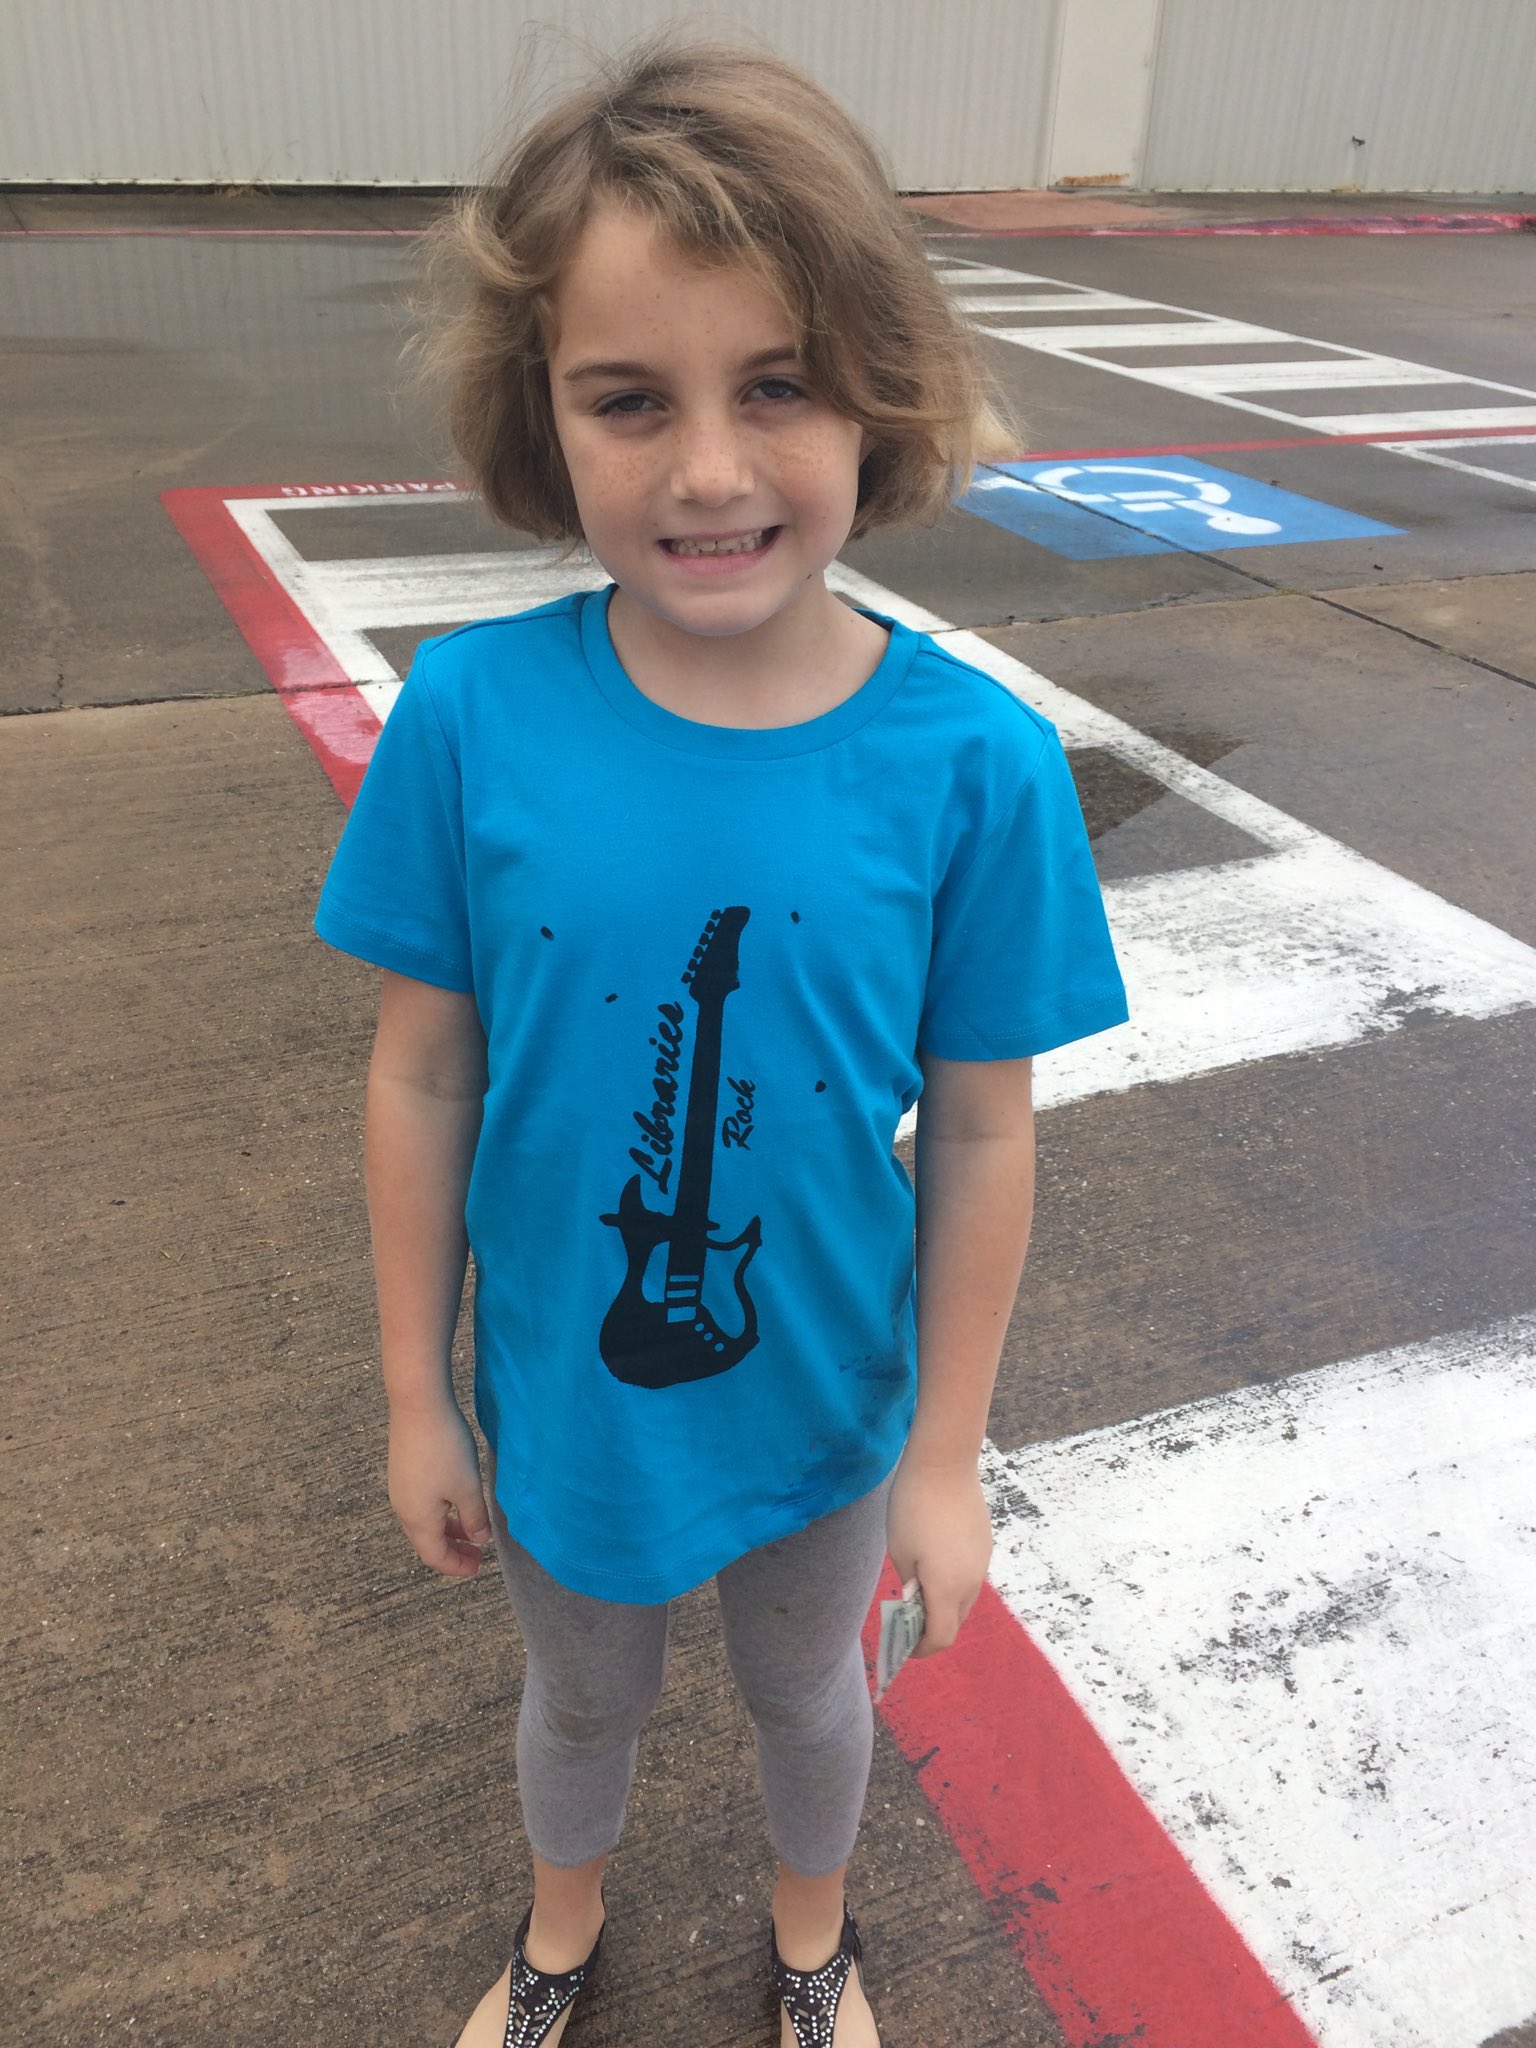
Your shirt is now done, but you need to let it dry for about 24 hours.
Advantages to Screenprinting vs. Vinyl Heat Transfer
Once you have created a screen, you can take it out of the embroidery hoop for storage and re-use it. From one sheet curtain panel you can create anywhere from 6 to 8 screens which you can store. This gives you a variety of ready made screens that you can pop in and out of your embroidery hoop to teach teens the basics of screen printing. Would also be great for creating summer reading shirts.
Because you are creating a screen that can be re-used, it costs less than using heat transfer vinyl on a large number of t-shirts. Heat transfer vinyl is more expensive than standard vinyl and here you are using one piece as opposed to multiple pieces for multiple shirts.
Many of the supplies and tools can be re-used, which makes this a less expensive project over time.
The t-shirts feel more like authentic t-shirts as opposed to t-shirts that have the stiff feel of vinyl on them.
What the Teens Learn:
- Design
- Some basic tech
- Screenprinting

Here is a really quick tutorial that you can watch on YouTube that demonstrates how quick and easy screenprinting with a Silhouette Cameo is:
Filed under: Makerspace
About Karen Jensen, MLS
Karen Jensen has been a Teen Services Librarian for almost 30 years. She created TLT in 2011 and is the co-editor of The Whole Library Handbook: Teen Services with Heather Booth (ALA Editions, 2014).
ADVERTISEMENT
ADVERTISEMENT
SLJ Blog Network
One Star Review, Guess Who? (#202)
Review of the Day: My Antarctica by G. Neri, ill. Corban Wilkin
Exclusive: Giant Magical Otters Invade New Hex Vet Graphic Novel | News
Parsing Religion in Public Schools
ADVERTISEMENT


Amazing, never thought of this method.Will definitely try this.Thanks for this great article.