MakerSpace: How to Design a Button
Button, button, who makes the button? I do! Teens do! But how? Yesterday I shared some basics on button making, today let’s talk about designing your buttons.
For the purpose of this discussion a button insert will refer to your final circle image cut to size that is placed in between the two button parts – the shell and the pin back – which will ultimately become your button. It’s the graphic piece that you create to make a button.
Start Here: MakerSpace: Button Making is All the Rage (The Complete Button Making Index)

What Programs Do You Use to Design a Button?
We’re going to start here with the final step. I know that sounds weird, but your ultimate goal is to create and print a properly sized button insert – the graphic piece – that will make your image pop. The final step is sizing and printing that button insert. We’ll start there.
ADVERTISEMENT
ADVERTISEMENT
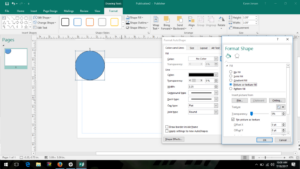
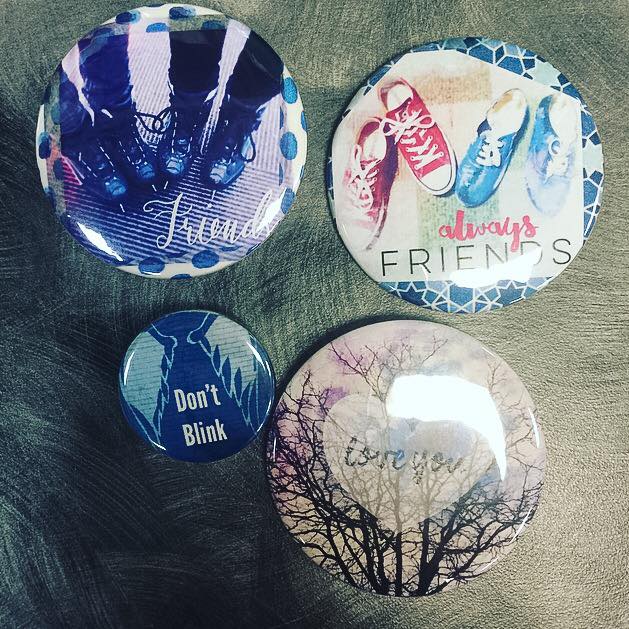
In the final steps, I recommend using a program like Microsoft Publisher to finish your button design. This allows you to create your button true to size and then print it out. For example, if you are making a 2.25 button you can use the Insert Shape feature, choose a circle, and size it to 2.25. You can use the fill feature to fill the button with your circle OR you can use it as an outline and overlay it on your image to make sure what you want to appear does in fact appear in the middle of the button.
 Resizing Photos for Button Makers
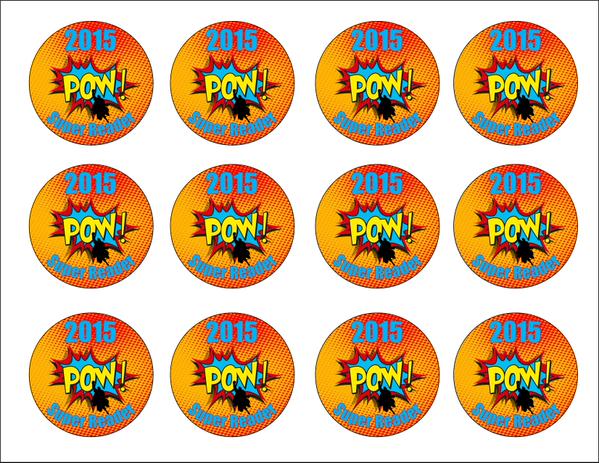
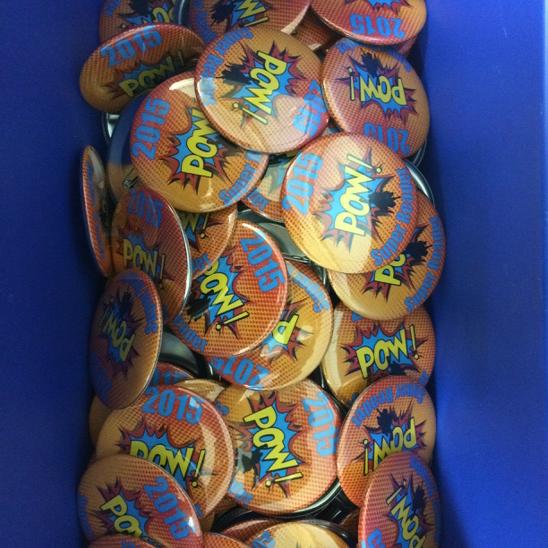
After you have made a design that you are happy with and appropriately sized them, you can then “group” all the parts and copy and paste them to make rows of button inserts. For example, here are some SRC buttons I designed to give to kids who participated in our 2015 summer reading program. This is what the printed out sheet of paper will look like. You then just cut your button inserts out and go through the button making steps.
Why Publisher? You need a publishing program that handles graphics well and prints true to size. For example, if you create a circle image in PowerPoint, even though on screen it is sized the correct size, it doesn’t print out true to size because a PowerPoint slide is not the same size as a sheet of paper. It’s a computer focused program as opposed to a print focused program. Publisher is designed to create and print materials so it works really well for printing button inserts.
In a pinch, you can create your image in another program and copy and paste it into Word at the correct size, but it’s a few more steps. I only recently got Microsoft Publisher on my personal laptop and used Word for quite some time. It’s perfectly functional, though more complicated then I liked.
You Don’t, However, Have to Begin with Publisher to Design Your Button
So let’s go back to the beginning – designing your button insert.
Let’s be honest, if you are using Publisher to size and print your buttons, you can in fact use them to design your entire button if you so choose. But it is not the only tool I use and there are many other tools that offer other features that you may wish to explore.
Although I recommend ending and printing with Publisher, you don’t have to begin there. I most often don’t. For example, I might fall in love with a picture I have taken on Instagram so that becomes my starting point. I might design something online in Canva and then transfer it into publisher for sizing and printing. I also use a lot of photo apps that have different filters, texts, and features to enhance a photo. I just create my image and then download it to my computer and insert it into Publisher for sizing and printing. Yes, some buttons take a lot of steps. But the design process is part of what I enjoy.
Some of my favorite design programs/apps include:
- Canva (online and an app)
- Comic Book
- Be Funky (App Review: BeFunky)
- Hipstamatic
- Silhouette (which I often use with Fused) (App Review: Fused (with an assist from the Silhouette app)
- Instamag
- Enlight (App Review: Enlight)
- Word Swag
- Prisma (App Review: Prisma)
- FotoRus (App Review: FotoRus)
See also: How Did You Do That? Photo Apps Version and Generate Marketing Creativity with iPhone Apps
Some Design Tips to Keep in Mind
All the basic rules of graphic design basically apply:
- Make sure your fonts are legible – both in style and color when using a background color
- Limit the number of fonts that you use
- Watch for pixelation when sizing images
- See also: Learning the Basic Elements and Principles of Graphic Design
In addition, remember that here you are designing in a circle. This can present some unique challenges, especially since a lot of traditional design we do is in the square format. Try to focus your image in the center of the circle. Make sure that any important parts – including text – aren’t being cut off.

ADVERTISEMENT
ADVERTISEMENT
The most important tip: Make sure and leave a little edge around all of your design so it doesn’t accidentally get cut off when you make the actual button. Words and important image pieces should not go all the way to the edge of your circle. You can have a background color that fills the complete image, but leave a little bit of space around the edges especially when you include any text.
There are Some Online Tools and Tutorials
How To Design a Button in Photoshop [4/13/2009] – YouTube
Button Designer Make Button Artwork Online
Create Buttons | Button Design | Custom Buttons | Pin Buttons
Button Designer Make Button Artwork Online
Free Button Maker Software – American Button Machines
MakePins.com: Make Custom Pins and Buttons That You Design
I have used exactly none of these. You really can design them yourselves quickly and easily as you become more proficient at using whatever software/apps you choose and just learn what does and doesn’t work.
At the End of the Day, Not all Buttons Needs to Be Computer Generated at All!
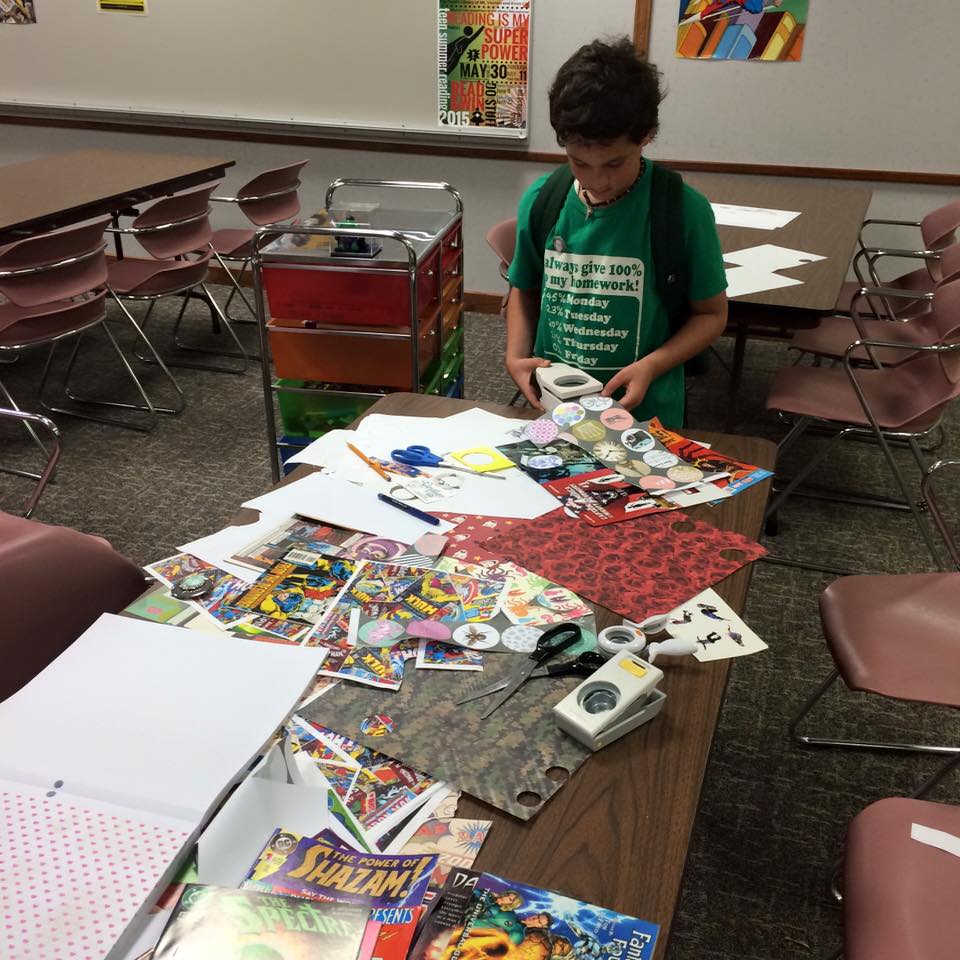
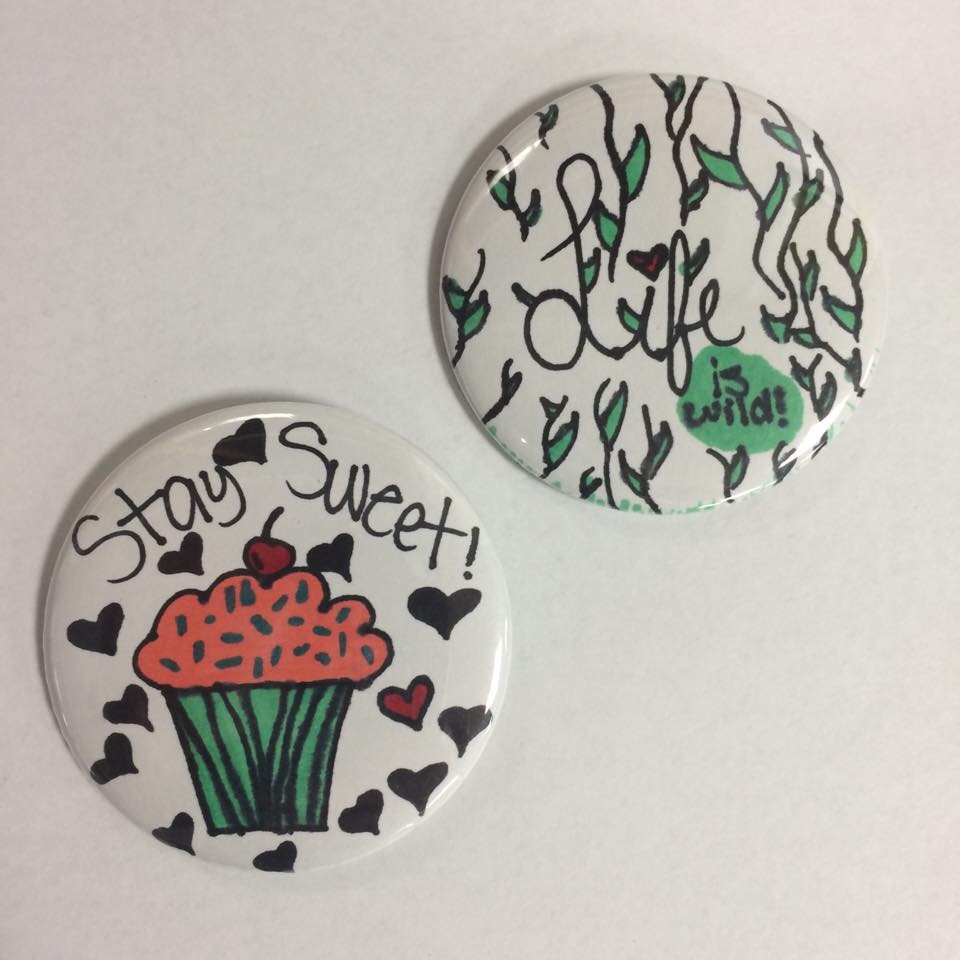
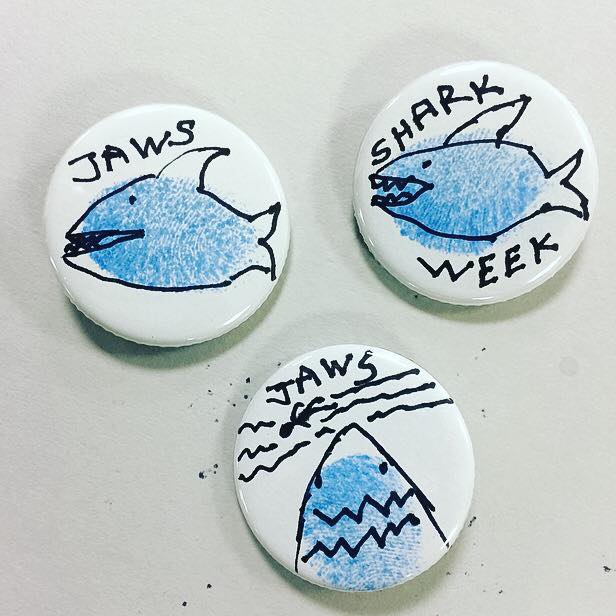
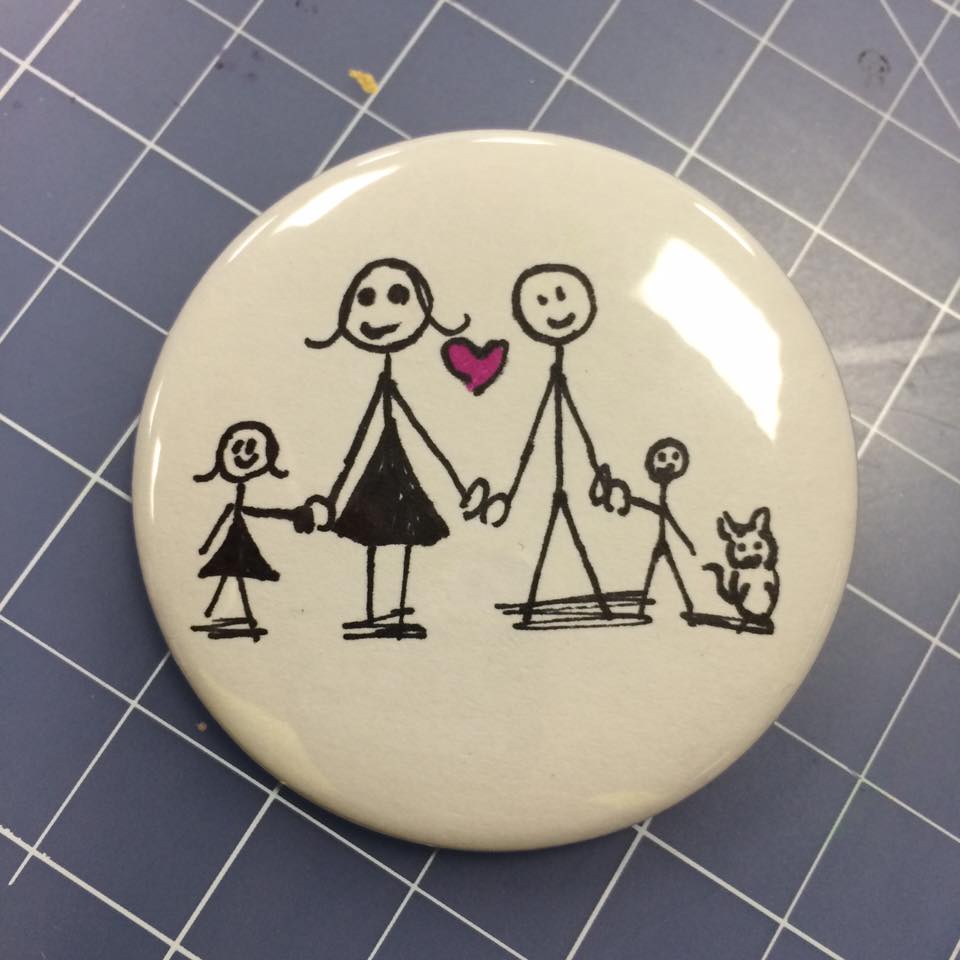
Put out a tub of scrapbook paper, discarded magazines and gns/manga, stickers, Sharpies, gel pens and more! Buttons can be mixed media collages or hand drawn. Fingerprint art buttons are some of our favorite buttons to be honest.

You can pre-cut a bunch of plain circles and put them out with a box of markers and let teens design.
You can pre-cut a bunch of pre-sized circles out of blank paper and put them out with a box of markers or gel pens and teens will still design pretty cool buttons.

To Recap: How to Design a Button Ranked from Easiest to Hardest Method
1. Cut out a plain circle and hand draw a design
2. Use paper scraps to create a design
3. Download an image and size it in Publisher (be aware of copyright)
4. Create a design from scratch in Publisher
5. Create a design in another resource, download it, and resize it in Publisher
Have fun designing!
Filed under: Makerspace
About Karen Jensen, MLS
Karen Jensen has been a Teen Services Librarian for almost 30 years. She created TLT in 2011 and is the co-editor of The Whole Library Handbook: Teen Services with Heather Booth (ALA Editions, 2014).
ADVERTISEMENT
ADVERTISEMENT
SLJ Blog Network
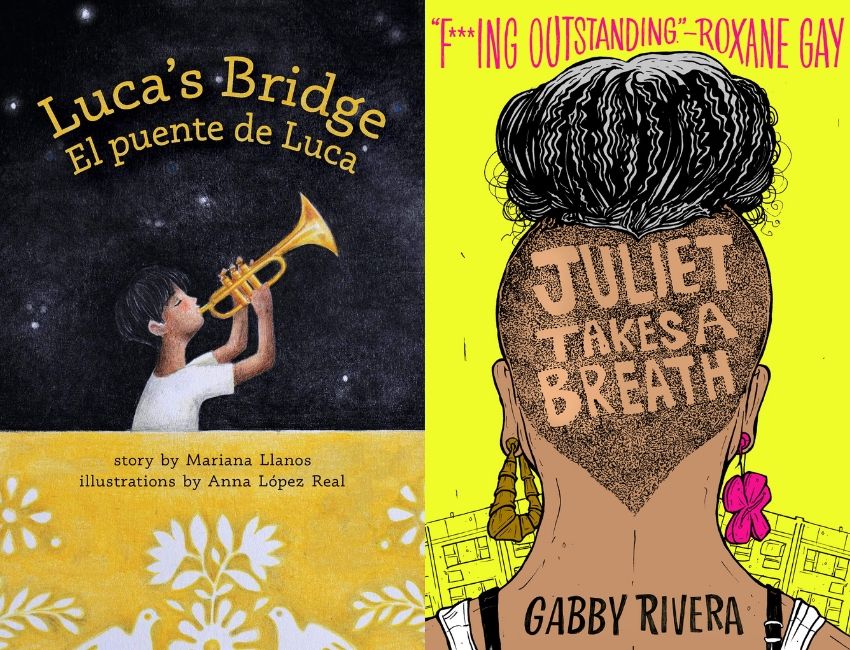
2024 Books from Pura Belpré Winners
Passover Postings! Chris Baron, Joshua S. Levy, and Naomi Milliner Discuss On All Other Nights
Winnie-The-Pooh | Review
Parsing Religion in Public Schools
ADVERTISEMENT