MakerSpace: Postcard Party
In an attempt to express my personal political frustrations, I recently hosted a postcard party. It turns out, with or without the politics, this is a great MakerSpace program. Making your own postcards is quicky, easy fun.
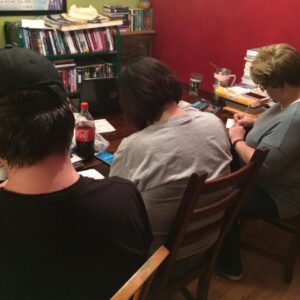
Here’s what I did at home: I invited a group of friends to my home whom I knew wanted to express themselves politically. Using the issues that they were most concerned about, I designed postcards (more on this process in a moment). We then printed them out, personalized them and dropped them in the mail. The Teen was there for this meeting, which is a fact that will become relevant in a moment. In total during this evening we quickly and easily designed about 20 postcards which we printed in multiple copies per sheet.
ADVERTISEMENT
ADVERTISEMENT
It turns out, I really, really liked designing the postcards and, as is often the case when I learn to do something new and enjoy it, I started making a lot of postcards. And I mean A LOT OF POSTCARDS. In fact, The Teen found it to be fun as well and we sat down and I taught her how to design her own postcards. The postcards we designed together weren’t political, but they were personal and they became a fantastic medium of both artistic and self expression.
So Let’s Talk Designing Your Own Postcards
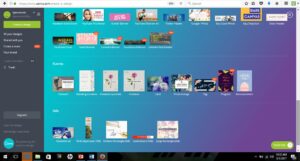
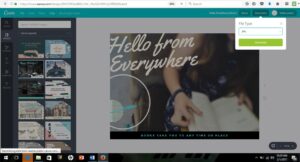
I am currently using Canva. You can use any design program, including GIMP (free, online) or Microsoft Publisher (not free), but Canva has a wide variety of easy to use templates that help you get started and are easily personalized. One of these templates is a postcard template. There are a variety of pre-made postcard layouts that you can choose to get you started and yet you can completely personalize everything. Canva is an online program which is mostly free. You set up an account and there are a wide variety of free templates and elements you can choose. You can also add your own by uploading your own graphics.
For example, regular readers know that I am both photo and photo app obsessed. It’s easy (and fast) to upload your own photos into Canva and use them for postcards. There are a lot of free elements available for use in Canva as well, but I like to use my own whenever possible.
You can start with a blank space or a template. In the beginning, I highly recommend using a template. Easily add or subtract elements like text, graphics, lines and more. There are filters available to change the coloring or tone of your picture. It’s easy, but it’s also flexible and adaptable. As you get better at using the program you can advance how personal you make things.
After you create your design, you then download the postcard. I always choose to download my creations as a JPG because they are easier to use across machines. PDF is another option, but I can easily send, share and print JPGs.
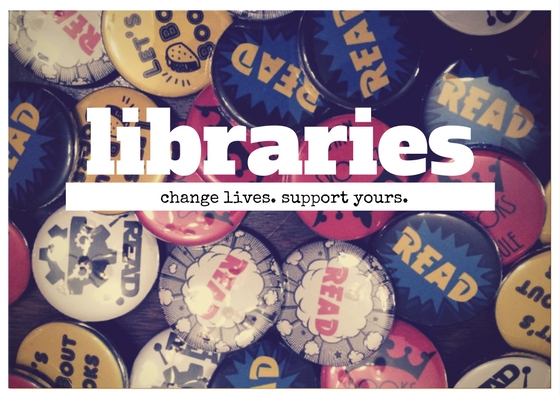
Now that my postcard is saved on my laptop as a JPG, I just need to print it off. This is pretty quick and easy to do using Microsoft Word. You can fit two postcards per page in a Word document. They are already saved as a standard postcard size so you don’t need to worry about resizing. I print them off on card stock and cut them down to size using a paper cutter. Because I know I want to go in and print more of my postcards, I saved each one as a Word document that I can just open again and again and hit print. For example, I have a filed named SUPPORT LIBRARIES POSTCARD that I can easily open and print off my Support Libraries postcards.
ADVERTISEMENT
ADVERTISEMENT
You can design a backside if you wish, but it’s not necessary. After your postcard is printed you just write your message and address it like you would any other postcard. The Teen made a set of postcards; she likes to write her friends encouraging messages and hand them to her friends at school or slip them in their lockers.
A note about the Canva app: there is a Canva app as well for mobile devices. I do not love the app as much as I love the online program. It does not have as many design template options available, for one. The smaller scale can also make precision designing more difficult. However, you can go into a saved design and quickly save it to your mobile device. This makes printing really easy if you have an AirPrinter that also allows you to select the 4×6 size. Print directly onto matte 4×6 photo paper and you don’t have to worry about cutting your postcard to size. This, for me, is the only benefit of the app on my mobile device.
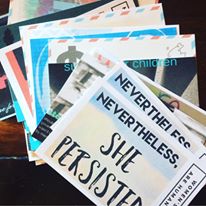
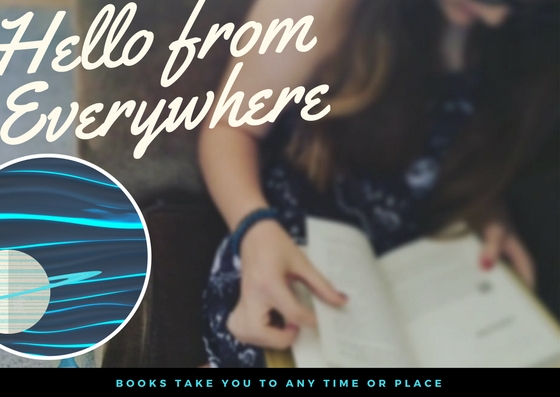
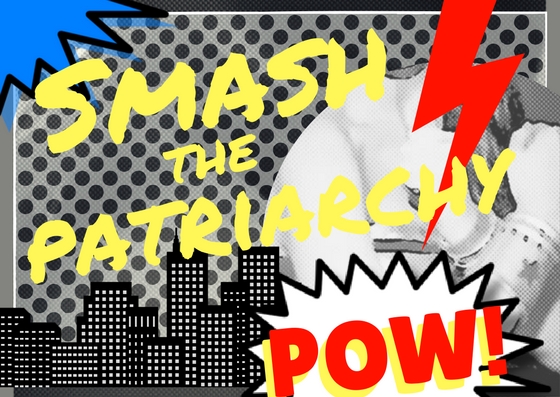
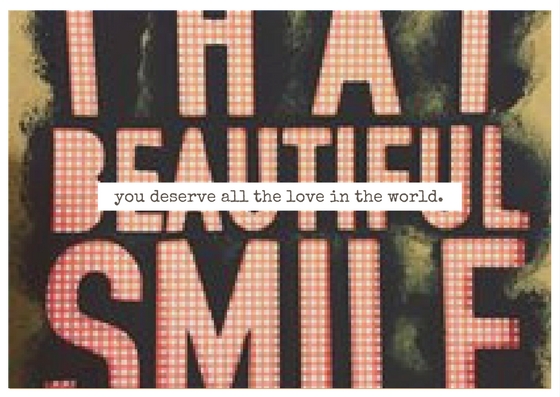
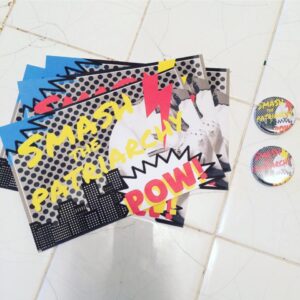
And finally, here’s a look at some of the postcards The Teen and I designed.
And as a fun aside, for some of our postcards we used our button maker to make corresponding 1.25 inch buttons. We were able to easily make them the size we needed for the buttons.
Here’s What You Need:
- Some type of device: laptop or PC recommended, though tablets and smartphones will also work
- Access to Canva (or some other type of graphics program)
- Cardstock
- Paper cutter
- Color printer
For example, it my Teen MakerSpace we have a bank of iPads that we use for digital media. Teens can use these to take pictures using our Green Screen Photo Booth. These pictures can then be uploaded into Canva so that the teens can use them to create personalized postcards as outlined above.
This is a great opportunity to talk with teens about what makes a good photo, design and layout, and the always important topic of copyright.
In just 3 days working about 2 hours a day, we designed and printed out 40 unique postcards that we adored. I can’t recommend this enough.
Filed under: Makerspace
About Karen Jensen, MLS
Karen Jensen has been a Teen Services Librarian for almost 30 years. She created TLT in 2011 and is the co-editor of The Whole Library Handbook: Teen Services with Heather Booth (ALA Editions, 2014).
ADVERTISEMENT
ADVERTISEMENT
SLJ Blog Network
2024 Books from Coretta Scott King Winners
The Ultimate Love Letter to the King of Fruits: We’re Talking Mango Memories with Sita Singh
Monkey King and the World of Myths: The Monster and the Maze | Review
Parsing Religion in Public Schools
ADVERTISEMENT


I really love that you used Canva for this Makerspace program. It’s been my go-to online (mostly free) graphic design software since before we started hosting YA programs in my system. So far, I’ve mostly used it to create monthly newsletters to email the area high school librarians to promote our upcoming YA events and also (when time allows) creating social media graphics for the branches to post either in the library or on their branch Facebook page.
You may or may not hear this often enough, but thank you and all the staff at Teen Librarian Toolbox for doing what you do to help the teen/ya community. Your programs archive has been a gold mine for the staff to find ideas or even just get inspired. 🙂
~Amy G.
Thank you so much Amy! That means a lot to us all here at TLT.