TPiB: Book Planters
 I am not a crafty person. At all. I’m unable to draw a straight line or measure correctly and have little to no patience for not catching on to something quickly. So when we ended up with all this extra dirt at the library (don’t ask), and my supervisor said hey, want to make some book planters for a program, I said sure mostly because I wanted to be accommodating, not out of some love for creating things.
 I poked around online for how to make book planters and found lots of detailed instructions, including one titled something like “How to make a book planter in 946 easy steps.” It was more like 40, I guess, but that’s the same thing. Some suggested you cut through the cover. Some involved various power tools for cutting. Some wanted you to stack books up, use a tool to cut a deep round hole, and stick a potted plant in. And on and on. I took the best bits of what I found and came up with this.
ADVERTISEMENT
ADVERTISEMENT
 You will need:
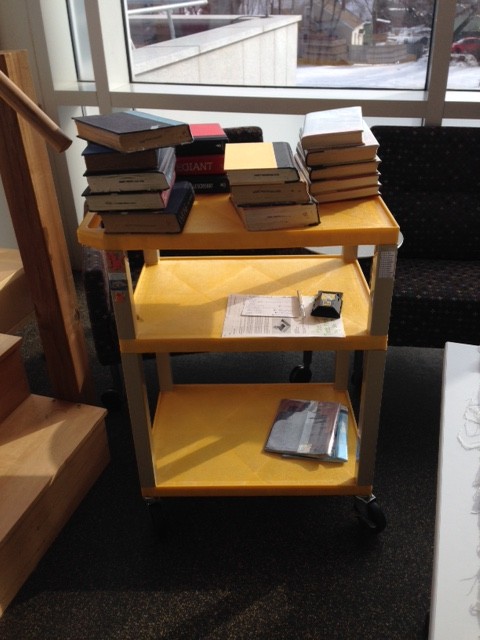
Discarded hardcover books (I used ones that had broken spines, missing pages, etc) If you can find ones with nice endpapers, bonus!
Box cutters (SHARP)
Cling wrap
Glue (Elmers or Mod Podge or whatever–don’t use rubber cement! That was a bust). I used Aleene’s Original Tacky Glue
Sponges or brushes
A ruler or cardboard square/rectangle template, if you’re feeling precise
Soil
Succulents
Drop cloths
Rags
Butcher paper
Plastic bags
Paper towel
Plastic cups
Scissors
Rulers
Pens
Setting up:
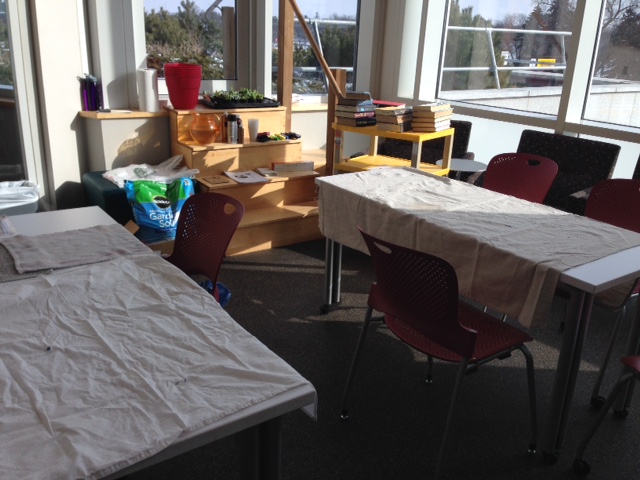 Cover your work space with drop cloths or butcher paper. Things got quite messy—dirt, dripped glue, and an infinite number of shredded book pages everywhere.
Getting to work:
For the sake of mess and time, I partially prepped most of the books, but you could let your group start from the beginning.
 1. Get rid of dust jacket. Flip through the book and see if there are any pages with pictures that you’d like to paste into the front at the end. Snag them if so.
 2. With the front cover of the book open, glue the pages along all three sides to create a seal. I dotted tacky glue along one side, wiped it all over with a sponge, making sure to really get the corners and making sure the top few pages weren’t flapping loose. Once all sides are covered in glue, set the books aside to dry for a bit. I did this in the days before the program because I was worried the books would still be too wet to easily transport home if attendees glued them at the program. That said, one woman did choose an unglued book and did it at the program. It was mostly dry by the time she left about 90 minutes later.
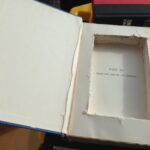
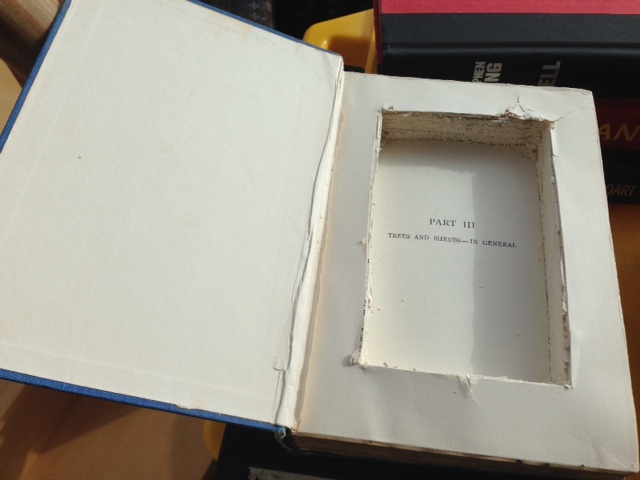
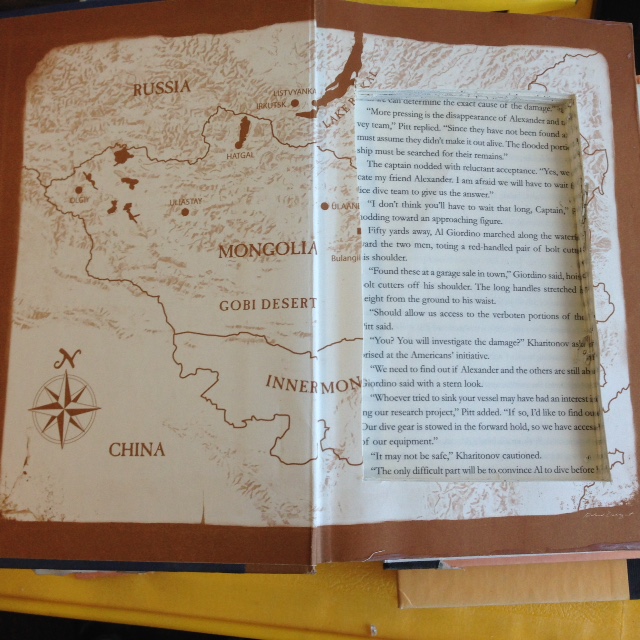 3. Once the book is dry, grab a box cutter and decide what size square or rectangle you’d like to cut out of the book’s pages. Use cardboard for a template to cut around, or measure with your ruler/use a ruler as a guide, or just eyeball it. Start slowly and carefully cutting. You will need to cut and remove pages in many, many rounds. Corners are hard. Just remember most of that hole will be covered in dirt and plants, so being inexact is okay. Just try not to mangle that nice top page. You could have the books completely uncut at the program and let attendees start from the top page. My lovely coworkers helped prepare our books and cut through the first 100 pages or so. Cutting takes a while.
(At this point, you may want to grab the piles of book pages being cut out. I plan to reuse them for some blackout poetry in April.)
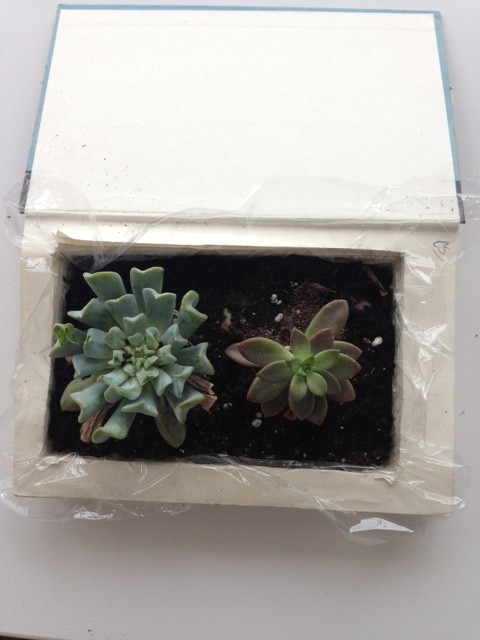
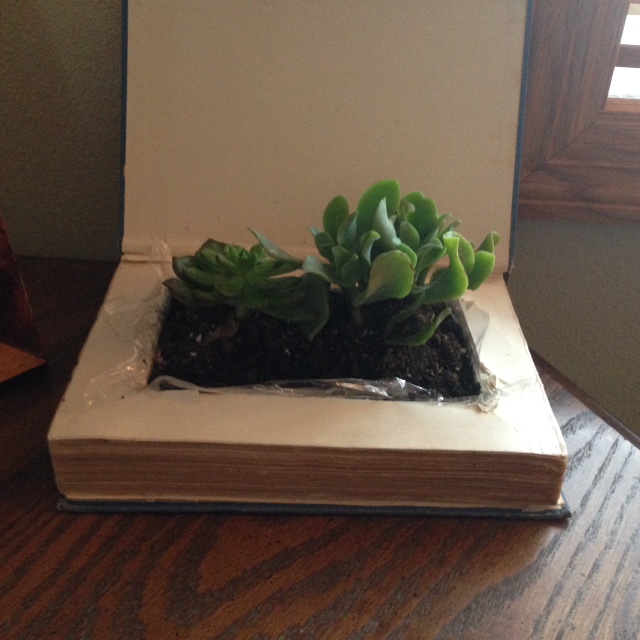
4. Once the pages are cut nearly all the way to the bottom or deep enough for soil and plants, you can glue the inside of your square/rectangle to create another seal or just skip right to lining it with cling wrap. We lined enough so that it came up over the top quite a bit–you can trim it later.
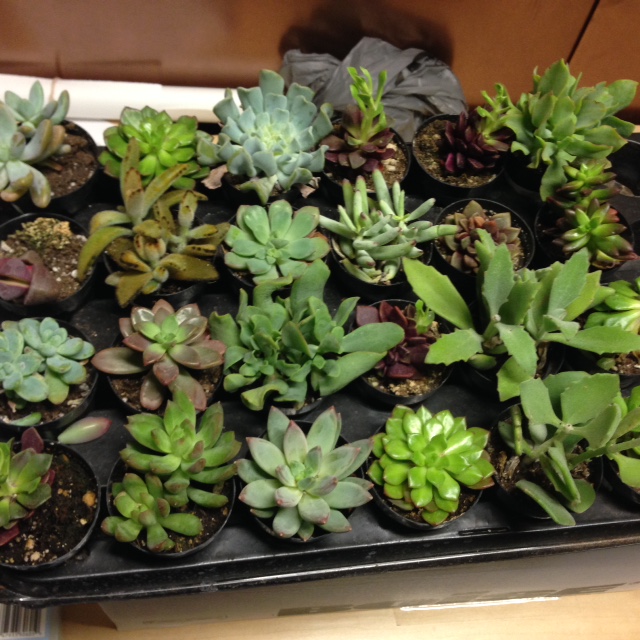 5. Using your plastic cup, scoop out some soil from your bag and arrange soil and your succulents in the hole. Most attendees fit 2 or 3 small succulents.
6. After planting, use your box cutter to trim off the excess plastic wrap, leaving just a bit to help protect those top pages from any water that might overflow.
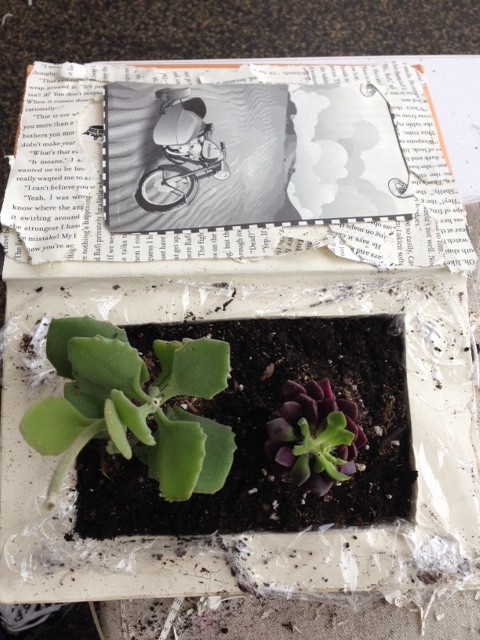 7. If your book doesn’t have nice endpapers and you want to add something more to your planter, you could create a collage from discarded pages and pictures.
 8. That’s it! I had brought in plastic grocery bags and we were able to set the books carefully inside them for transport home (if you glue the books the day of the project, you might not be able to do this easily).

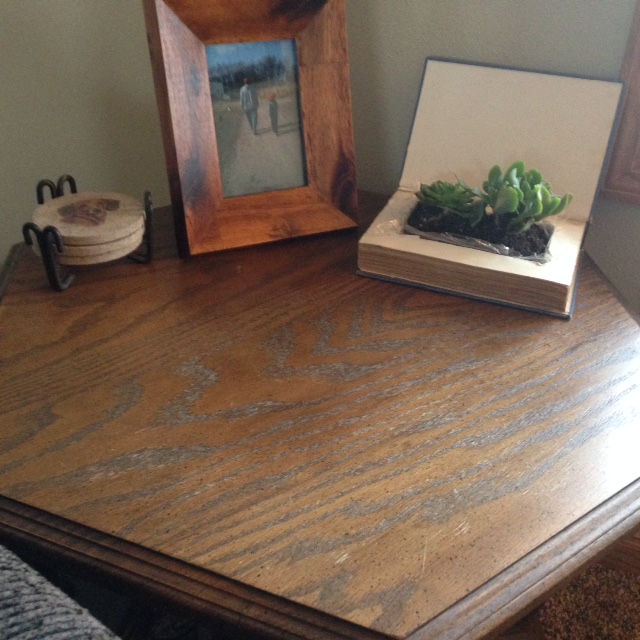 It was a fun program and the book planters turned out lovely. My program was open to adults and teens. I had 6 adult women, 1 man, and 1 teen. The planters would make great gifts for anyone who likes books. Also, if I could successfully make one, anyone can!
Filed under: Programming
About Amanda MacGregor
Amanda MacGregor works in an elementary library, loves dogs, and can be found on Twitter @CiteSomething.
ADVERTISEMENT
ADVERTISEMENT
SLJ Blog Network
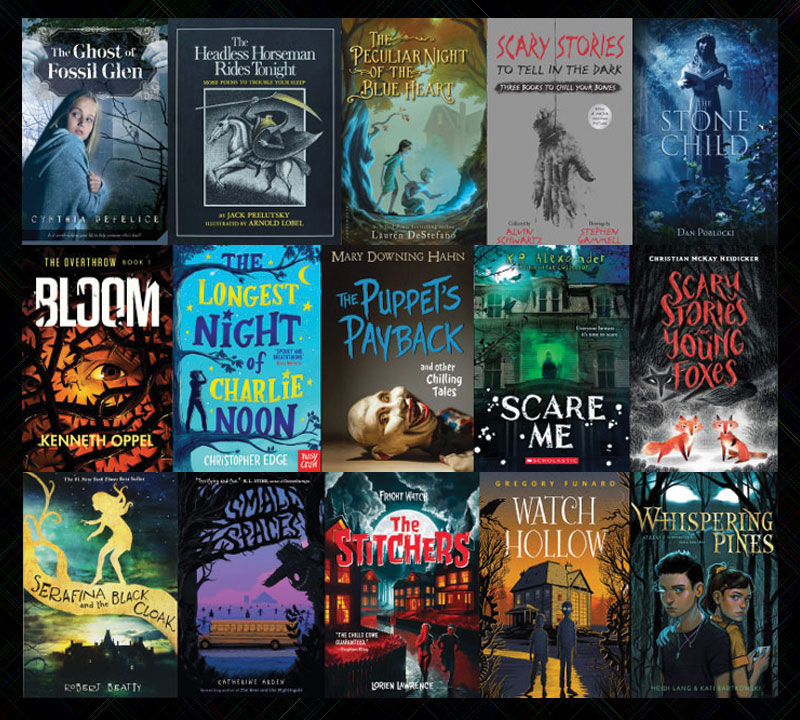
2024 Books from Pura Belpré Winners
Passover Postings! Chris Baron, Joshua S. Levy, and Naomi Milliner Discuss On All Other Nights
Winnie-The-Pooh | Review
Parsing Religion in Public Schools
ADVERTISEMENT